The crane pose (Bakasana बकासन) and the crow pose (Kakasana काकासन) are arm balancing poses that will help you develop good strength in the wrists, arms, abdominal and core area, and thighs. They also help develop good mental focus. These two poses are almost identical in their approach. The only difference is that in the final pose, the elbows are bent in the Kakasana while they are straightened in the Bakasana. For most people who are just learning the pose, it is practiced with the elbows bent. That is the variation we’ll be working on. So, from here on in this article, I’ll be referring to the pose only as Kakasana (crow pose).
For most beginners, the crow pose is a challenging pose. In order to prepare for the pose. we’ll first go through a sequency of a few preparatory asanas.
I hope you’ll enjoy practicing with the video demonstration.
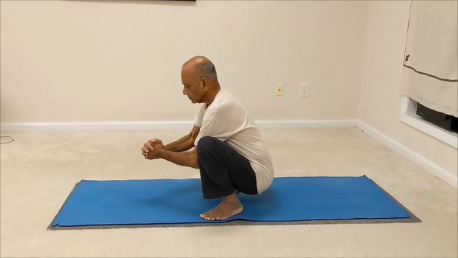
Malasana (the squat)
- Sit down with the feet flat on the ground, about 10 to 12 inches apart. Keep the torso upright.
- Position the elbows on the inside of the knees. Press the elbows against the knees from inside out while the knees press against the elbows. If it is not comfortable to keep the feet flat on the ground, feel free to use a cushion under your heels.
- Stay in this position for a few breaths.
Downward Facing Dog
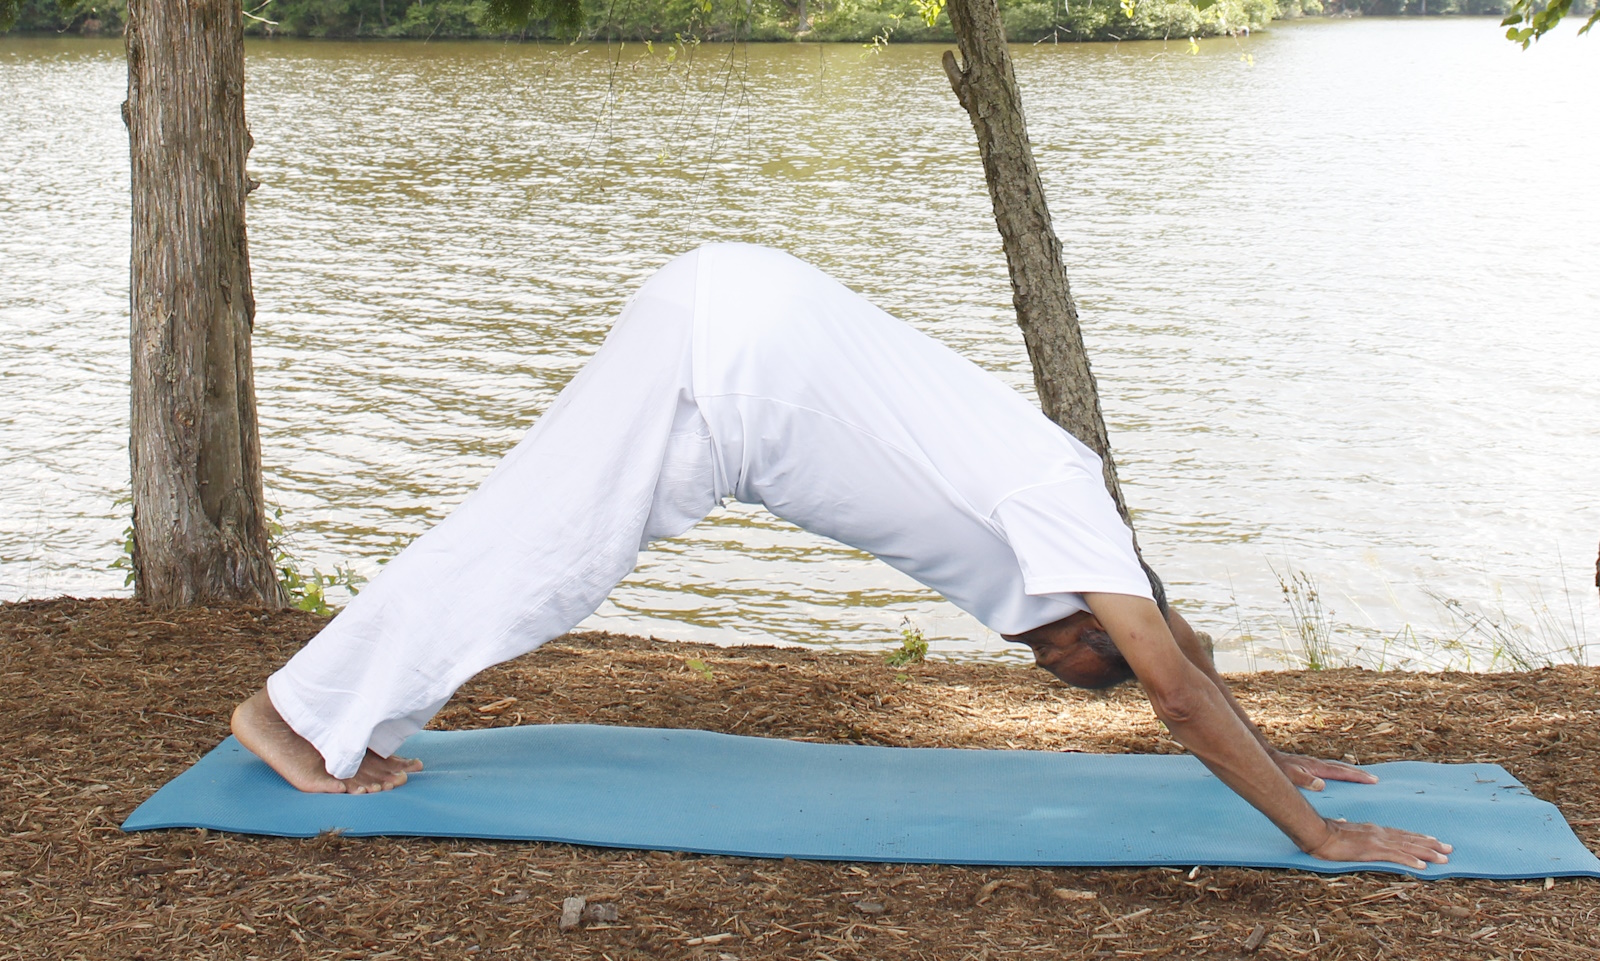
Adhomukha-shvanasana (downward dog)
From the squat, we’ll move to the downward facing dog (adho-mukha shvanasana).
- Keep the feet close to each other. Keep the palms flat on the ground, fingers spread out and pressing evenly into the ground.
- Lift the buttocks up toward the ceiling and press the heels down towards the floor. Stay in this position for three or four more breaths.
- Lift the right foot up and bring the right knee on the outside of the right elbow while keeping the foot in the air. Pause there briefly and bring the foot back to the downward facing dog. Now, lift the right foot up and bring the right knee on the outside of the left elbow. Pause there briefly and then get back to the downward facing dog.
- We’ll repeat these moves with the left foot. Lift the foot up and bring the left knee to the outside of the left elbow. Pause briefly and get back to the downward facing dog.
- Now lift the left foot and bring the left knee on the outside of the right elbow, keeping the foot in the air. Pause briefly and get back to the downward facing dog.
- Pause there and repeat these movements one more time on either side.
- Get into the child pose (balasana) for a few moments. Rest your buttocks on the heels, bring your forehead to the floor and relax in that position for a few breaths.
Forearm plank
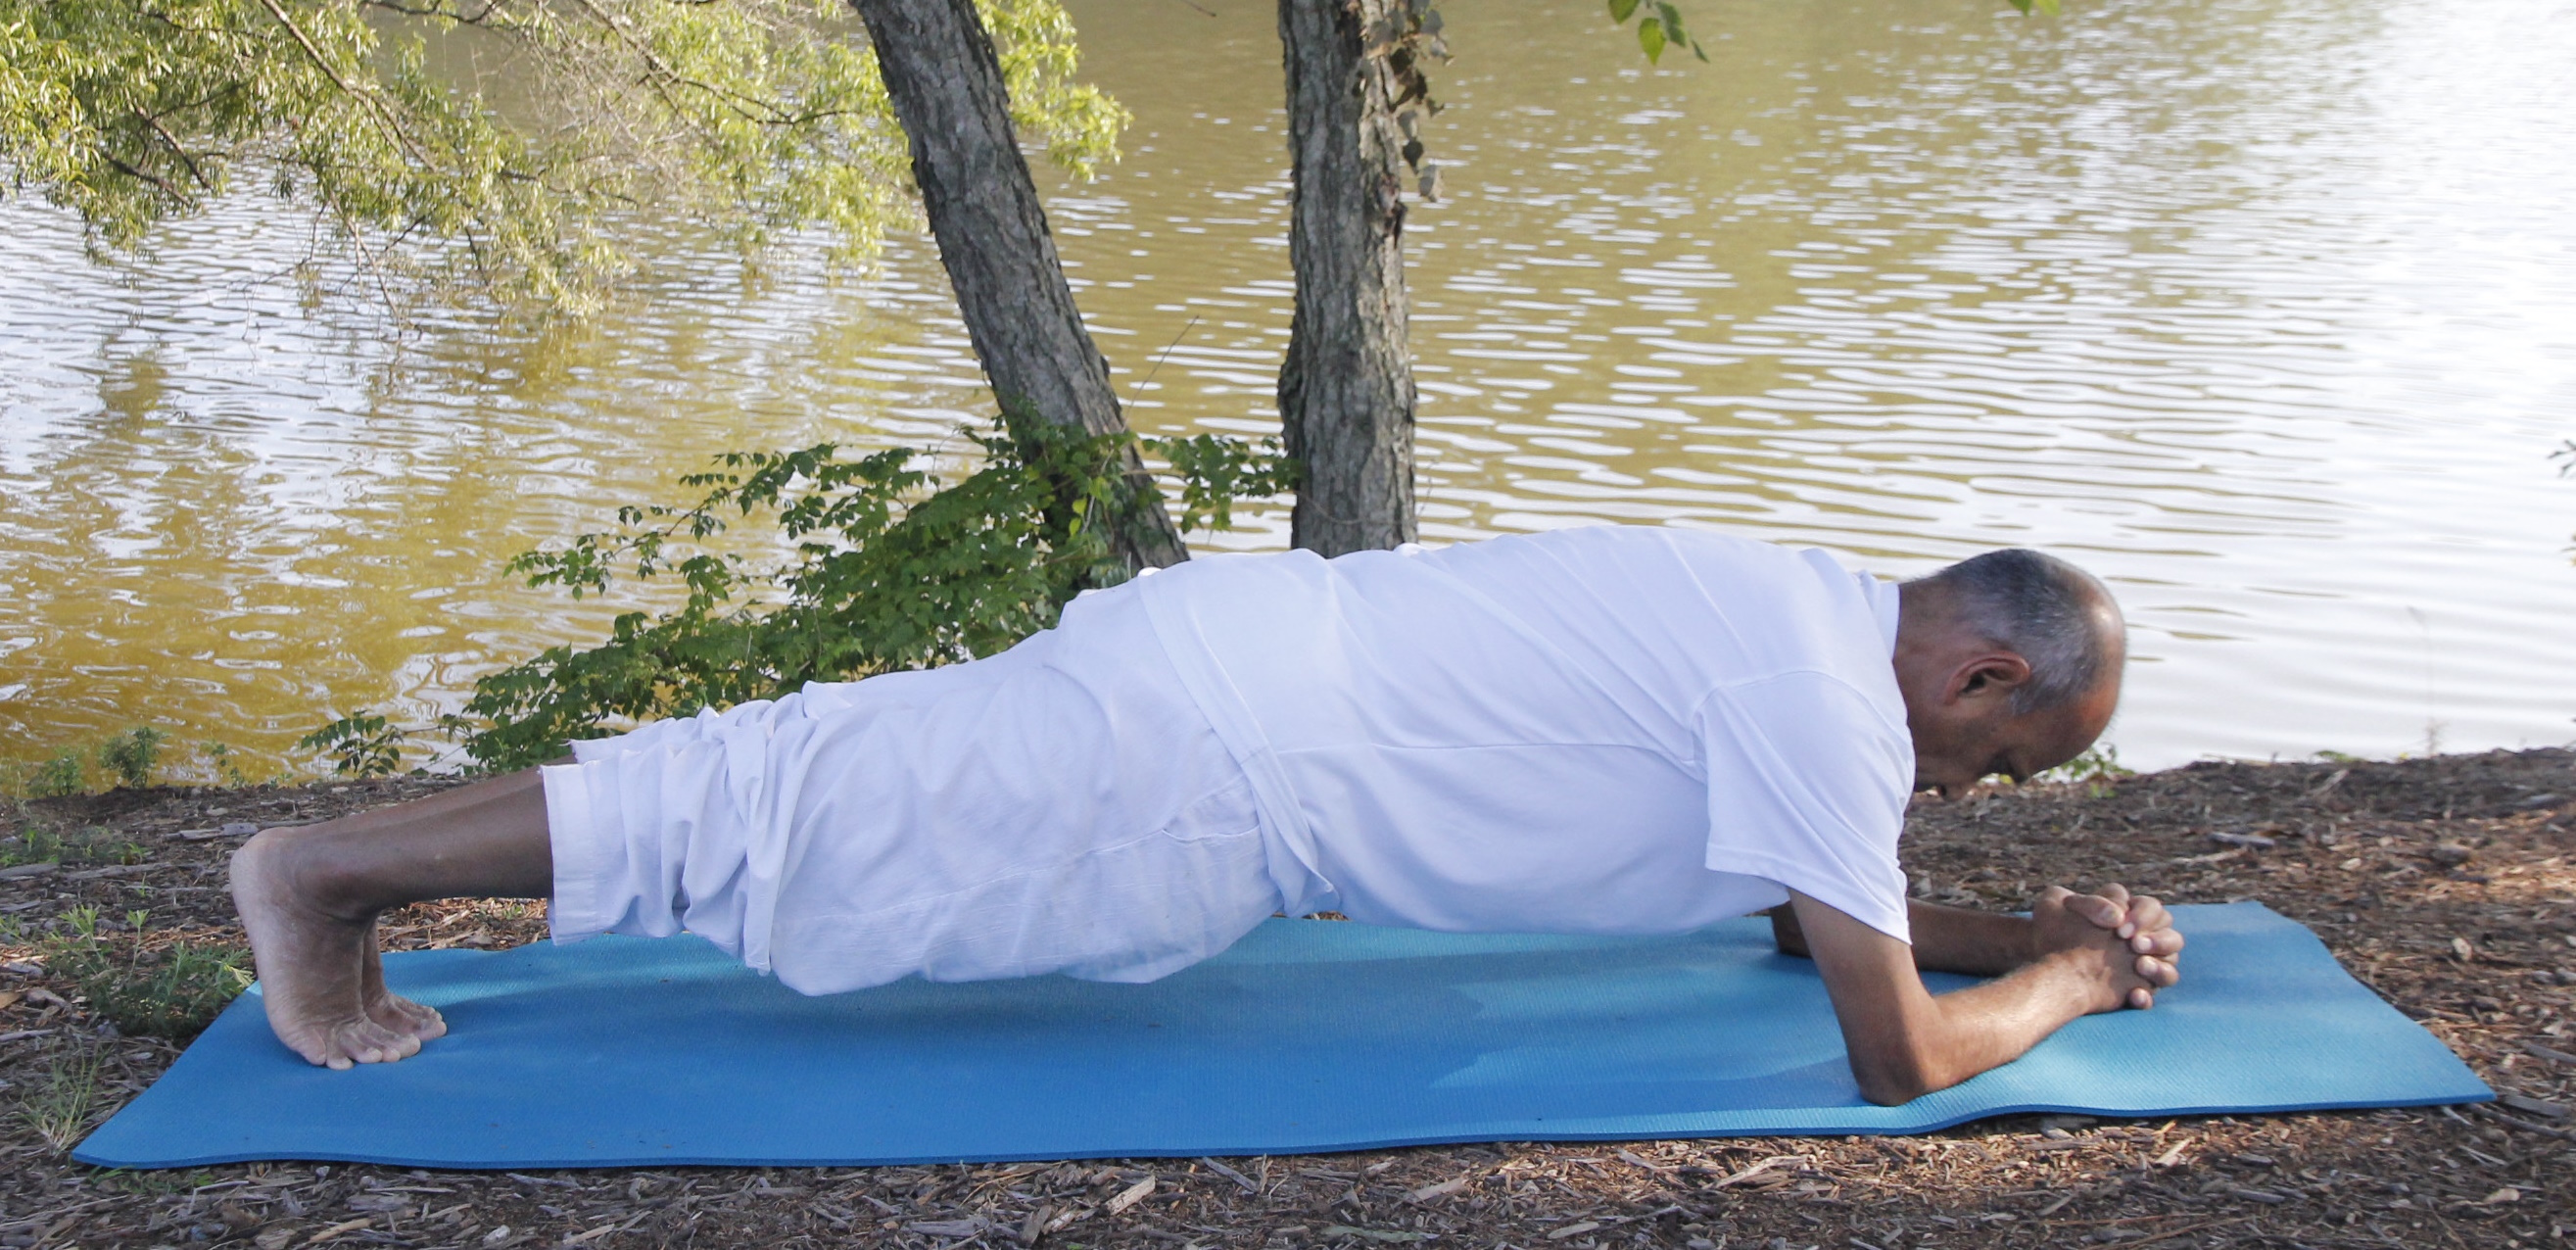
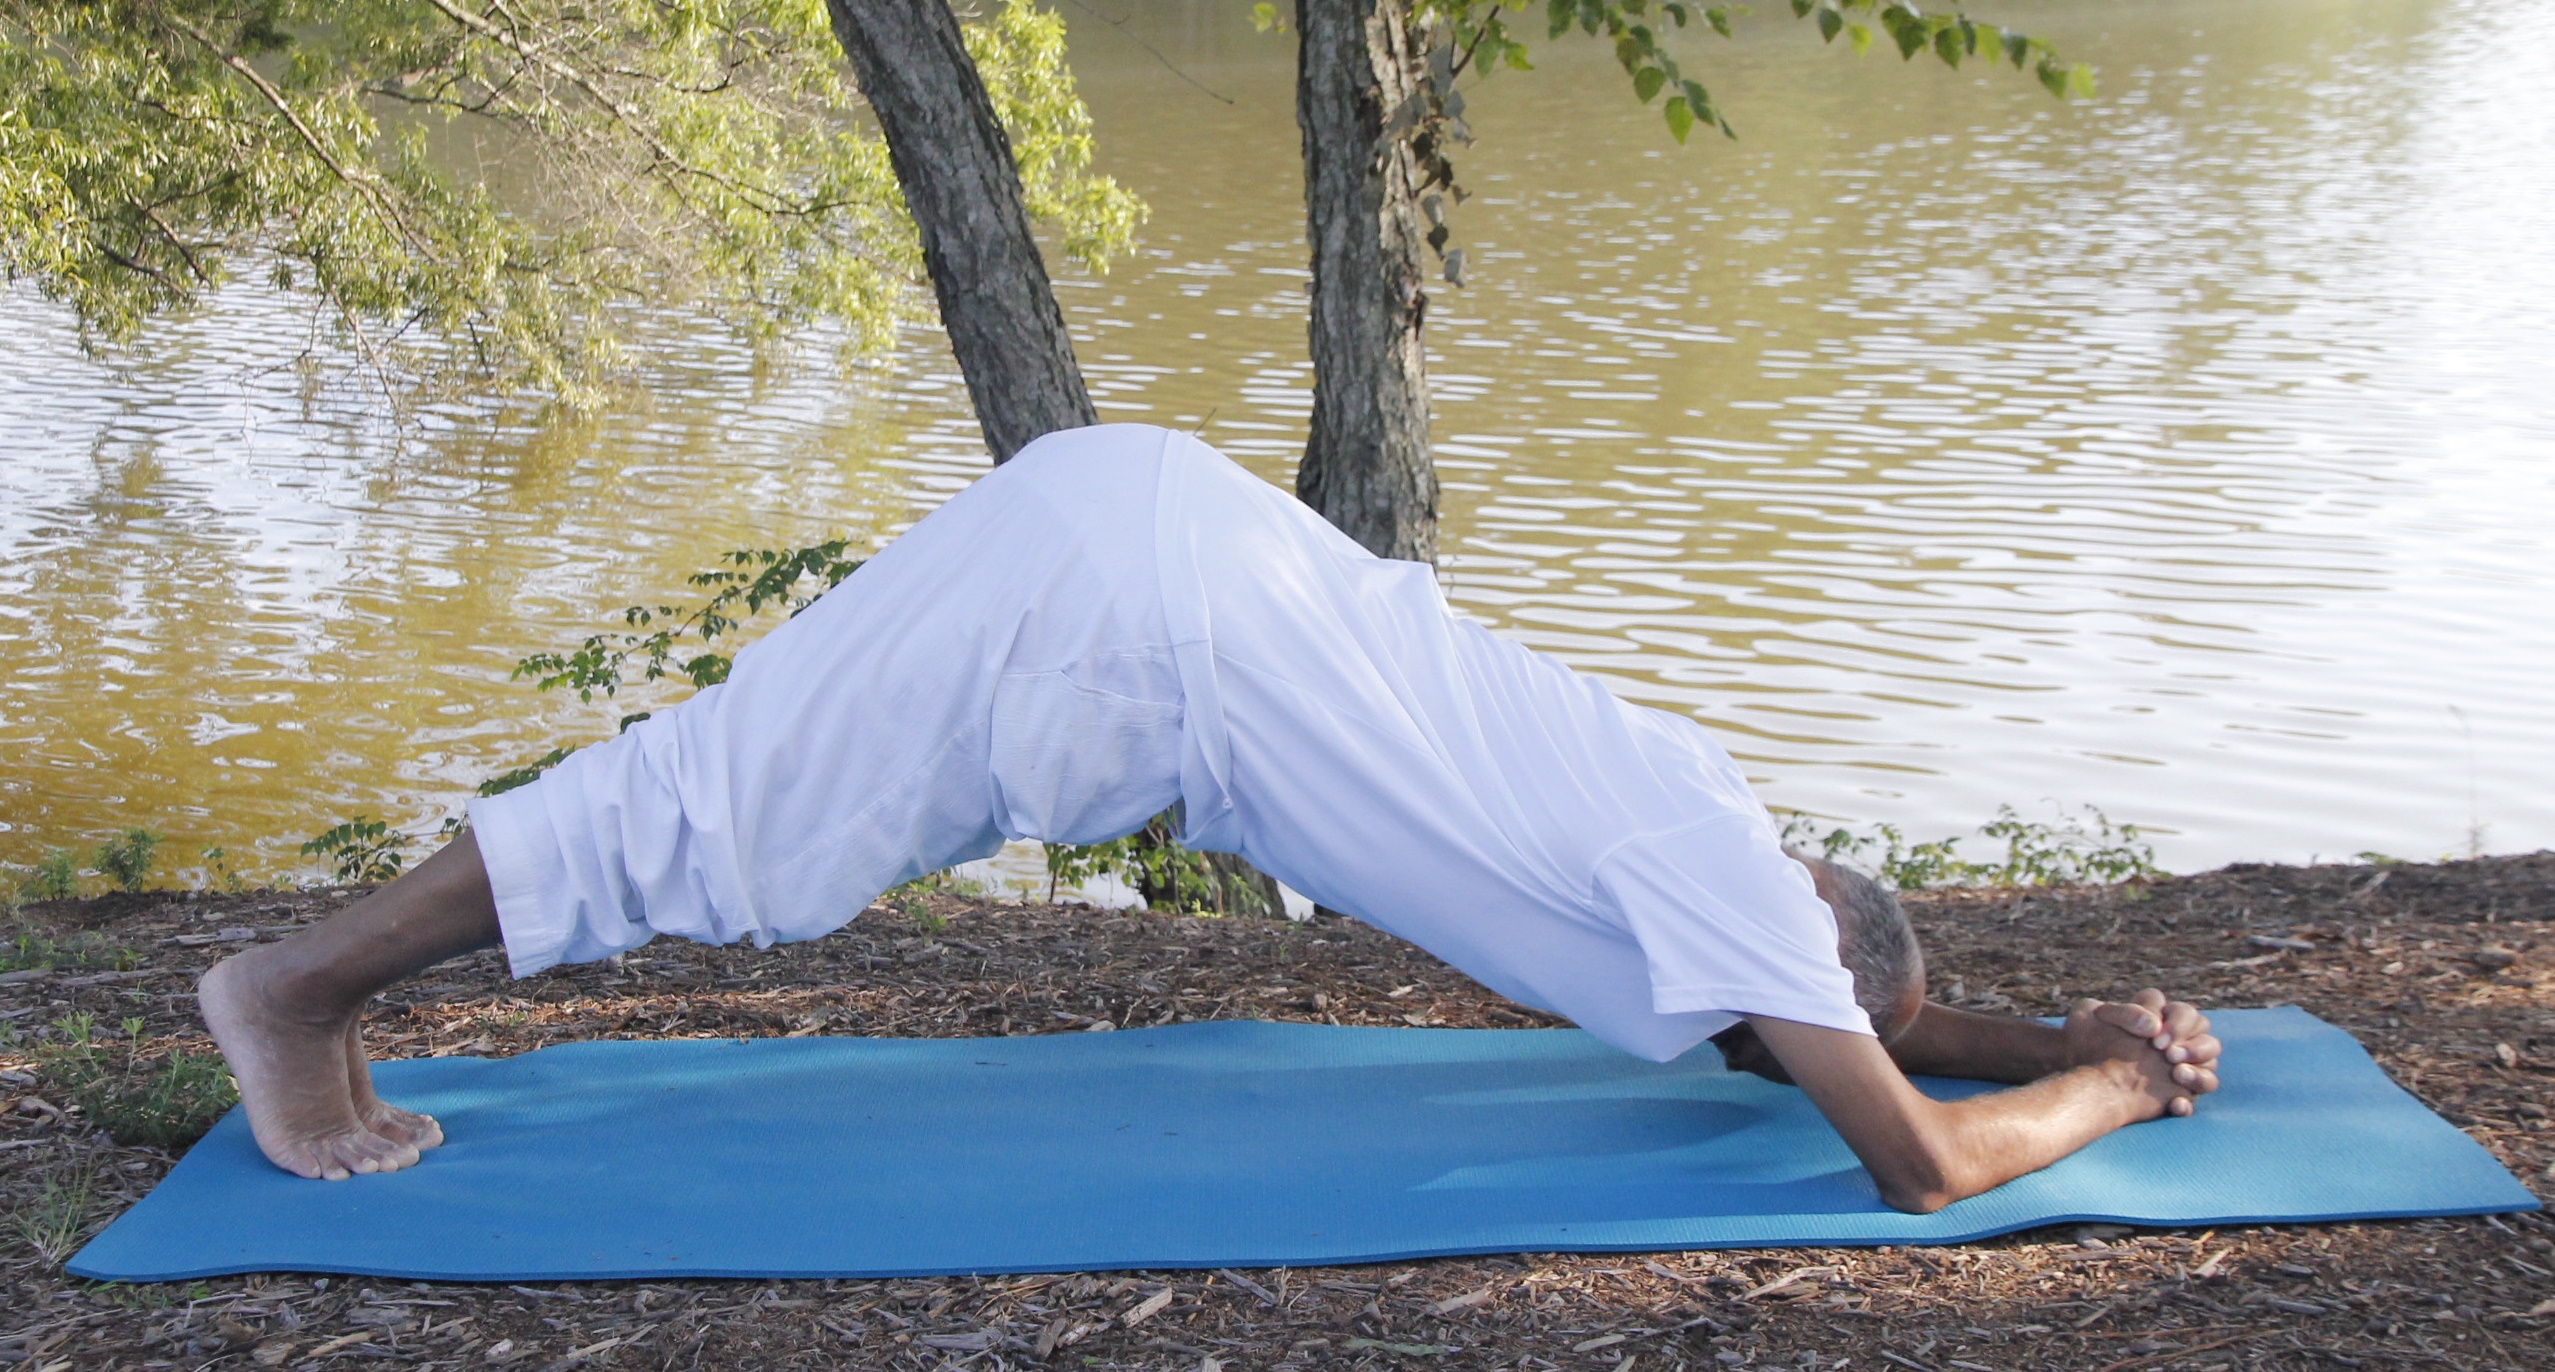
- Place the forearms on the floor and curl the toes under. Pressing down with the forearms and the toes, lift the buttocks, thighs and knees up and bring the body completely parallel to the floor. This is the forearm Plank.
- From this position, we’ll do a few dynamic movements of the upward facing dog and the downward facing dog.
- While inhaling, slide the shoulders all the way out in front, lift the head up and lower the buttocks down slightly. The knees or the thighs should not touch the ground.
- When you exhale, bring the shoulders all the way back and lift the buttocks up toward the ceiling, lightly touching the forehead on the ground. This is the downward facing dog.
- Repeat these movements a few more times. Finally, relax on your back for a few breaths.
Boat pose
To strengthen the core area, we’ll now practice the boat pose.
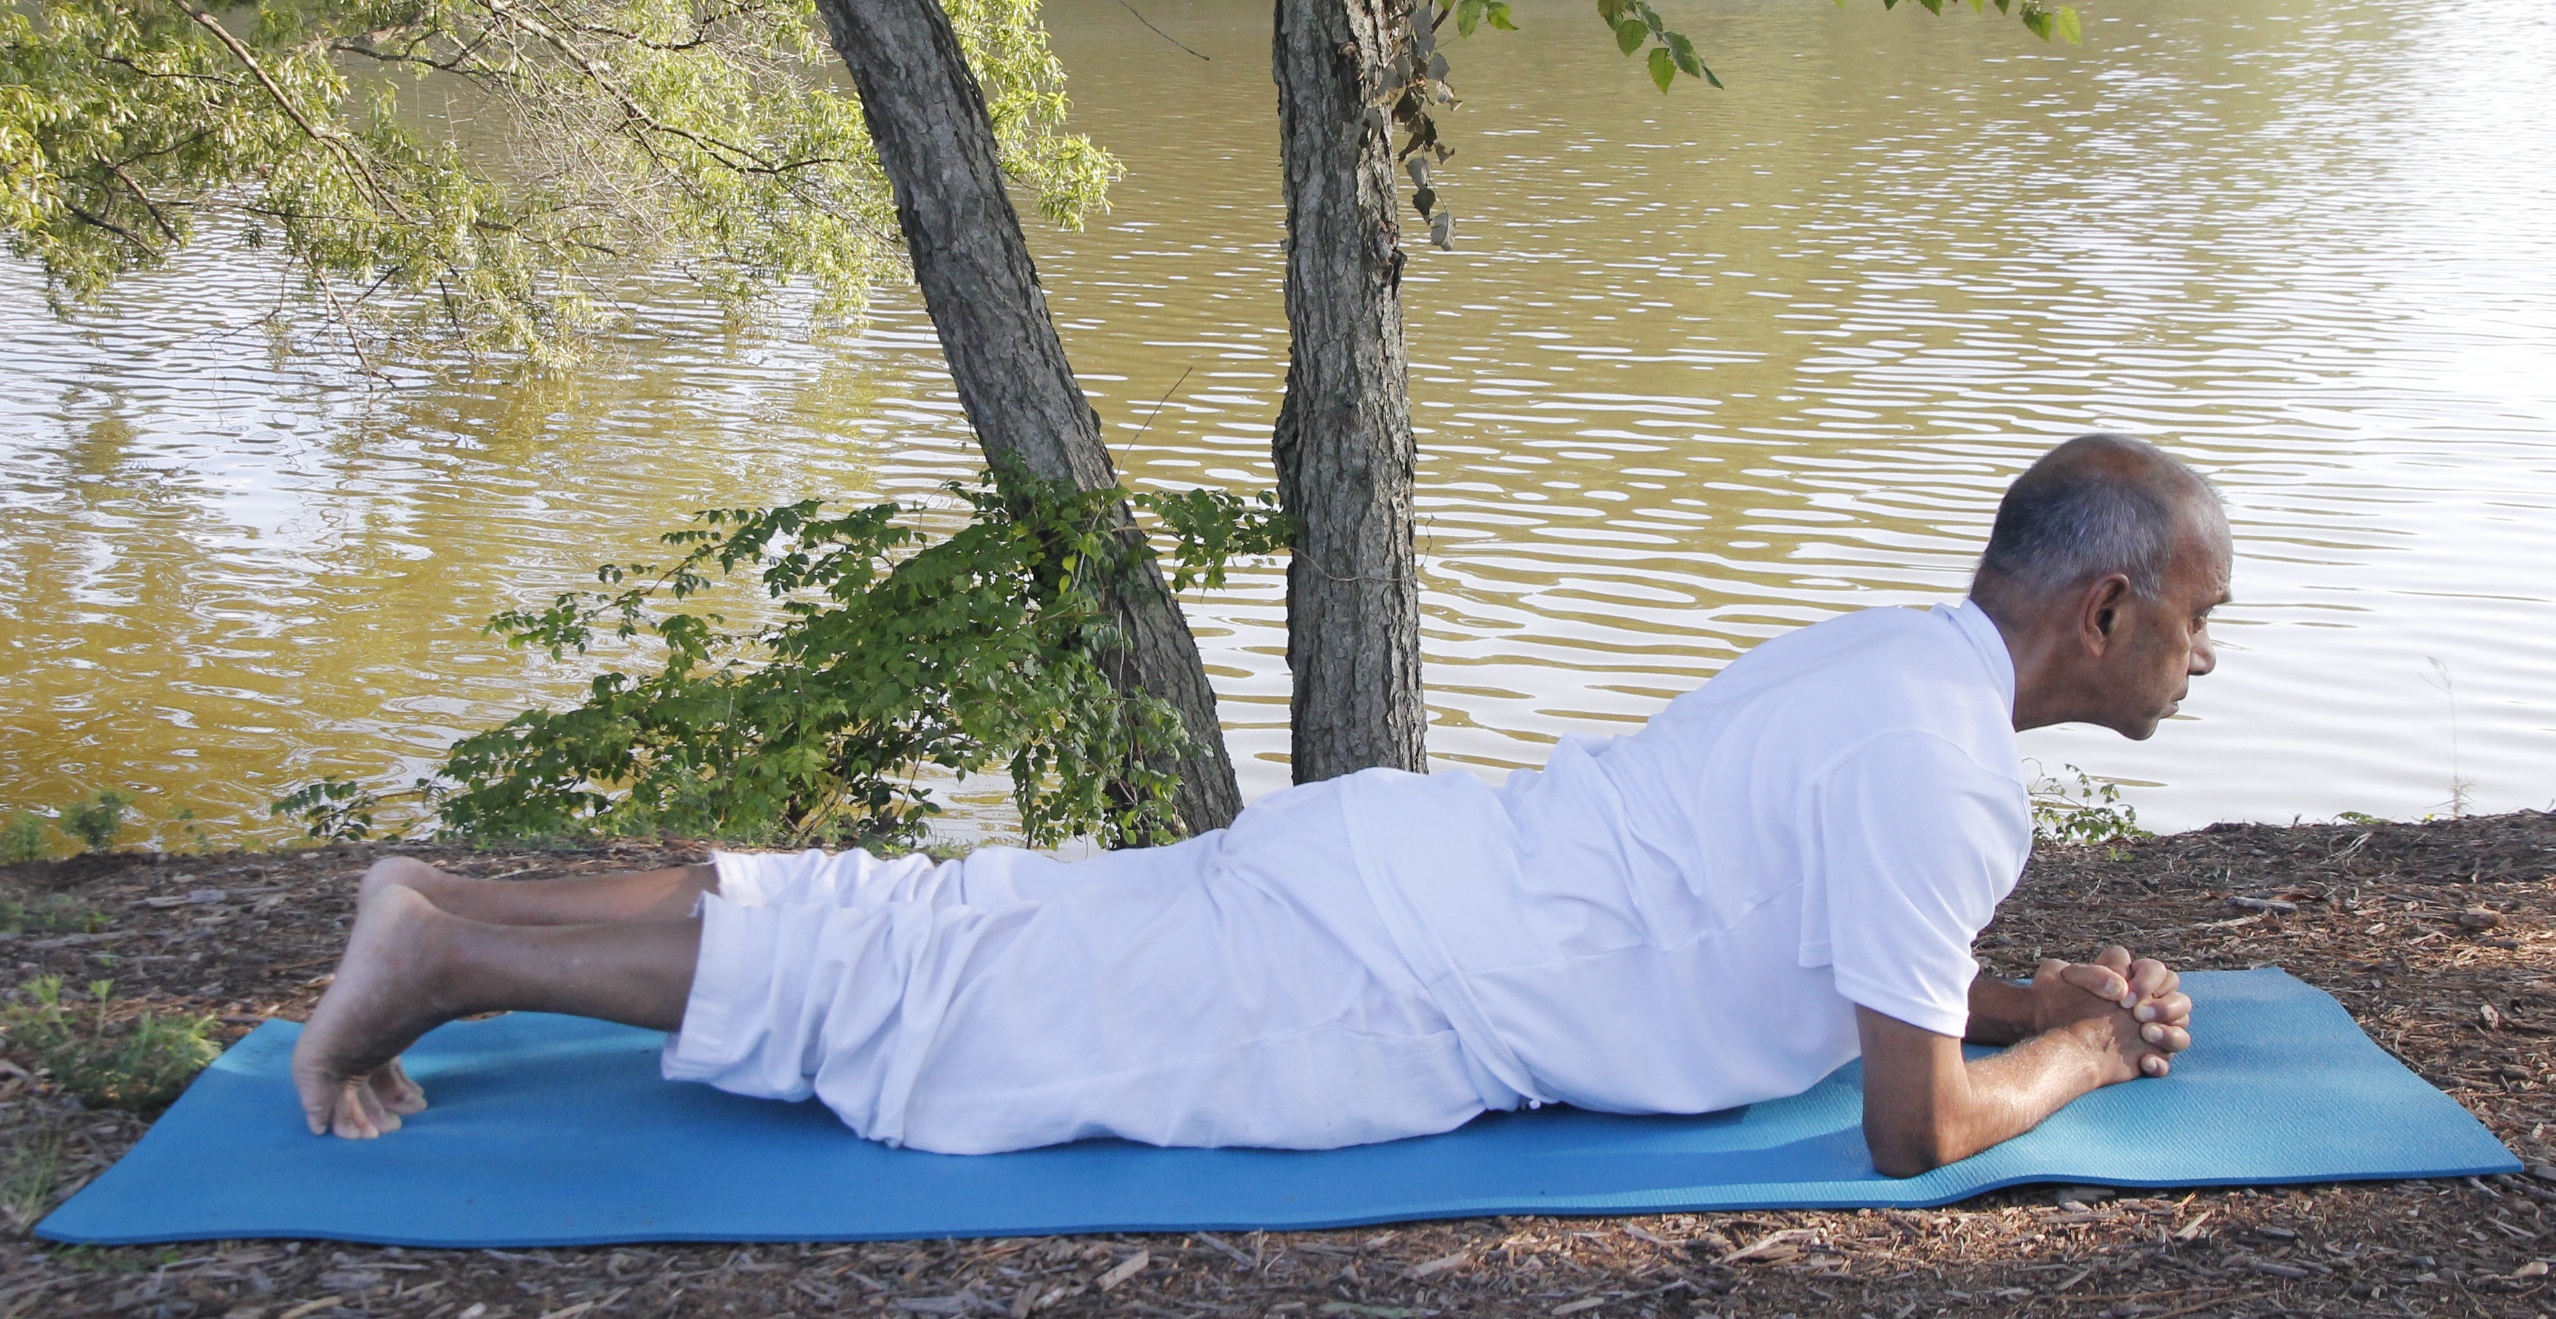
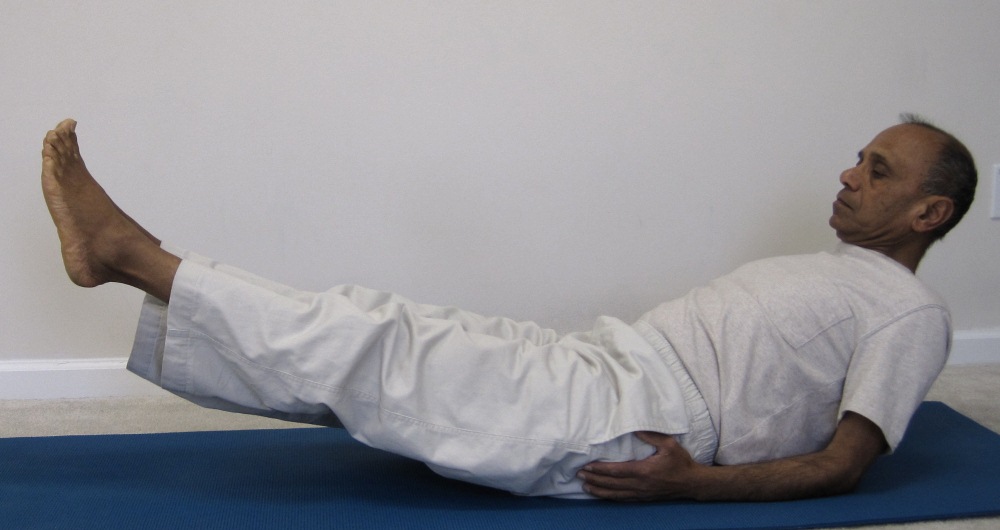
- First, we’ll do the movement with the support of the elbows on the ground. Sit up on the elbows and lift the feet above the ground, the same height as the head.
- Stay in the pose for about five or six breaths if you can. This is called the supported boat.
- Release the pose and relax for a moment.
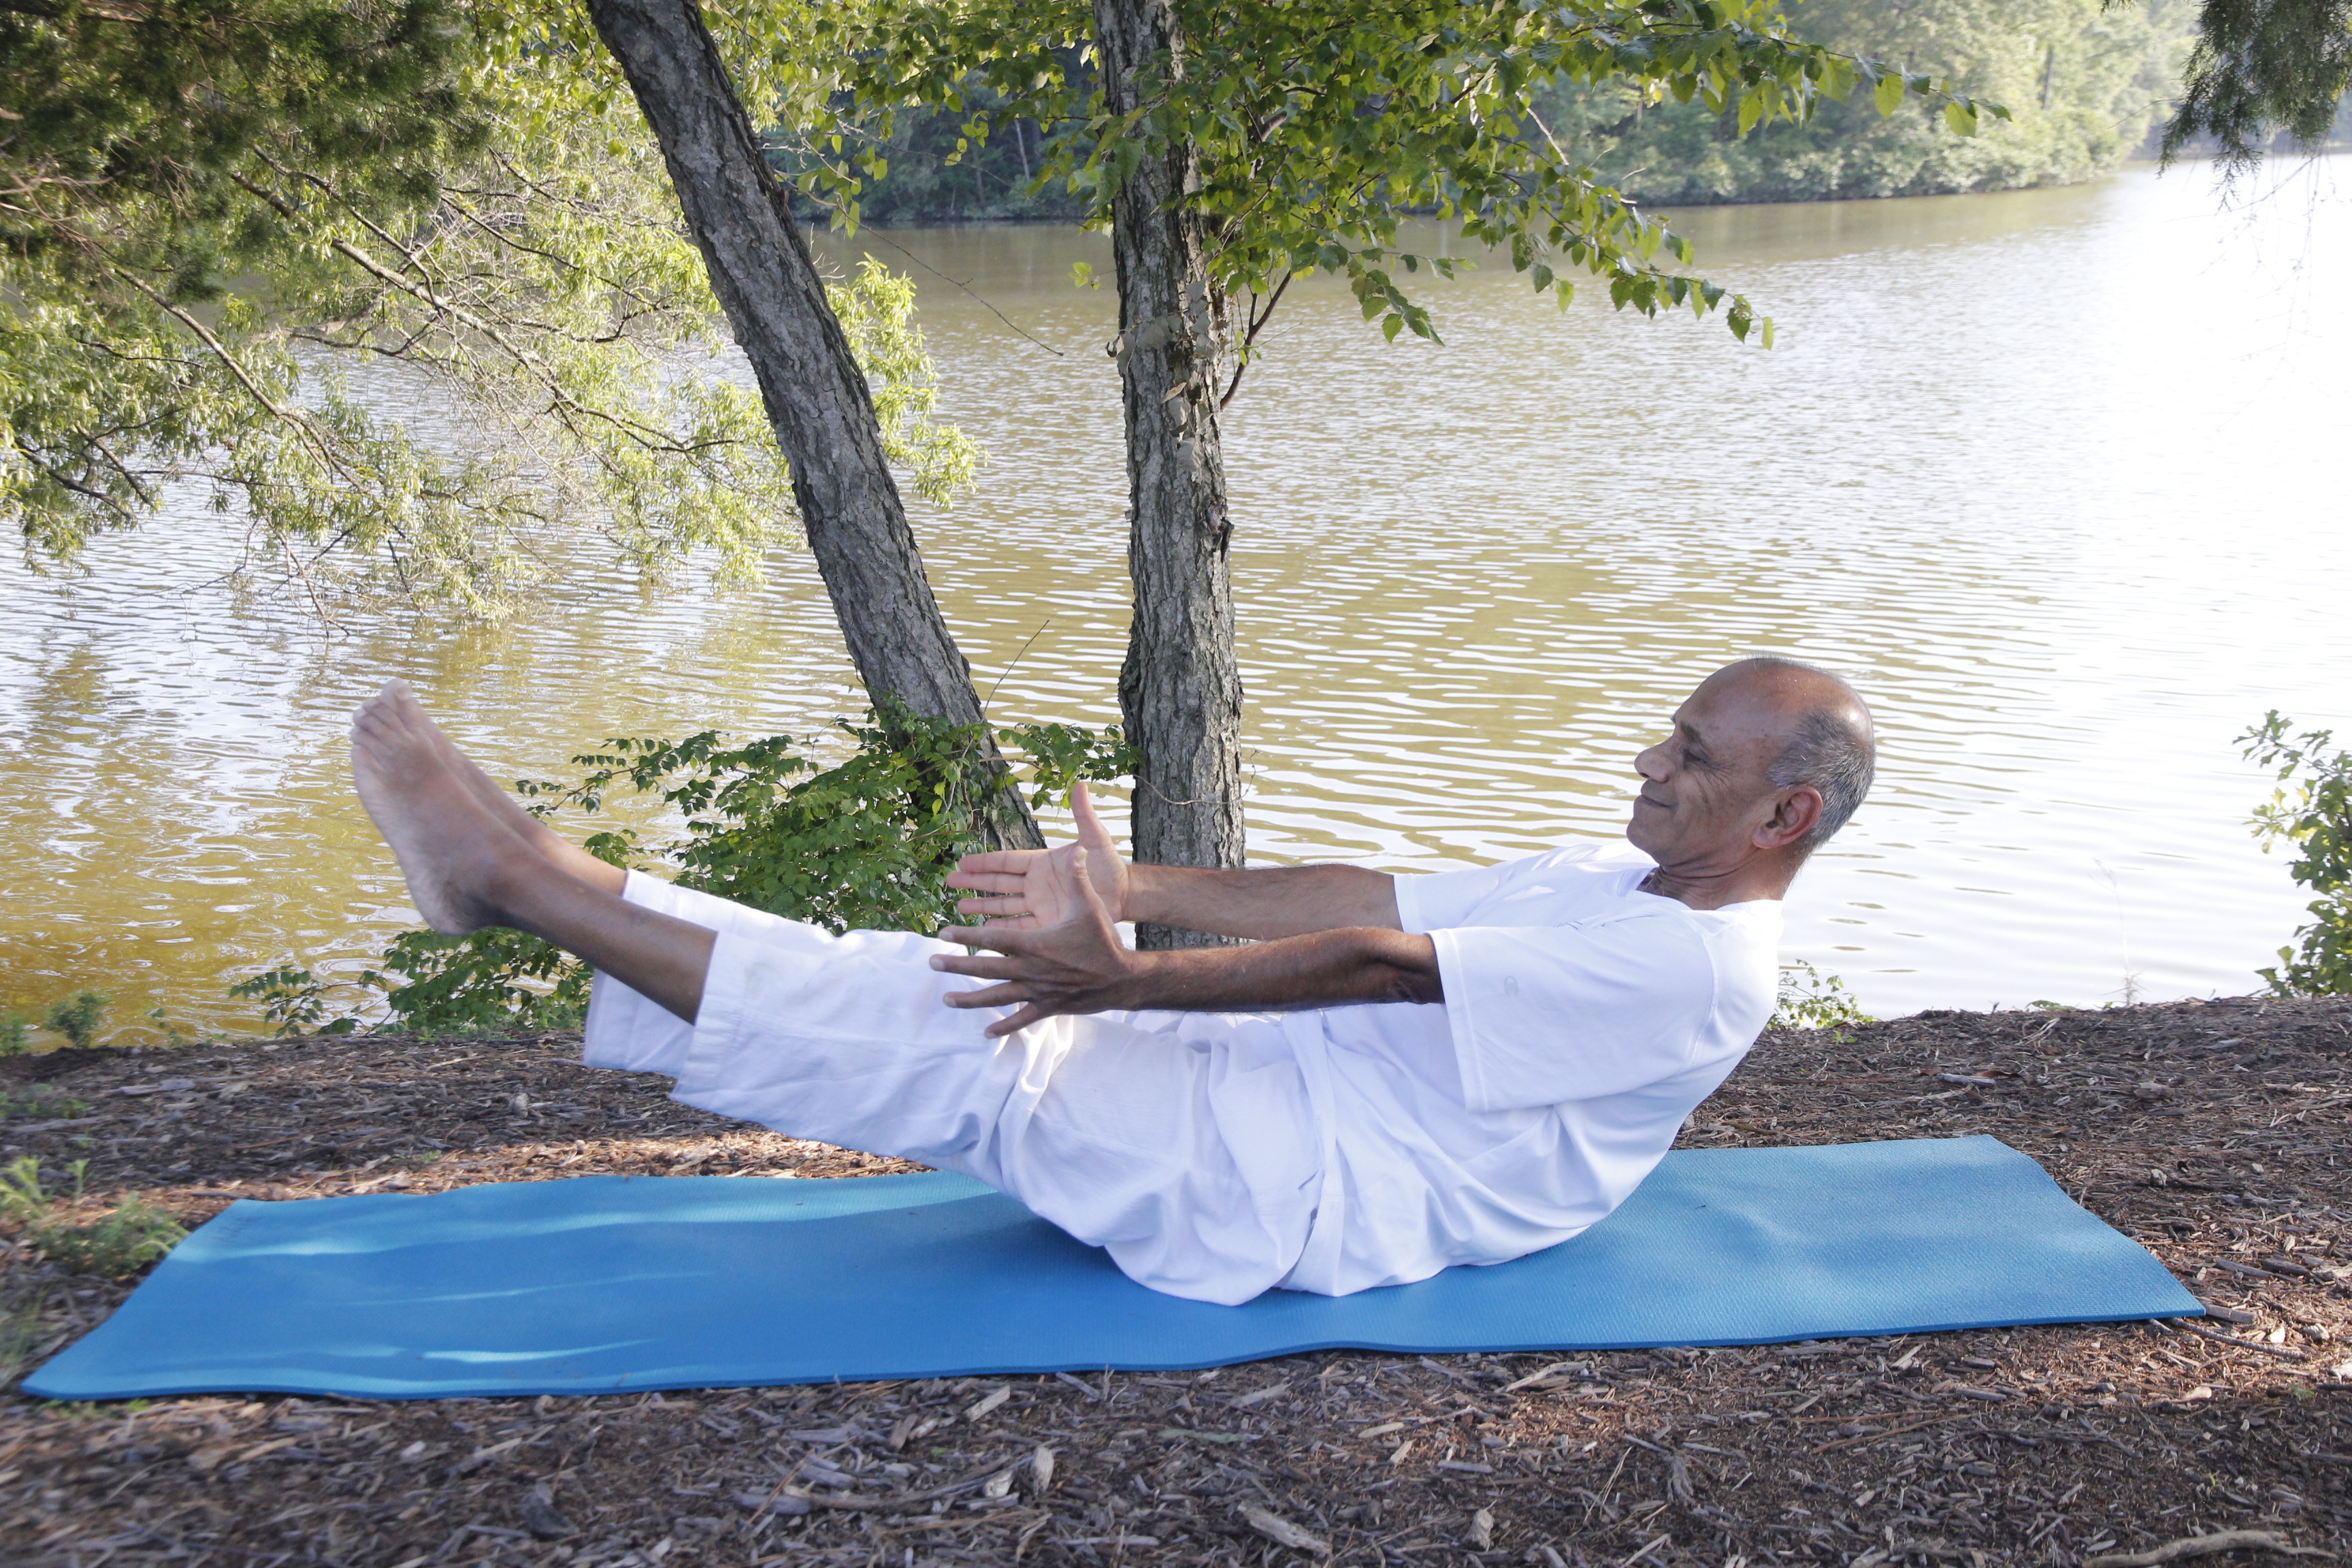
- Next, we’ll again come up into the boat but without resting the elbows on the ground. Come up into the boat with the head and the feet roughly the same height above the ground. Keep the legs straight and the arms straight in front. Arms are parallel to each other. Try to lift the head up and the feet up higher if you can. This is the final boat pose; stay in this pose for a few more moments.
- Finally release the pose and rest on the ground for a few breaths.
- Now, roll to your right side briefly. Pressing on the floor with the left hand, come back up to a sitting position.
Kakasana (crow pose)
- Sit up on the toes as we get ready for the kakasana (crow pose).
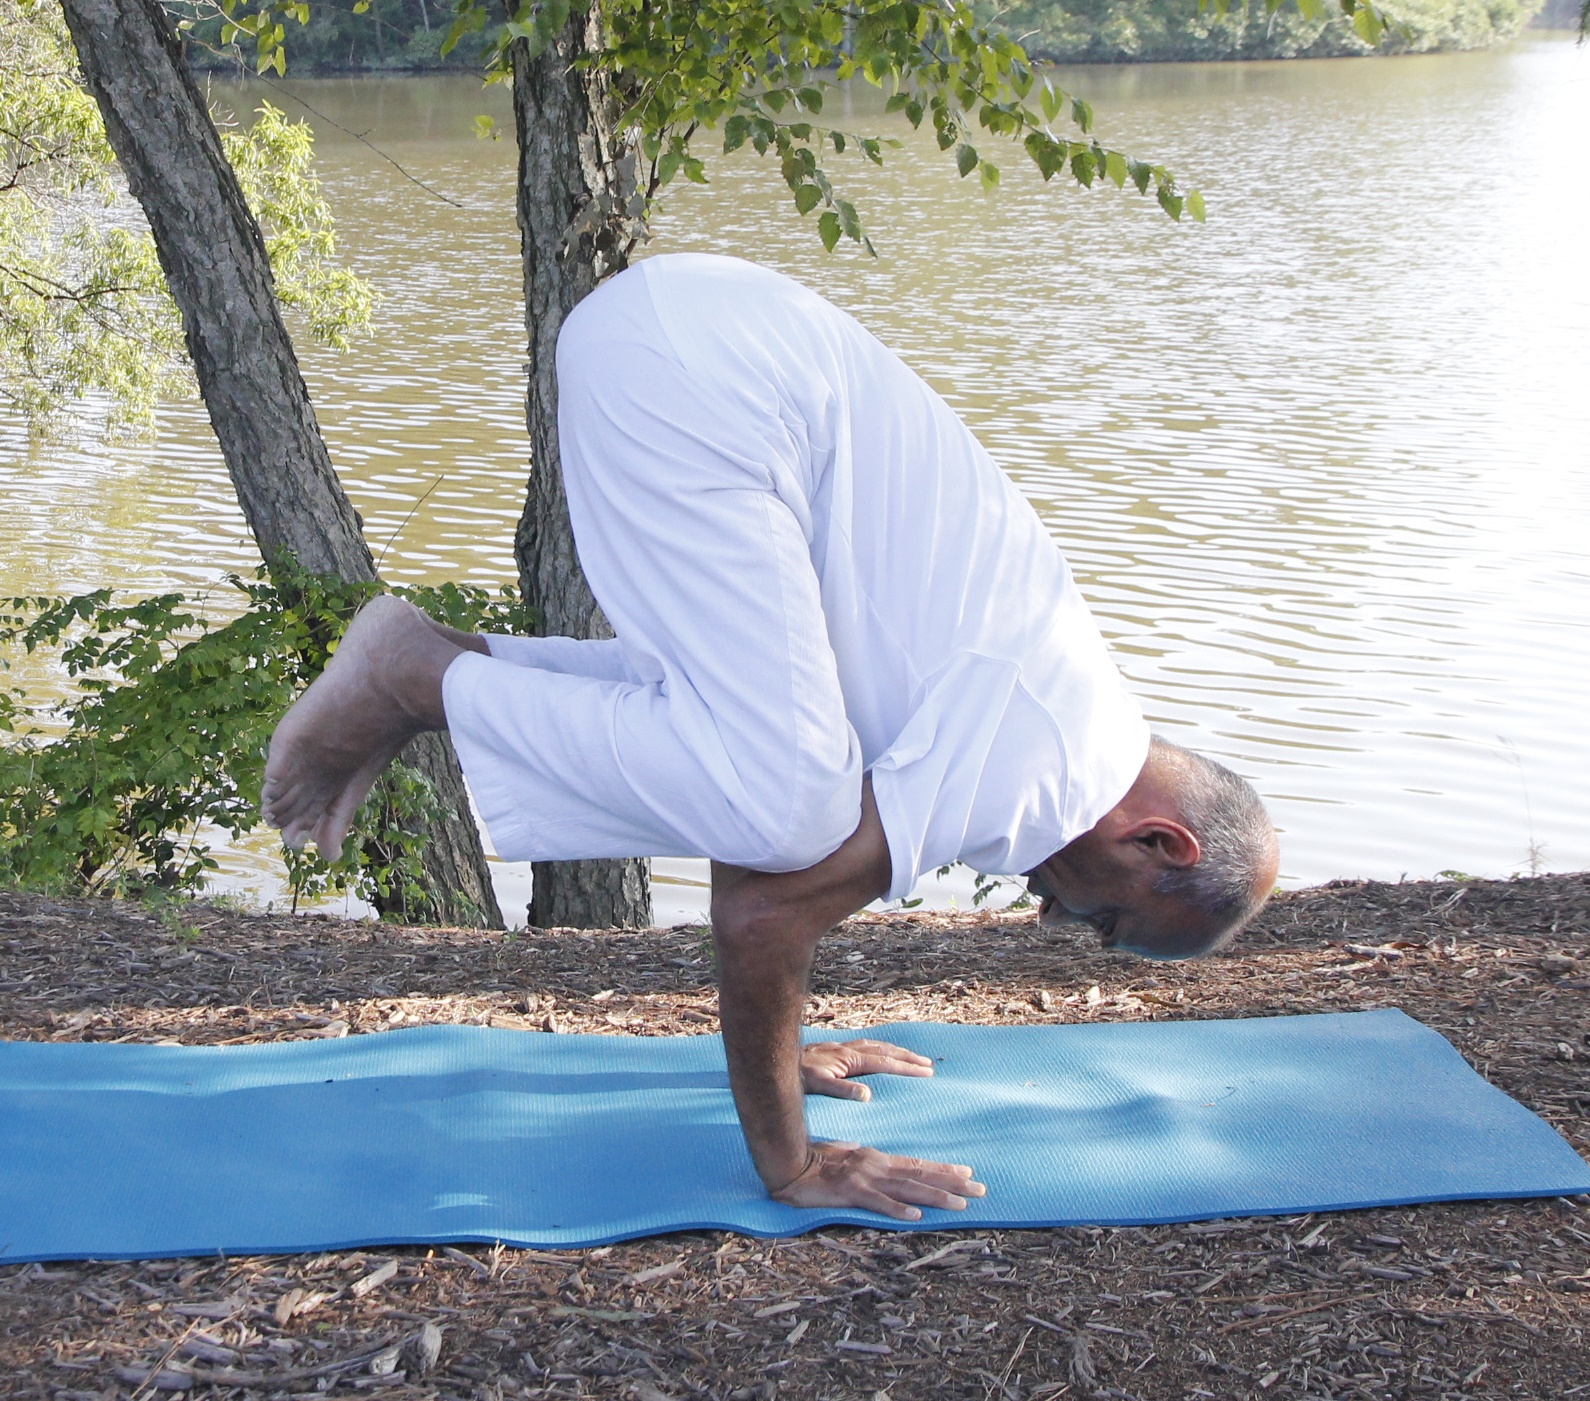
- We’ll start wit a few baby steps. Place the palms flat on the ground, about shoulder width apart. Come up on the toes and position the upper arms, just above the elbows, against the inside of the knees. Press the elbows against the knees from inside out while the knees press against the elbows.
- Begin to shift the body weight forward until the feet may lift off the floor slightly. Then bring the feet down. Repeat these moves a couple of times, each time lifting the feet off the ground very briefly and bring them down.
- Now, we’ll do a similar “baby move” lifting one foot off the floor, one at a time. Start by lifting the right foot up, keeping the other down and staying in the position for a breath or two. Then bring the foot down and repeat by lifting the left foot up. Repeat these moves one more time.
- Now we get ready for the final move of the crow pose. As before, keep the elbows pressing against the knees and the knees against the elbows.
- Begin to shift the body weight forward until the feet begin to lift off the floor. In the beginning, when you lift both the feet up, you may need to bring one foot down just for a little support. You may need to repeat this move a few times until you develop good stability. Once you feel that you have stability, the balance and the strength of the arms, you can lift both the feet up and stay there for a few breaths. You may even try to lift the feet higher so the heels come closer to the buttocks. Depending on your capability, you can maintain the pose for whatever duration you’re comfortable with.
- Finally, come down slowly and relax in the Sukhasana (cross-legged pose) with the eyes closed.
Benefits
- Strengthens the core, arms, shoulders, forearms, and the wrists
- Great stretch for the upper back, chest, hamstrings, quads and back of the wrists
- Improves mental focus, develops self-confidence and removes fear
Contraindications
As we notice, this pose can put a lot of pressure on your wrists, arms, shoulders and the core. So, avoid this pose or use caution when you have any of the following:
- Shoulder injury or shoulder pain
- Glaucoma, vertigo or dizziness
- Wrist pain, issues with carpal tunnel syndrome or arthritis in the wrist area
- Back pain or recent back injuries, or arthritis.
Recent Comments