Sarvangasana (shoulder stand)
Sarvangasana – सर्वाङ्गासन –
I hope you will enjoy practicing with the video demonstration.
Sarvangasana (shoulder stand)
Step-by-Step
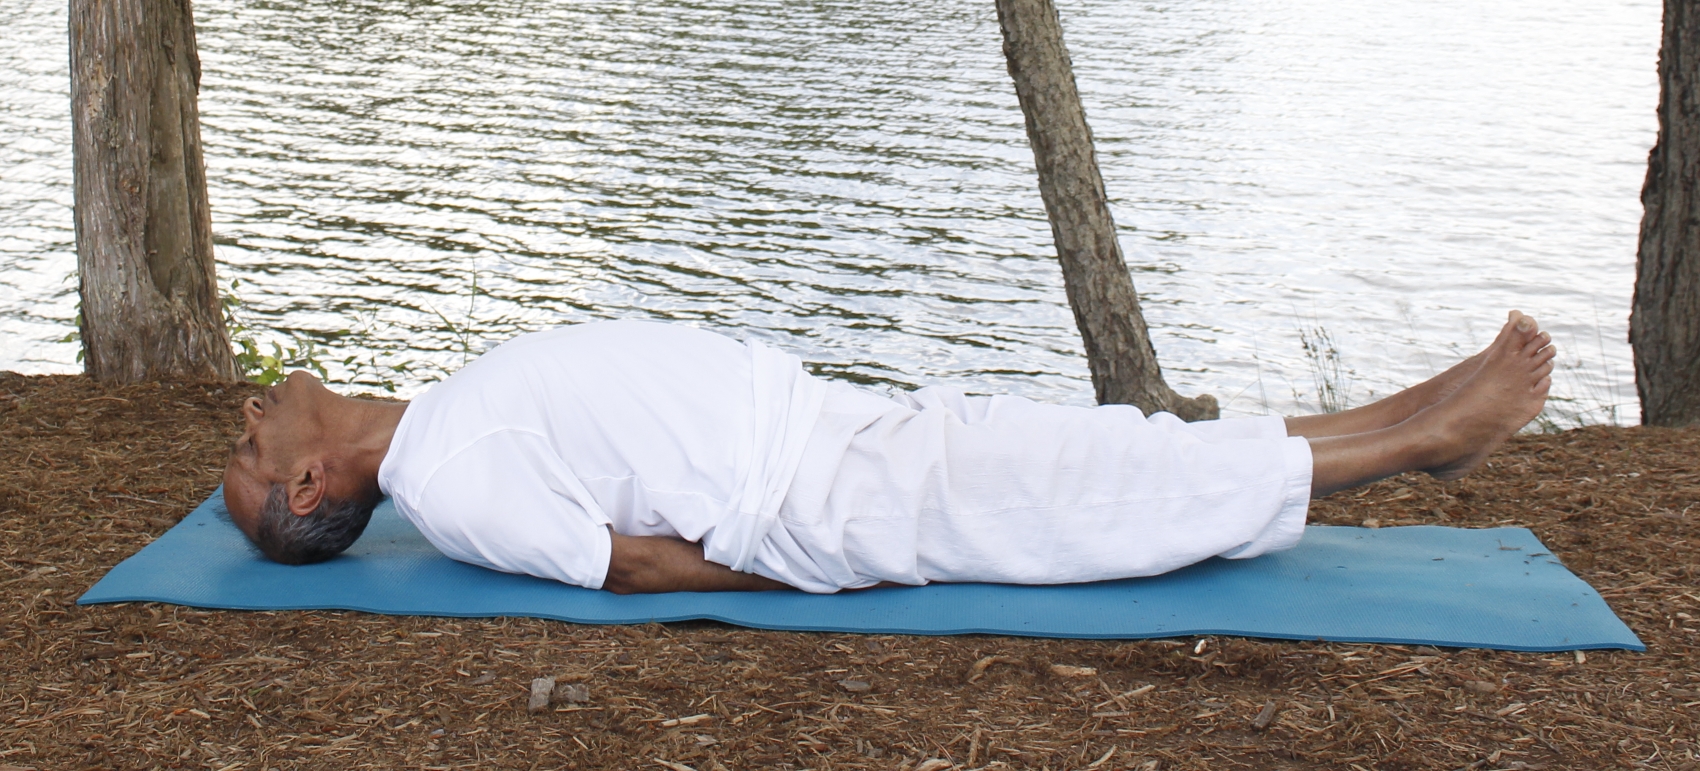
- Lie down on your back and relax for a few moments in Shavasana.
- Bring your feet together. Place the arms alongside the body, palms facing down.
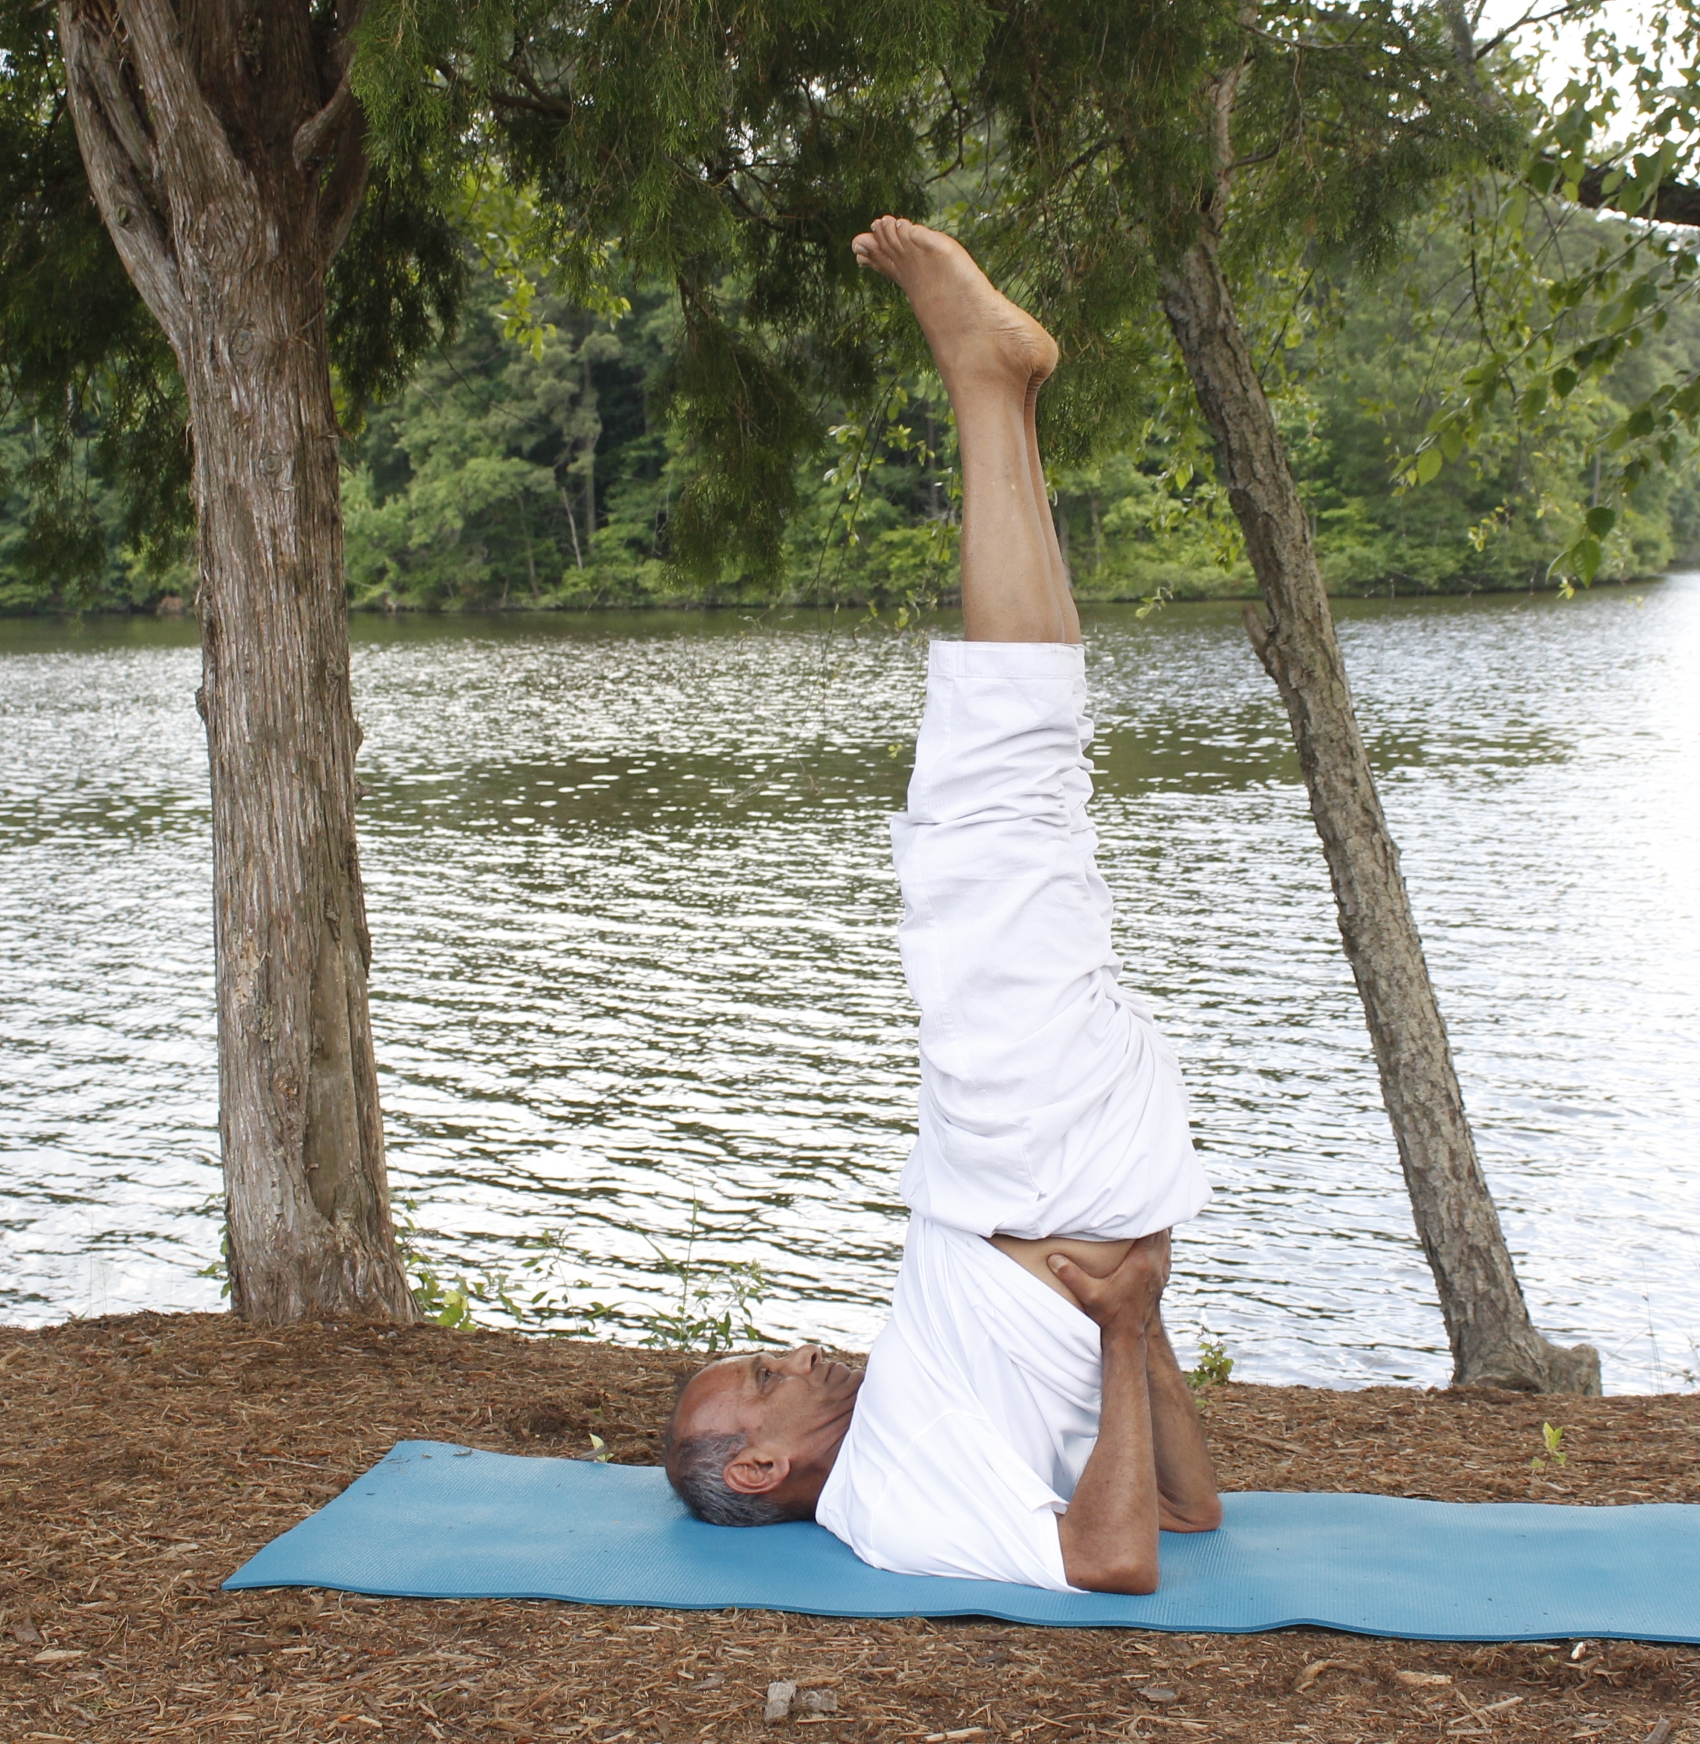
- Pressing with the palms, holding the breath, slowly raise the legs up to a 90 deg angle. Pause for a few seconds.
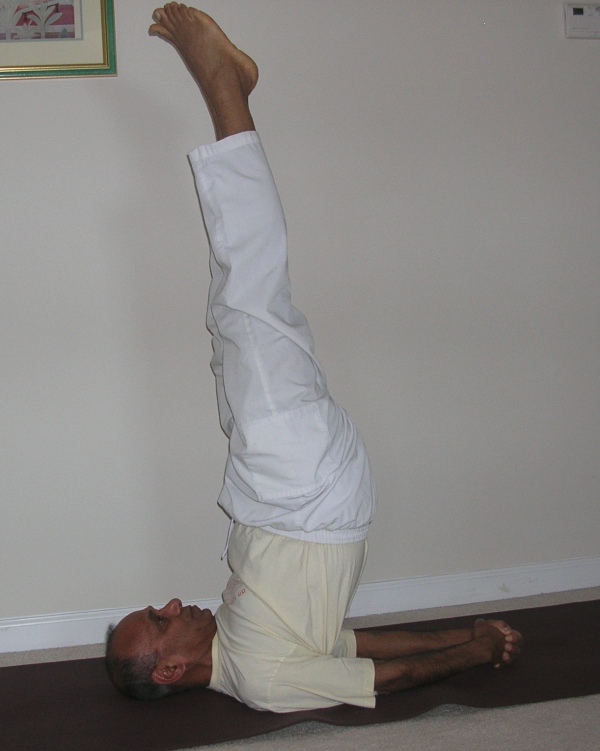
- At this point, pressing with the palms, lift your back and lower your legs overhead behind you until they are parallel to the floor.
- Try to keep the spine vertical and place your palms on the back, close to the shoulder blades, without widening the elbows.
- Use your hands to push the back forward with the result that it gets narrower and straighter and there is an increased pressure on your shoulders. At the same time, this requires more power of the muscles of the lower back. Rest your weight on the back side of the shoulders.
- Slowly raise the legs up to a full vertical position. In the final position of the pose, the heels, buttocks and the shoulders should be in a single vertical plane. The chest may make a soft contact with the chin.
- While maintaining the pose, keep the neck and shoulder muscles relaxed.
- After some time, try placing your arms a little lower in the direction of the shoulder blades on your back. See to it that the elbows do not stand too far apart. Breathe in and out quietly and try to find your balance.
- Experienced practitioners can try to hold the pose for about three minutes or even longer. However, if you feel any tension building up anywhere in the body, you may lower one leg at a time or lower both the legs slightly to release tension. You may even come out of the pose completely if you begin to feel uncomfortable in the pose.
- To come out of the pose, lower both the legs down overhead until they are parallel to the floor. Place the palms on the floor and keeping a gentle pressure with the palms, begin to lower the back, one vertebra at a time, to the floor. When the tailbone touches the floor and the legs are vertical, start lowering the legs down slowly. While coming down, try to keep the legs straight and avoid lifting the head off the floor.
- Finally, rest in Shavasana for some time.
Variations
More experienced practitioners can try some of the variations that I have demonstrated in the video. While practicing any of these variations, it is important that you do not compromise the comfort level of your arms, neck or the shoulders. Some of these could result in a much deeper level of stretch compared to the traditional sarvangasana. As such, you want to be extremely careful not to overstretch or cause any kind of strain to the body.
- You can try to spread the feet wide apart into a V-shape. Hold the position for a few moments. Then, while keeping the legs wide apart, you can attempt a full twisting stretch, twisting the legs in one direction and then the other.
- You may attempt lowering one leg overhead (behind you) while keeping the other leg vertical, holding this position for a few seconds, and then switch over to the other leg. You may repeat this sequence one more time.
- From the sarvangasana, bend the knees toward the chest and begin to make bicycle-like moves with the legs. You can do a few moves in one direction and then a few in the other direction. Finally, get back to the sarvangasana.
- You may attempt to get into the Padmasana (Lotus Pose) by placing one foot of top of the opposite thigh and then bringing the other foot also on top of the opposite thigh. You may hold the padmasana for a few moments. Now, you can try the same pose by switching the feet on the thighs. While in the Padmasana, you may like to bend the knees and bring them close to the forehead. This will give a nice, deep stretch to the back as well.
- Another variation that you can try is to get into the bridge pose from the sarvangasana. While still supporting the back with your palms, try to bring one foot to the floor and then the other foot as well to get into the bridge pose. Keep the hands supporting the back while you maintain the bridge pose for a few moments. To come out of the pose, you may again want to come up one foot at a time. You can go back to the sarvangasana for a moment.
- Finally, you may lower both the legs overhead in the full “halasana” or “plough pose”. In this pose, try to keep the legs straight and bring the feet as close to the floor as comfortable. You can keep the palms on the floor in line with the shoulders. If comfortable, you can interlock the fingers behind you, keeping the arms straight on the floor and the shoulders rolled back. This position actually resembles the plough (or plow) after which the pose is named. Maintain the pose for a duration that is comfortable.
- While in the supported pose with the palms against the back, try to release the hands down to the floor and continue to hold the legs vertical without the hand support. You may clasp the hands together behind you on the floor. This is called the “Niralamba Sarvangasana” or “Unsupported Shoulder Stand”.
Matsyasana (Fish Pose)

Matsyasana
Matsyasana (मत्स्यासन)
Step-by-Step
- Start in the Shavasana relaxation pose on the back.
- Bring the feet together and come up on the elbows
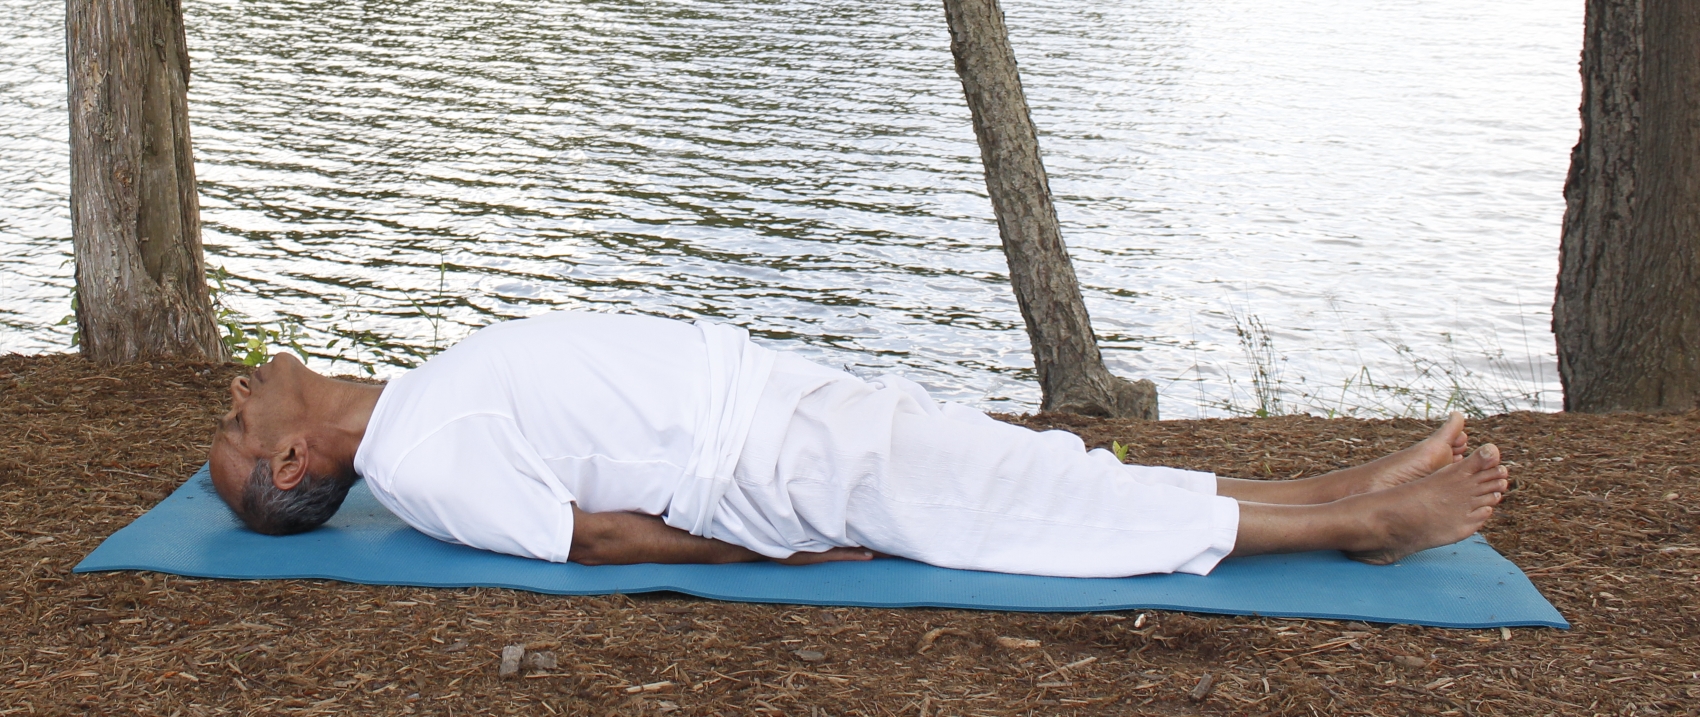
- Rolling the shoulder blades back, begin to raise the chest higher while at the same time lowering the head toward the floor. You may need to adjust the elbows in order to allow the crown of the head to make soft contact with the floor. In order to provide support for the spine, place the palms under the buttocks, facing up or down depending upon what feels more comfortable
- In the final position the chest is lifted high, the head is tilted back and you are looking at the wall behind you.
- While in the final Fish pose, you may lift the feet about 3-4 inches off the floor. This will provide additional stretch to the inner thighs, lower back and the abdominal muscles.
- You can maintain the final position for about 8-10 breaths, or as long as comfortable.
- To come out of the pose, come back up on the elbows and lower the chin toward your chest. Then very slowly, one vertebra at a time, lower the back to the floor. Finally rest in Shavasana.

Matsyasana (variation)
Benefits (Sarvangasana)
A detailed description of the benefits of Sarvangasana, taken from the book, "A systematic course in the ancient tantric techniques of yoga and kriya", by Bihar School of Yoga is available here.
- tones the legs, buttocks, back, and core muscles
- stretches the shoulders and improves flexibility of upper spine
- calms the brain / nervous system and helps relieve stress
- improves digestion
- massages and stimulates the thyroid, parathyroid and prostate glands thus improving metabolism
- massages abdominal organs and improves digestion
- helps relieve the symptoms of menopause
- flushes mucous from the lungs
- Helpful in relieving asthma, hemorrhoids, hernia, and diabetes
Contraindications/Cautions (Sarvangasana)
- neck or back problems
- heavy period of menstruation
- high blood pressure; if the blood pressure is controlled with medication, you may attempt the pose gradually, making sure that it does not cause an elevation in the blood pressure
- eye or inner ear infection
- pregnancy; if you have been a regular practitioner of this pose prior to getting pregnant, you may attempt the pose under the expert guidance of a qualified yoga teacher only. In general, however, pregnant women are strongly discouraged from practicing this pose.
- diarrhea
- Supported Sarvagasana is considered an intermediate to advanced posture. If you are new to Yoga, we recommend you start with the beginner variations suggested above and then gradually work your way towards the full variation.
Contraindications (Matsyasana)
Those suffering from peptic ulcers, hernia or a serious spinal problem should not practice the Fish pose without expert guidance. Ladies in advanced stages of pregnancy should also avoid this pose.
Benefits (Matsyasana)
- Matsyasana provides excellent massage to the abdominal organs, thus helping to alleviate digestive disorders
- The ribcage and the lungs are stretched which improves the breathing process. It helps those who suffer from asthma, bronchitis or other lung-related ailments
- The spine is stretched and the nerves in the neck, and the thyroid and parathyroid glands are influenced. Thyroid glands help improve metabolism and the parathyroid glands improve the calcium flow in the body, thus helping with the bones.
- Additional blood supply is provided in the pelvic region and the sexual glands which helps to revitalize these organs

Recent Comments