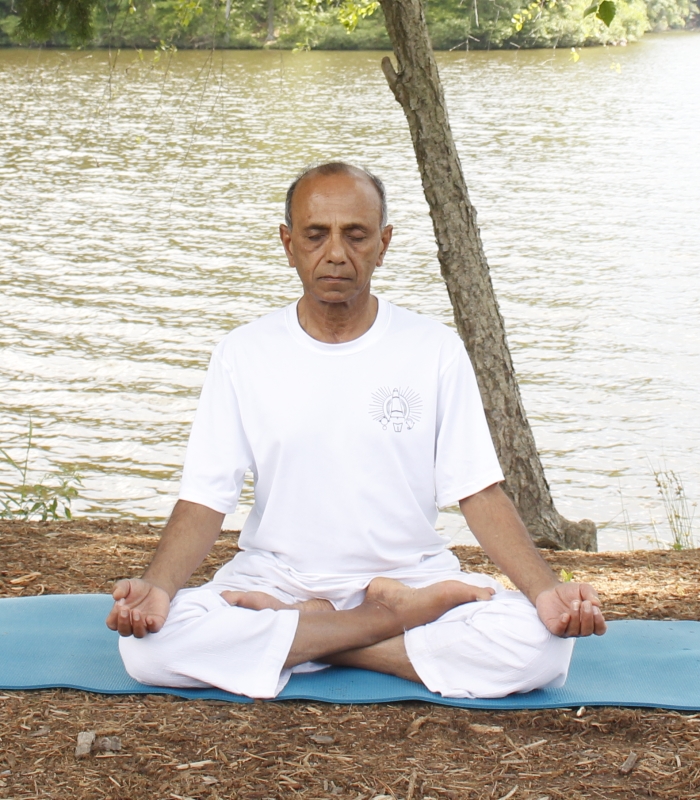
Padmasana (Lotus Pose)
When you see pictures of ancient yogis, most of them are shown meditating in Padmasana – पद्मासन
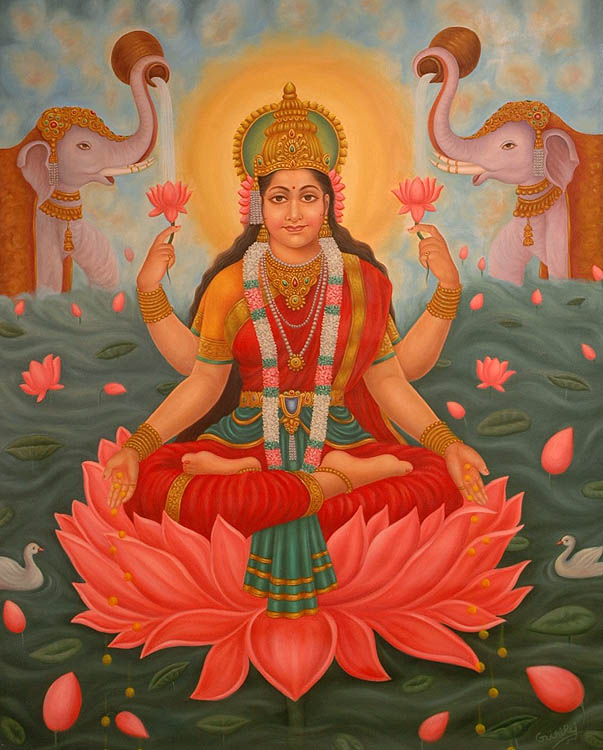
Goddess Lakshmi
In the Hatha Yoga Pradipika (HYP), Padmasana is one of the two meditative postures described, the other being Siddhasana.
After explaining what Padmasana is, HYP (chapter 1, sutra 47) states, "This is called Padmasana, the destroyer of all diseases. Ordinary people cannot achieve this posture, only the few wise ones on earth can". I find the statement rather intriguing as I don’t quite understand how or why wisdom has been tied to flexibility!
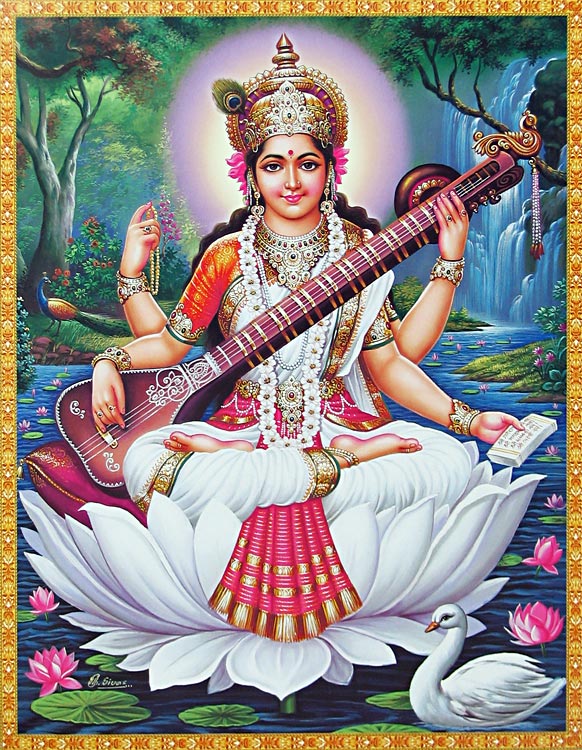
Goddess Saraswati
The word padma or kamala (lotus) has been used as a symbol of beauty and charm in ancient Indian literature. Beautiful women, especially those with beautiful eyes are often compared to the beauty of a lotus flower. You can come across these common names of Indian women – Kamalakshi or Kamalanayani (both meaning "one with eyes as lovely as a lotus), Padmavati (beautiful as a lotus) and many similar names.
Many of the Indian gods and goddesses are depicted in pictures sitting on lotus flowers. Some of these pictures also show the gods/goddesses themselves sitting in Padamasana. For example, in the pictures here are shown goddess Saraswati, the goddess of arts, literature, music and learning and goddess Lakshmi, the goddess of wealth and prosperity.
How to prepare for Padmasana
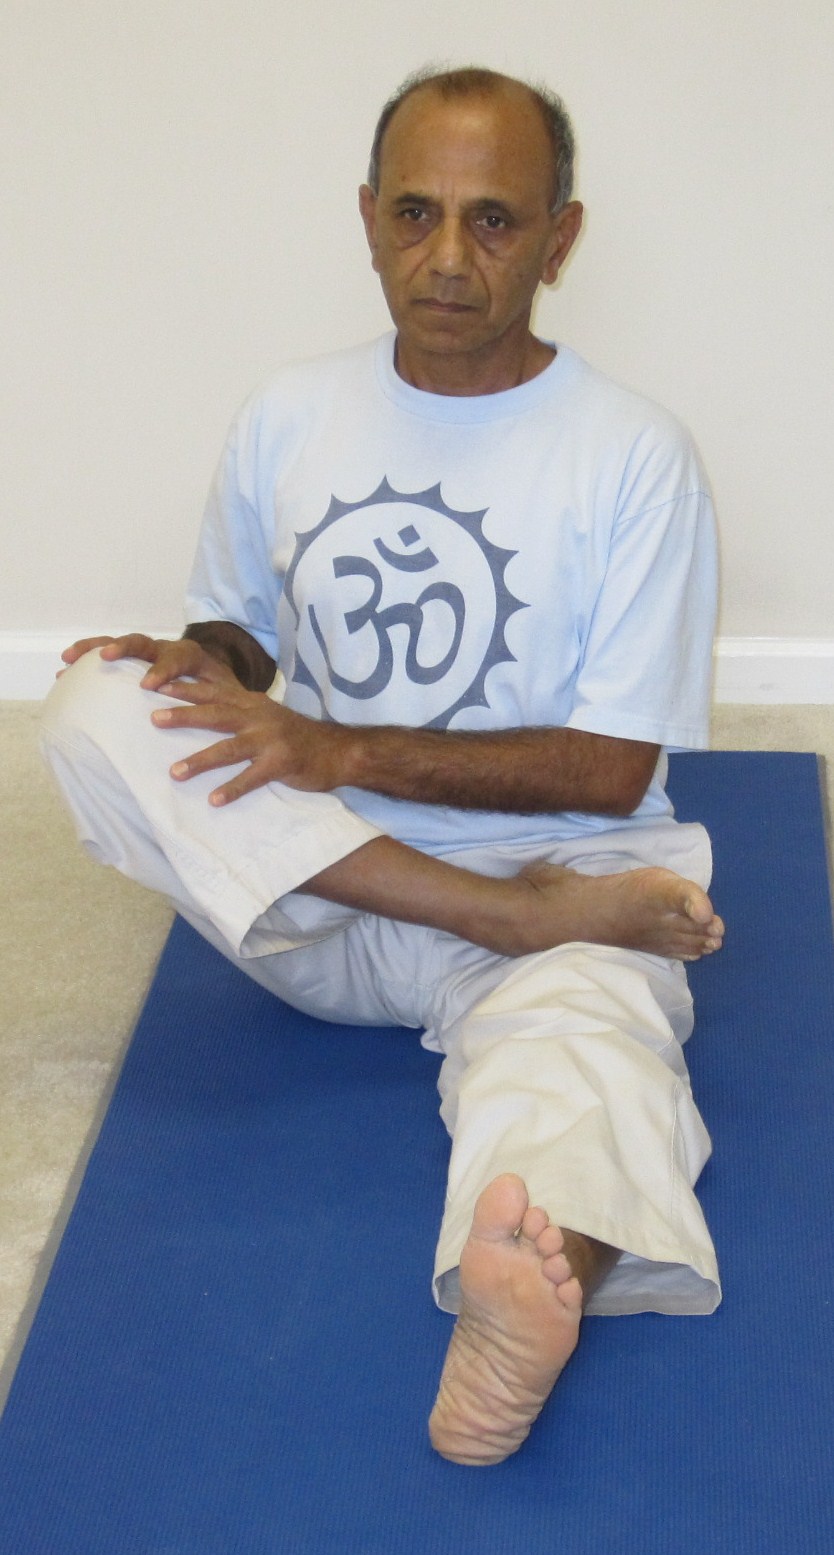
Half butterfly – 1
Padmasana, in general, for most people is a challenging pose. In the olden days, before the advent of chairs and tables, people used to sit on the floor for everything. As a result, there hips, knees and ankles were naturally fairly flexible. It was easier for them to develop the capability of sitting in the Lotus pose. These days, on the other hand, we are so used to sitting in chairs, that our hips and knees become very stiff over time. As a result, it takes extra effort to develop the required flexibility to sit in Padmasana.
I am presenting below some of the asanas or stretches that can be done to open up the hips, knees and the ankles so we can start working on Padmasana.
Seated hip rotation and half butterfly

Half butterfly – 2
Step-by-step
- Sit on your mat with the legs stretched out in front and the spine tall and upright.
- Fold the right leg and place the top of the right foot on the left thigh. Try to pull the foot close to the crease of the thigh.
- Thread the fingers of the left hand through toes of the left foot and hold the right knee with the right hand.
- With the help of the right hand, start making circles at the right hip joint by gently pushing the knee forward, then down close to the floor, then pulling it backward and lifting it up, bringing the knee back to the original starting position.
- Continue in this manner for 5 to 6 rotations in one direction. Pause for a moment and then reverse the direction of hip rotation. Again do about 5 to 6 rotations in the other direction.
- After a small pause, push the right knee down with the right hand and lift it back up. Continue in this butterfly move for about 8-10 rounds. Try to keep the movement rhythmic, smooth and continuous.
- Now, switch over to the other side and repeat the same moves – hip rotations and half butterfly, with the other knee.
- In all the moves, make sure that there is no pain felt during or after the moves are completed.
Full butterfly
- This pose stretches both the lower back and the inner thigh and hip areas. It also gives a good stretch to the knee joints.
- Join the soles of the feet together and pull the heels as close to the body (the pelvis) as comfortable.
- Join the hands together and interlock the fingers across the toes of the feet. This is called Baddha-konasana (bound angle pose).
- Holding the toes, lean the body forward, keeping the spine elongated. With the arms, you may attempt to push the legs and the knees down toward the floor. Hold the position for 4-5 breaths and come back to the original position with the spine vertical.
- Keeping the spine upright and tall, begin to make gentle, rhythmic moves with the knees up and down. The objective is to try to bring the knees as close to the floor as possible without causing any pain.
- Repeat the butterfly moves for about 8-10 times. Pause for a couple of breaths and then repeat the same moves one more time 8-10 times.
Seated cradle moves
Step by step
- Sit on your mat with the legs stretched out in front and the spine tall and upright.
- Fold the right leg and place the sole of the right foot on the inside of the left elbow. Wrap the right arm around the right knee and hold the left hand. Try to pull the foot and the right leg upwards and as close to the chest as possible.
- In this position, gently begin to rock the body side to side, as if rocking the cradle of an infant.
- Pause after 5-6 rotations. Repeat the above moves with the other leg also 5-6 times.
Kapotasana (Pigeon Pose)
Kapotasana is an excellent pose for developing flexibility in the hips and the knees. Please visit my earlier blog post on this asana where I have discussed the procedure in detail.
Practicing the Lotus Pose (Padmasana)
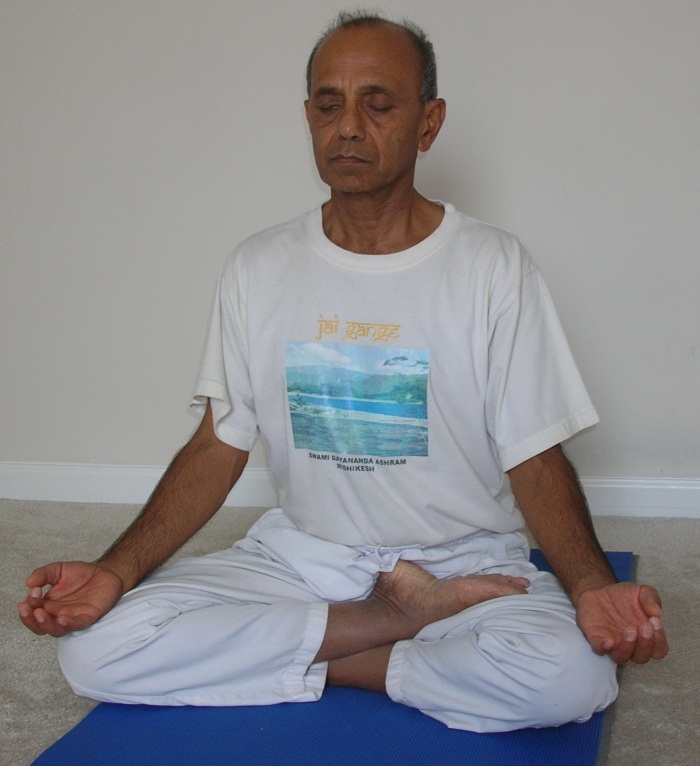
Ardha Padmasana (Half Lotus)
Before getting into the full lotus, it is a good idea to attempt the half lotus for some time.
- Start in the cross-legged seated position. Lifting the right leg with the hands, position the right foot on top of the left thigh. Try to bring the heel in close to the groin area with the toes extending slightly beyond the right thigh, if comfortable. The left foot remains positioned under the right thigh, as in Sukhasana (comfortable pose). Allow both the knees to release closer to the floor.
- After staying in the pose for about 5-6 breaths, reverse the position of the feet and stay in the half lotus on the other side for 5-6 breaths.
- To practice the full lotus, with the left foot still on top of the right thigh, bring the right foot out from under the thigh and position it on top of the left thigh. In the final position, the effort is to bring both the knees down close to the floor. Try to keep the spine erect and vertical, if possible. Relax the hands in your lap, one palm resting on the other. Alternately you can place the hands on the knees in what is called the "chin-mudra", with the index finger and the thumb touching and the palm facing up.
- Stay in the pose for 8-10 breaths and then switch the legs around and sit in Padmasana on the other side for 8-10 breaths.
- As in the practice of any asana, it is imperative that you don’t over-stretch any part of the body. As mentioned above, this can be an intense pose for someone with tight hips, knees or ankles. By practicing the preparatory poses given above, try to build the capability to sit in Padmasana gradually.
- Over a period of time, you can build the capacity to sit in the pose for the entire duration of your pranayama/meditation practice.
Benefits
- As per Hatha Yoga Pradipika, practicing Padmasana can relieve us from all ailments – physical, mental, emotional etc.
- The pose helps stabilize the body. It is a perfect pose for meditation as the spine naturally tends to stay erect in the pose.
- The pose helps develop calmness of the mind and reduce stress levels.
- Due to the restricted blood flow to the legs, there is additional blood available to tone the abdominal and pelvic area.
Contraindications and cautions
- Avoid the pose if you any kind of ankle, knee or hip injury.
- Practice the preparatory poses mentioned above regularly to develop the flexibility required for Padmasana.
Recent Comments