In the Integral Yoga tradition, the style of yoga that I practice and teach, Yoga Mudra is practiced as the last asana in the asana segment of the full yoga routine. Through this asana one tries to reflect back on the experience and impact of the entire asana session just completed. The word "mudra" can be loosely translated as a gesture, an expression or a seal. You may be aware of the various hand mudras that are practiced in yoga. For example, in the practice of Nadi Shuddhi (Anuloma Viloma or alternate nostril breathing), we use the Vishnu Mudra. A mudra not only expresses an inner feeling or an attitude but can also influence the physical and mental state of the practitioner. Through the practice of Yoga Mudra asana, we try to become aware of our physical and mental state as a result of the asana practice.
There are several variations of this asana that are commonly practiced. I will start by describing the most basic and common form of this asana and then move on to describe some of the variations.
Step-by-Step
Basic Yoga Mudra
- Sit in the easy cross-legged position (Sukhasana) making sure the body feels comfortable and relaxed.
- Close the eyes and take a few easy, natural breaths. Try to reflect upon the experience of the asana session, on the extra energy (prana) generated in the system.
- Take your hands behind the back and lightly hold the right wrist with the left hand.
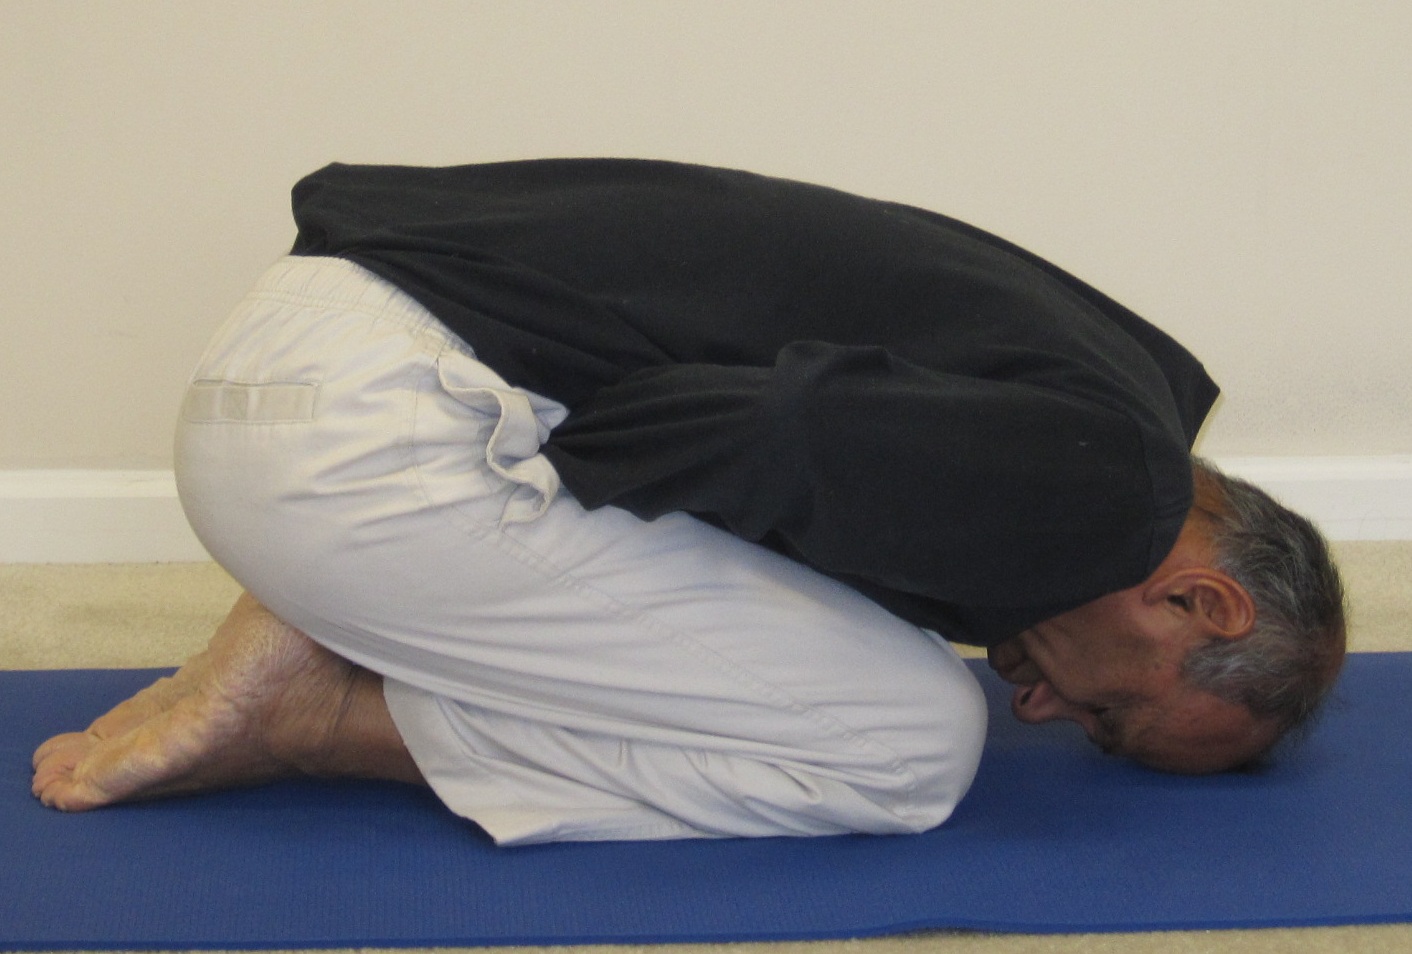
- Take a deep breath in and while exhaling slowly, begin to bend forward. Try to bend at the waist so the spine remains unrounded. Bring the forehead down as far as comfortable, trying to reach the floor.
- If you are comfortable bringing the forehead to the floor, you may like to try and extend your chin out and place the chin on the floor.
- Stay in the final pose for about 6-7 breaths.
- With the next inhalation, slowly begin to come back up keeping the movement synchronized with the breath.
In the Integral Yoga class, we practice the above routine only once. Some yoga texts recommend repeating this asana a few more times.
Variation 1
In this variation, we sit in the padmasana (Lotus Pose) instead of the Sukhasana (Easy cross-legged pose). Of course, this variation applies only if you are very comfortable in the padmasana. Even though you may be able to sit in padmasana, it is possible that the additional stretch to the knees, ankles, thighs and hips may make it very difficult to bend forward. Avoid this variation if there is any pain or discomfort while going into the forward bend position.
The rest of the steps are the same as in the basic position above.
Variation 2
Here, we sit in either the easy cross-legged pose or the lotus pose but change the position of the hands.
Make a fist with the two hands and join the fists at the lower part of the abdomen. If you are in the padmasana, place the fists between the heels and the abdomen.
The rest of the steps are the same as in the basic position.
Variation 3
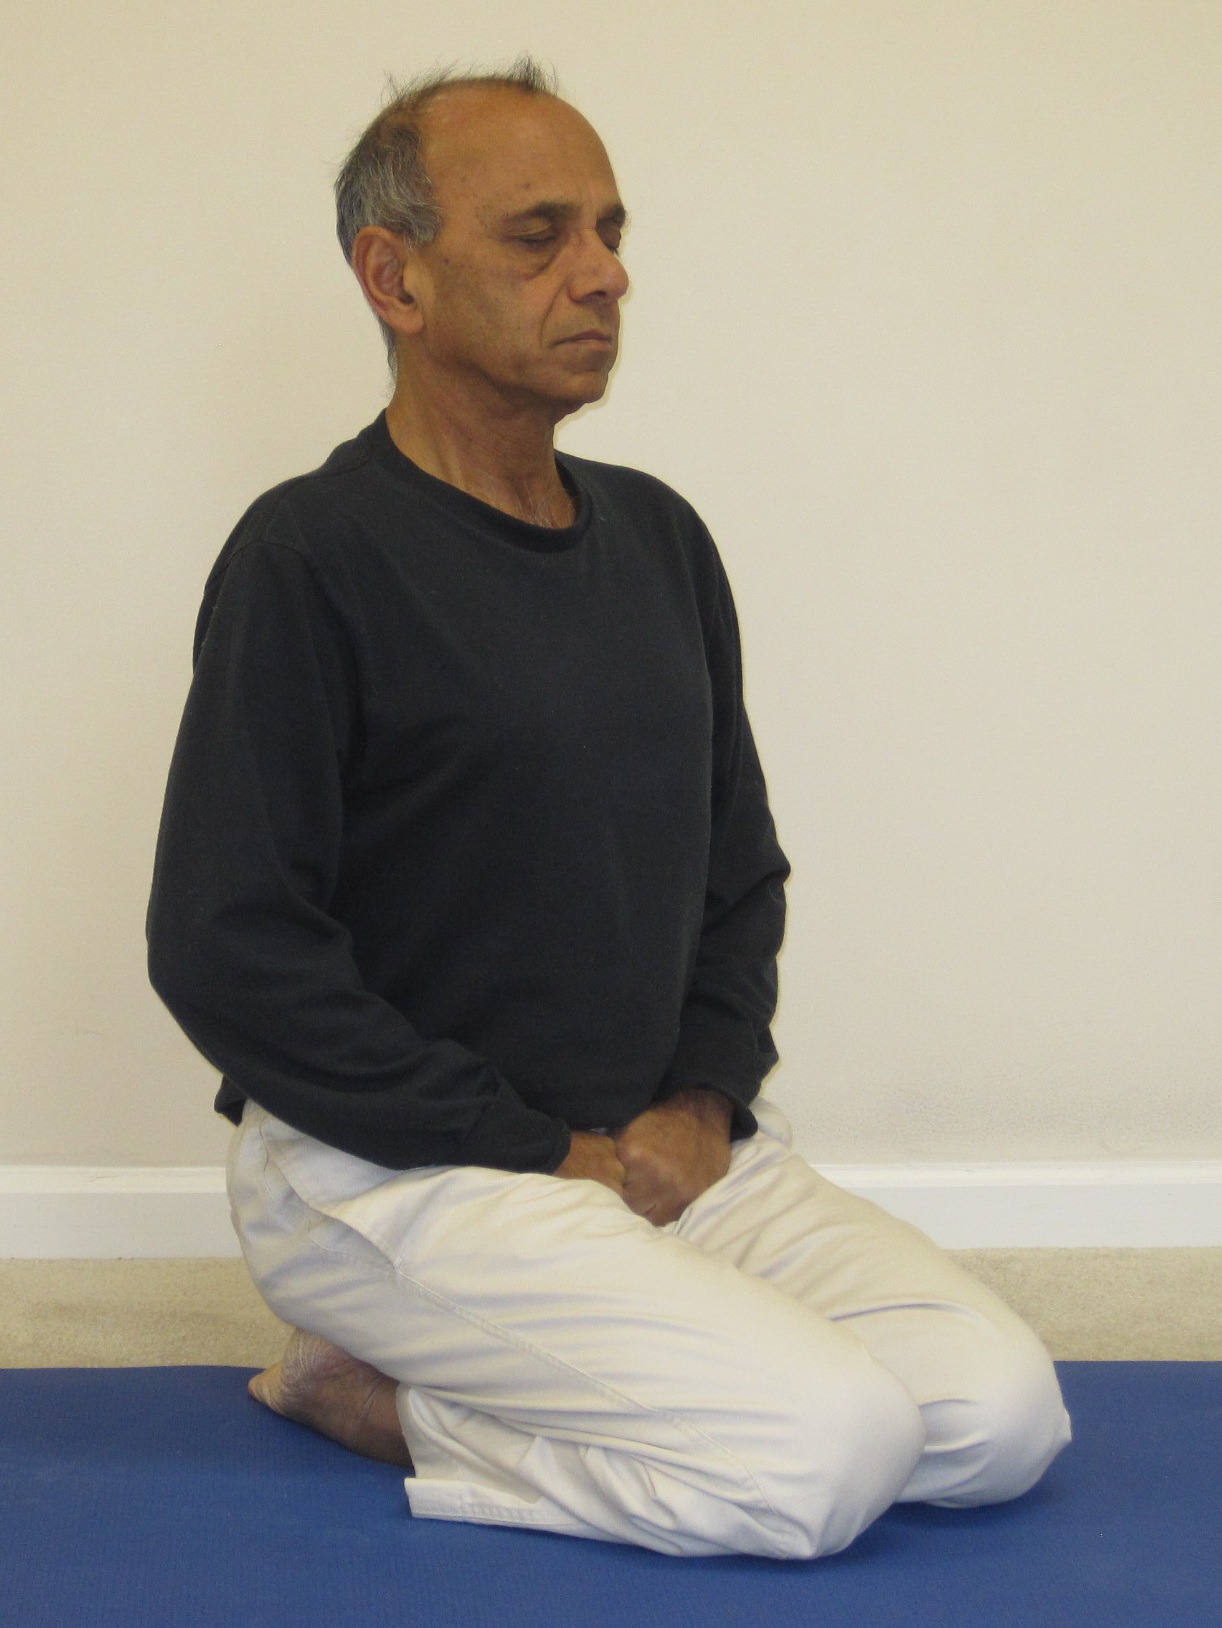
In this variation, we sit in the Vajrasana (Diamond Pose). There are three different options for the position of the hands.
Option 1: Keep the hands behind the back, lightly holding the right wrist (same as the basic pose above).
Option 2: Join the palms behind the back, interlock the fingers. While bending forward, pull the hands back and raise the arms up, rolling the shoulders back so that the hands are pointing to the ceiling.
Option 3: Make a fist with the two hands and join the fists at the lowest part of the belly, keeping the thumbs pointing inward. This is also called the Madukasana (Frog Pose).
The rest of the steps are the same as in the basic position.
Variation 4
This option applies to all the variations mentioned above. Here, in the final position, after completing the exhalation, try to hold the breath (Kumbhaka) for a duration that feels comfortable. At the end of breath retention, begin to come back up slowly with a slow inhalation.
General Guidelines
- Try to synchronize the breathing with the physical movement of the body, exhaling while going down and inhaling while coming up. Try to maintain slow and smooth breathing resulting in slow and smooth movement of the body.
- At no point should you stretch more than what feels comfortable. If at any time your spine, knees or thighs begin to complain, take a step back, relax the pose or just come out of the pose.
- It is a good idea to do some gentle leg and knee stretches before getting into the yoga mudra pose. Half and full butterfly are very good preparatory exercises.
- After completing yoga mudra, try not to stretch the legs straight right away. Do a few gentle knee bends with the legs in front and then stretch the legs.
Benefits
- Massages the abdominal organs like the liver, pancreas, intestines etc and helps remove ailments like constipation and diabetes
- Restricts blood flow to the legs and diverts it to the abdominal and pelvic region that helps to improve these organs.
- Helps alleviate various kinds of sexual disorders
- Releases pressure from the spinal nerves and provides a great stretch and massage for the spine
- Improved nervous health helps improves communication between the brain and every cell of the body
- Improves flexibility of the hips, knees, thighs and the ankles
- Relaxes the whole body and mind. It is a great prelude for the practice of pranayama and meditation
Contraindications
- If you suffer from sciatica, uncontrolled high blood pressure, or any type of serious abdominal ailment, you should consult your doctor before attempting yoga mudra
- If you have any problem with your knees or hips you should avoid this pose
- In case of back pain, avoid going too deep into the pose. A gentle forward stretch in this pose may actually help with the low back pain.
Does your yoga practice include Yoga Mudra? I would love to hear your experience with the pose.
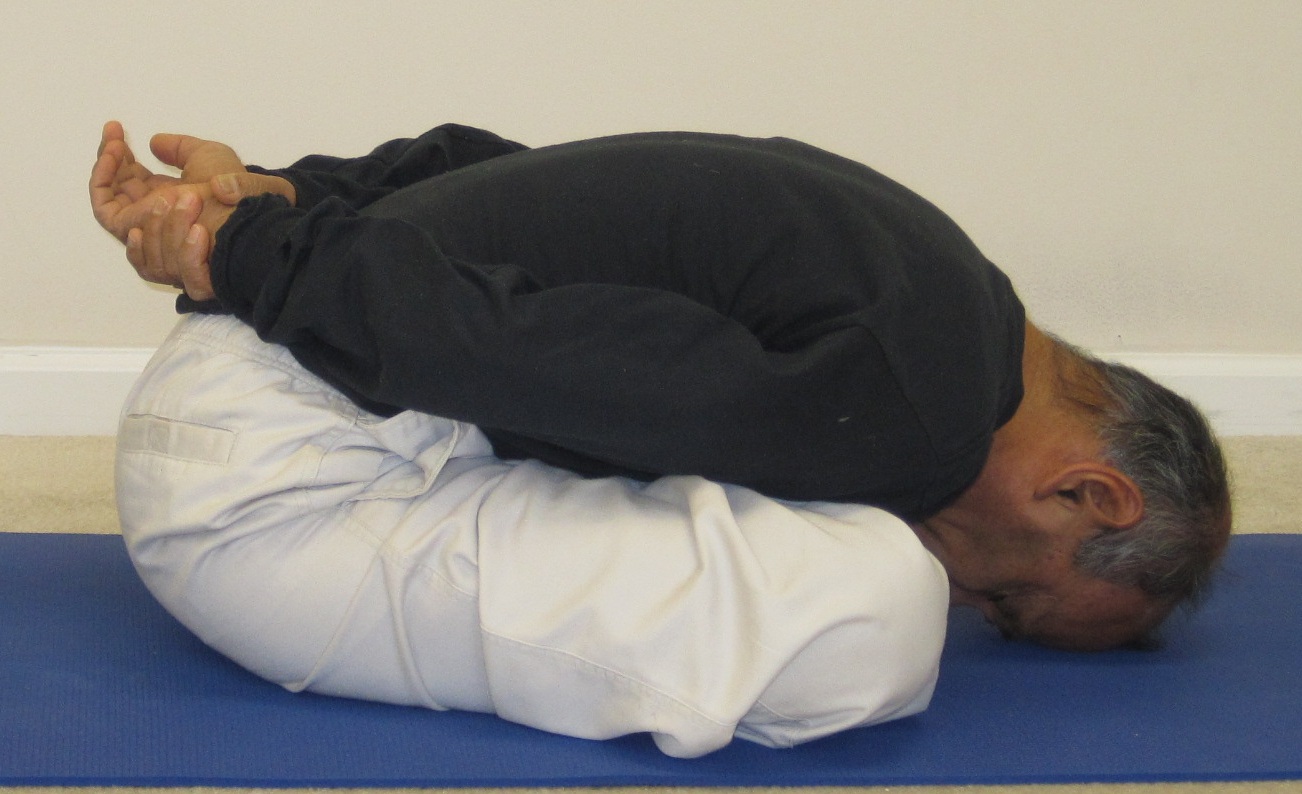
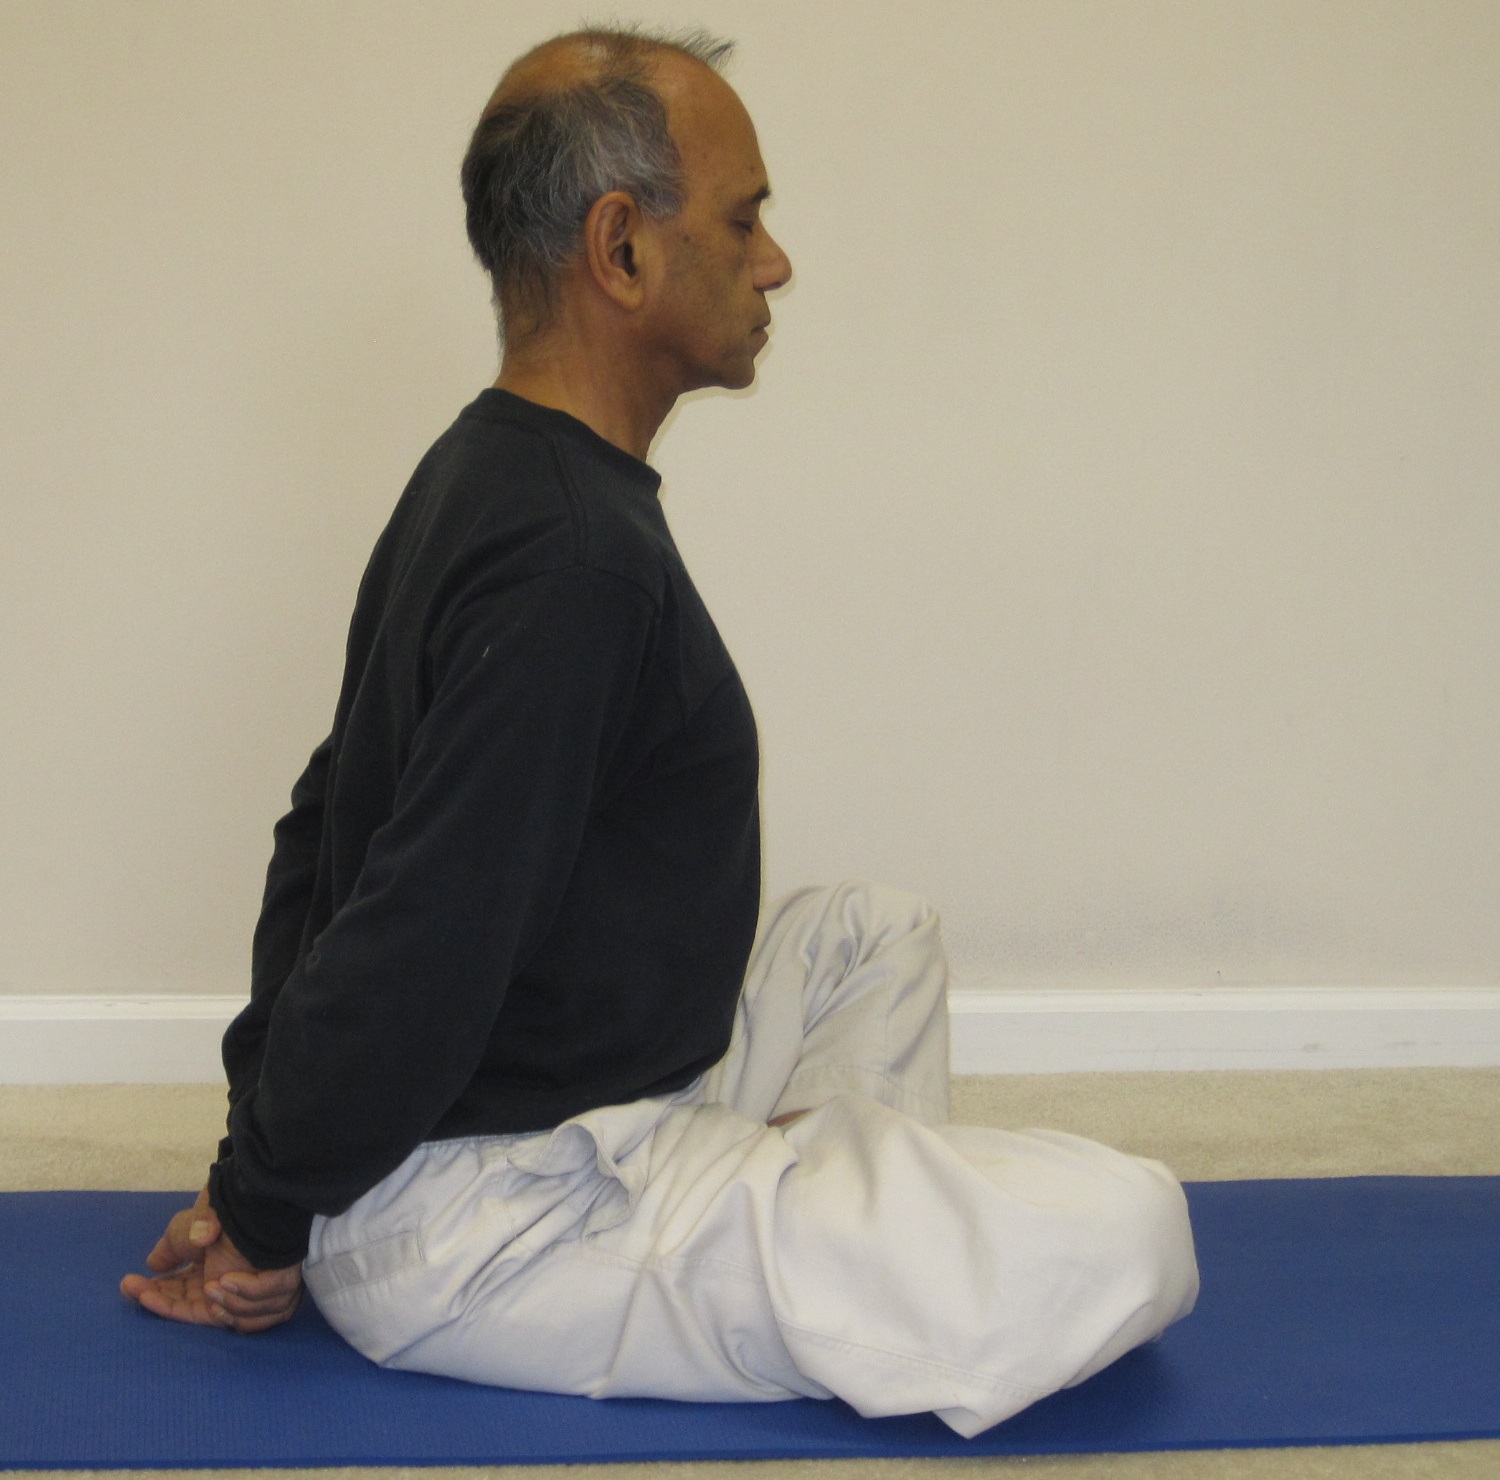


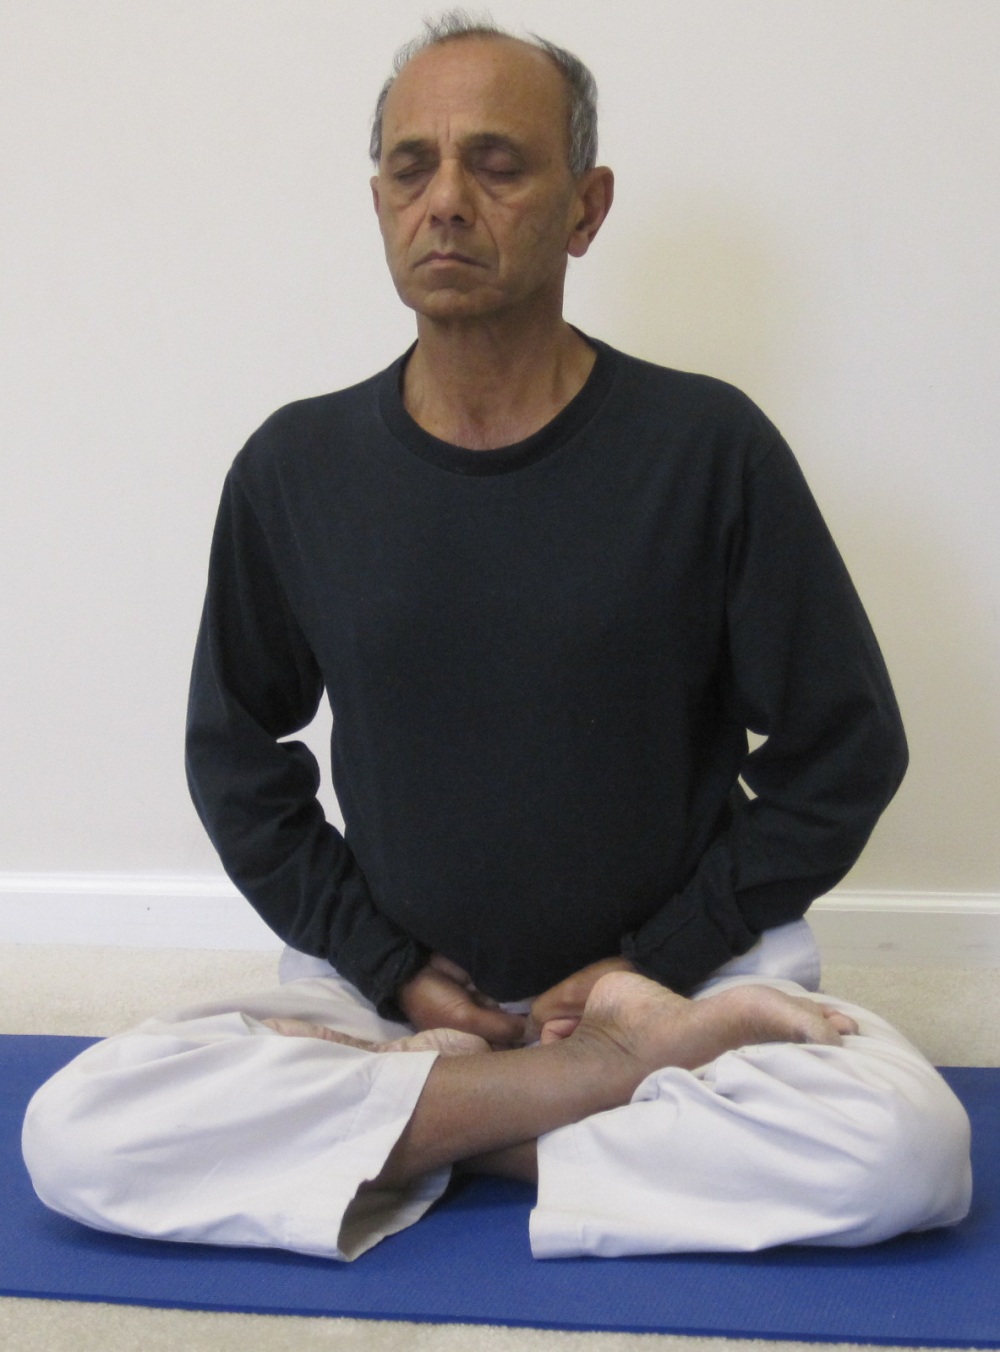
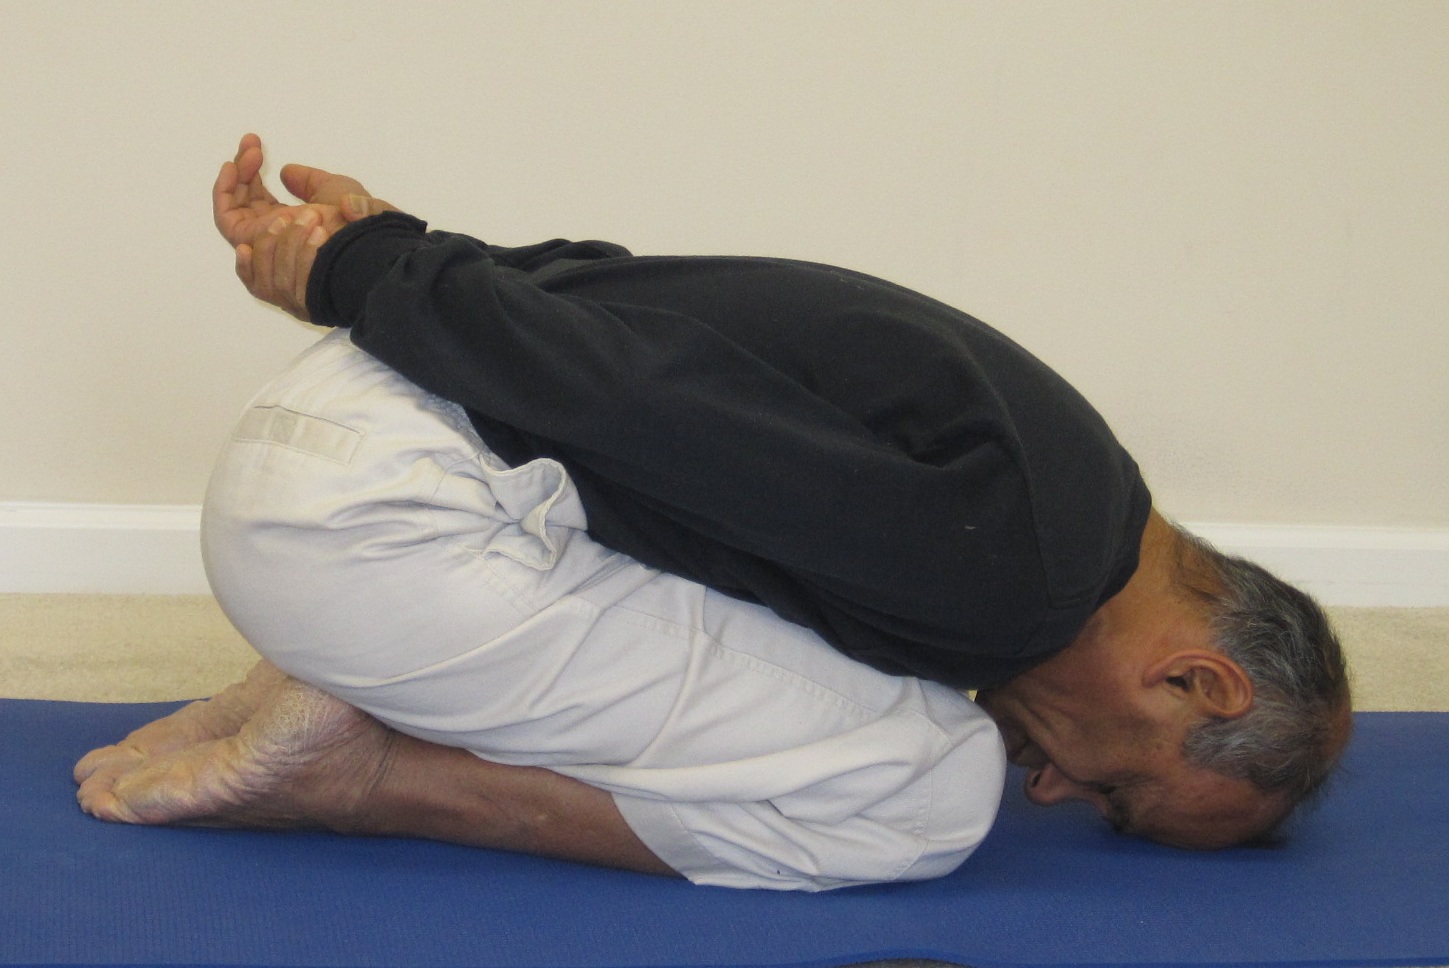
In Yogamudra after we touch our forehead to the ground, we continue to remain in the same position with normal breathing. Your comments please.
You are right, Gorakh.
Hi,
In the Yoga Mudra, you mentioned “try to bend at the waist” whereas I’ve always heard we should never bend at the waist but rather hinge forward from the hips. Is this a matter of semantics or why the difference?
Thanks for any clarity you could provide.
It was wonderful to find a website about Integral yoga…since that’s been my training. Thanks!
Peace,
Mike
Hello Mike, you are right – it is just semantics. I think it is more appropriate to mention that we bend from the hips.
Hi, Subhash, I love your scientific approach to Yoga.
In response to a question regarding this asana, my teacher, the late Dr Jayadeva Yogendraji of the Mumbai Yoga Institute, said that the spinal column should be curved rather than just leaning forward.
I hope that helps Mike with his question.
[…] PDF File Name: Yoga mudra (yoga seal) | yoga with subhash PDF Source: yogawithsubhash.com Download PDF: Yoga mudra (yoga seal) | yoga with subhash […]
[…] Yoga Mudra (Yogic Seal), Corpse pose. […]
[…] Fetal positions: Kurmasana (Tortoise), Parivrtta Janu Sirsasana (turning head-knee), Boat Pose, Yoga Mudra (Yogic Seal). […]
while doing option 2 of variation 3 of yoga seal is it ok if the hips get lifted off the ground slightly
Hello Anita,
In option 2 of variation 3, the buttocks are resting on the heels, not the ground. Ideally you would want the butts to stay in contact with either the ground or the heels (depending upon the position) as this gives the best stretch to the spine. However, no harm is done is they come off slightly above the heels/ground.