Chaturanga Dandasana
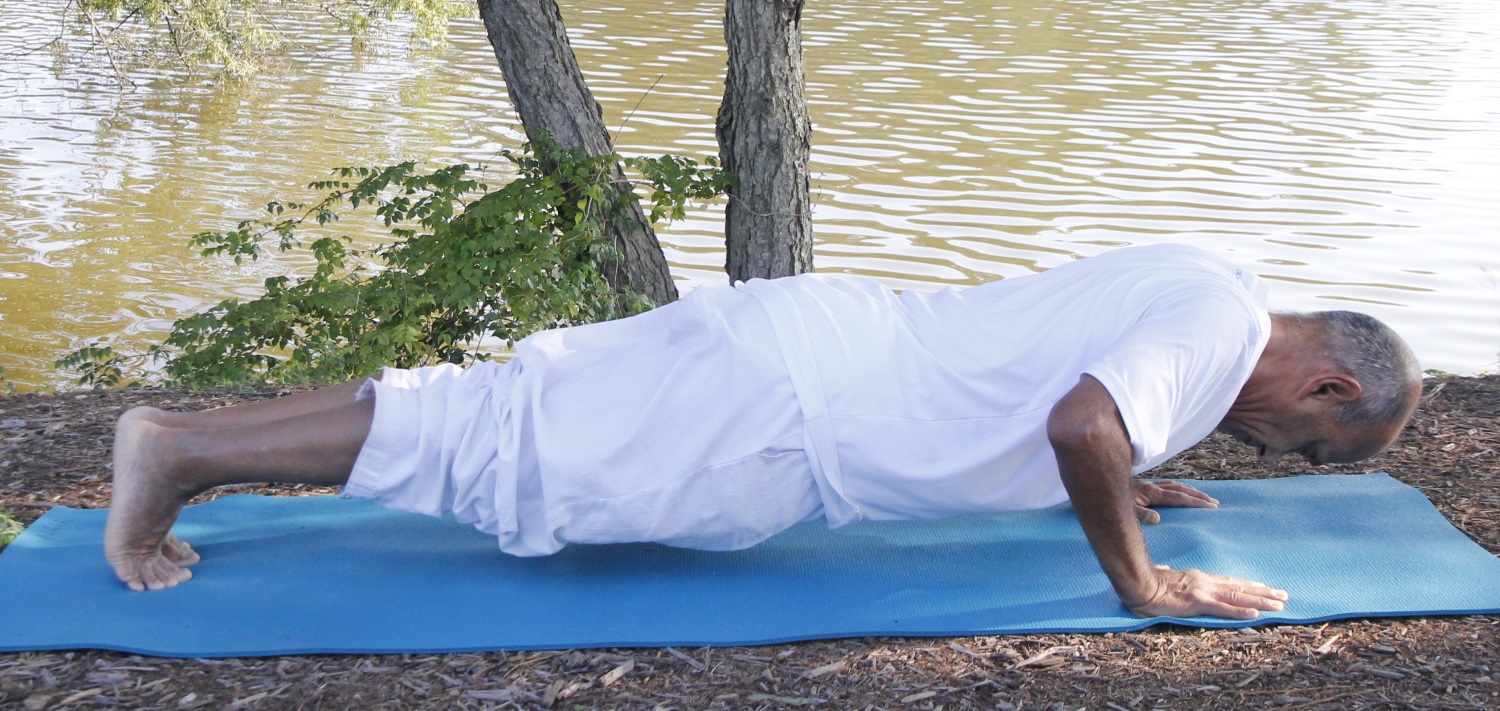
Chaturanga Dandasana (Chaturanga for short) – चतुराङ्ग दण्डासन – (Four-limbed Staff Pose) is a level 1/level 2 pose, excellent for strengthening the arms, shoulders, toning the core muscles, stretching the ankles, thighs and the spine. The Sanskrit word Chaturanga is a composite of two words – chatur meaning four and anga meaning limb; the word danda means a staff, stick or a rod, and asana means a pose. That’s how "four-limbed staff pose".
In some styles of yoga, like the Vinyasa Flow or Ashtanga Yoga, the Chaturanga is an integral part of the Sun Salutation routine. In fact, it gets repeated several times during the sequence. In the classes that I teach, I introduce the pose slowly over a period of time as most of the students find it hard to get into the pose quickly. For them, I use the beginner’s variation described below.

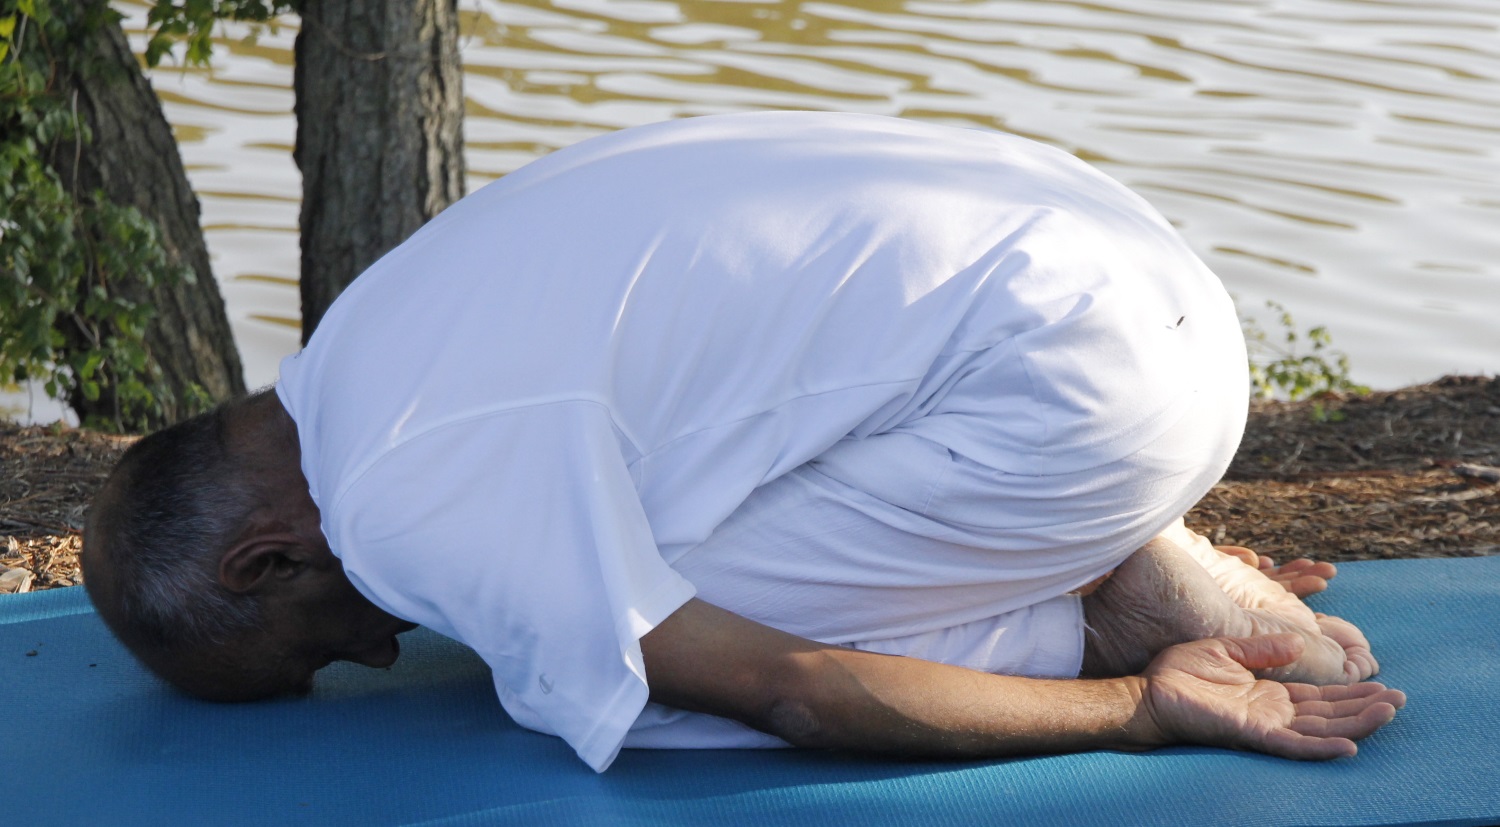
Child Pose
Step-by-step
- Start out in the Adho Mukha Shvanasana (Downward facing dog pose).
- Gradually move into the Plank Pose by rolling the shoulders forward until they come up vertically above the hands; also, bring the buttocks in line with the heels and the shoulders.
- With an exhalation slowly begin to bend the elbows and lower your torso and legs to a few inches above and parallel to the floor. Keep the body straight as in the plank pose. There’s a tendency in this pose for the lower back to dip toward the floor and the tailbone to lift up toward the ceiling. This can put a lot of undue and harmful pressure on your elbows and shoulders. Try to avoid this tendency by keeping the tailbone firmly in place and the legs active and strong.
- Keep the space between the shoulder blades wide. Try to keep the elbows tucked in by the sides of the torso and push them back toward the heels. Keep the palms flat and pressing firmly into the floor. Keep the head in line with the spine. You can either look forward or down to the floor. Keep the heels actively pushed backwards.
- In the beginning you may be able to hold the pose for a few seconds only. Gradually with continued practice, try to build up your ability to hold the pose for about 30-40 seconds.
- After you come out of the pose, you may either rest in the child pose or if you are practicing it as a part of Sun Salutation, you may continue to the next pose in your sequence.
Variation for beginners
- As I mentioned earlier, for most beginners this is a challenging pose. In order to make the pose accessible to the beginners, I recommend that from the plank pose they bring the knees down to the floor first. With the knees providing support in addition to the hands, it becomes easier to start lowering the chest and the torso down until the chest is about two inches above the floor. Once again, slowly build up your capacity to maintain the final pose for about 30-40 seconds.
- Once you develop enough confidence in the modified Chaturanga with the knees down, you may start experimenting by trying to lift the knees off the floor. Again, you may stay in the pose initially only a few seconds. Build up your capacity slowly over a period of time.
- Another variation that you can try is to position a block under the chest and let the chest rest ever so lightly on the block. slowly work your way to lift the chest off the block by pushing with the palms, engaging your core muscles and the legs.

Chaturanga on forearms
Another variation
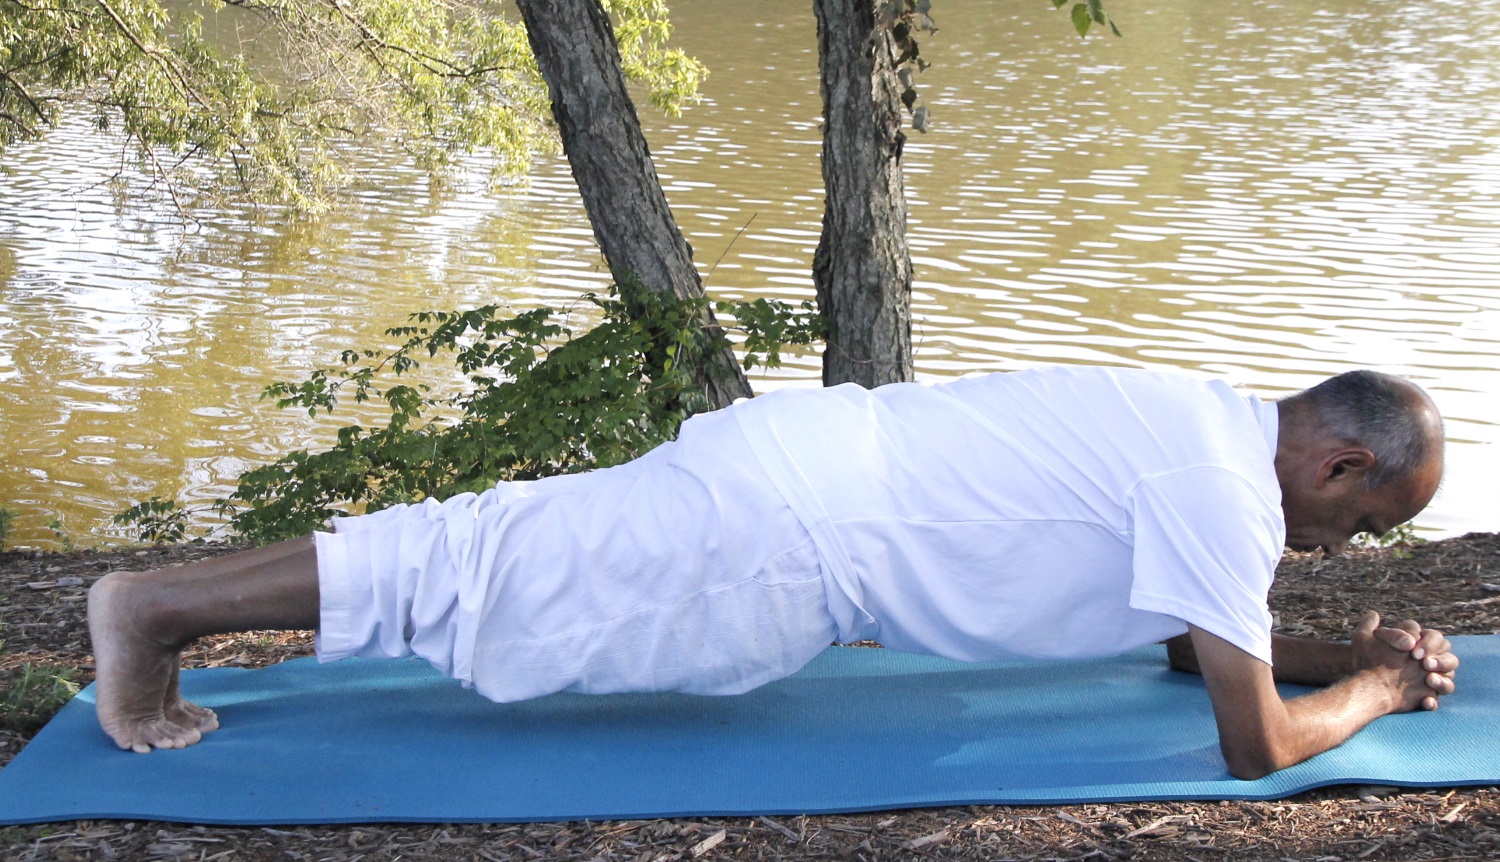
Chaturanga on the forearms
One of the very commonly practiced variation is the Chaturanga on the forearms. This pose is generally easier to practice for most students. However, this has some added benefits as it provides a deeper experience for the core muscles, the shoulders and the spine.
- From the plank position, lower your knees, chest and chin to the floor. Now release your abdomen down, lift the head up and position the elbows directly under the shoulders. Stretch the arms in front. You may keep the arms straight out in front or you can interlock the fingers together. From here, curl the toes under and pushing with the hands and the toes, begin to lift the knees and the abdomen up until the body is in one straight line in the staff pose. Try to keep the elbows and the heels pushing backwards and the neck pulling the body gently forward to give a deep experience of the stretch.
- Stay in the final pose for whatever duration is comfortable for you. Typically, after some practice, you should be able to hold the pose for about 60 seconds or even more.
Benefits:
- Strengthens the wrists, upper arms and the shoulders.
- Strengthens and tones the core muscles.
- Stretches and strengthens the ankles, thighs and the hips.
Contraindications
Avoid this pose if you have any kind of injury or pain in the wrists, elbows or shoulders.
Recent Comments