|
|
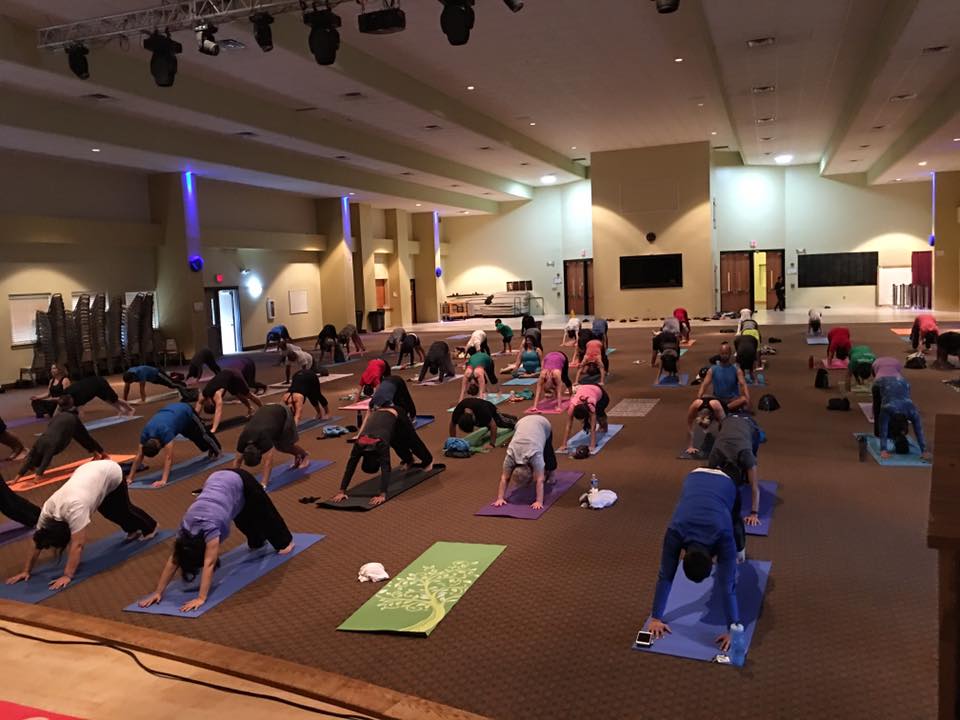
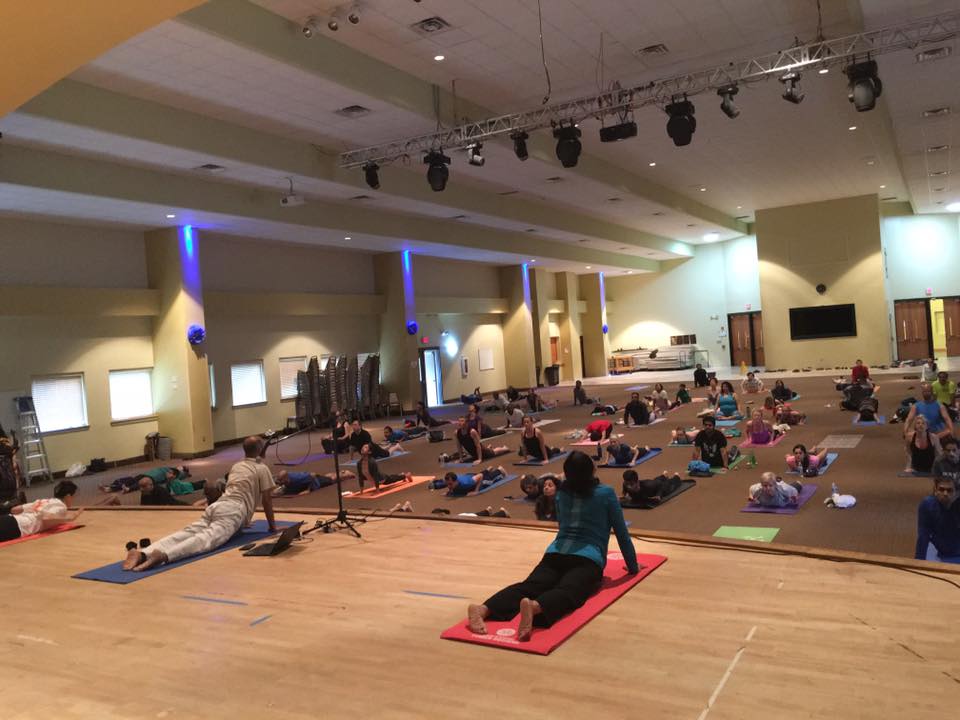
On Saturday, April 2, 2016, the Hindu Temple (HSNC – Hindu Society of North Carolina) organized a yoga event dubbed as "Surya Namaskar Yogathon" wherein we practiced 108 rounds of Surya Namaskar (Sun Salutations).
Introduction
If you have attended a yoga class, be that at a yoga studio, a health club, gym, or online, chances are that Surya Namaskar (Sun Salutations) was a part of the routine. Surya Namaskar has now become an integral part of most yoga styles that are practiced. As expected, each style of yoga introduces its own variations into the Surya Namaskar routine.
Traditionally, Surya Namaskar consists of 12 movements which are woven together in a nice, flowing, dance-like sequence, with each move synchronized with the appropriate breathing pattern. Practice of Surya Namaskar impacts all aspects of the body – physical, physiological, mental, emotional and even deeper.
Continue reading »
Understanding the Mind to eliminate Stress
- What: An Introduction to the Yoga Sutras of Patanjali
- When: Third Saturday of the month
- Next Session: Saturday, April 16, 2016
- Focus: Introduction to Yoga Sutras of Patanjali; Definition of Yoga
(see below for more details)
- TIME: 2:00 – 4:00 PM
- LOCATION: 4000 Bearcat Way, Suite 104, Morrisville, NC 27560
- FEE: by voluntary donation
- To register: please fill out the registration form
- Audio recordings of previous sessions are available here
Continue reading »
Most people tend to practice yoga with the main objective of achieving physical well-being. As a result they focus only on the "asana" (physical postures) part of yoga practice. If we go by the eight limbs of yoga defined by Patanjali in his Yoga Sutras, then asana is only one of those eight limbs. In fact, if we dig a little deeper, we realize that the word asana refers ONLY to a sitting posture. The word "asana" is derived from the Sanskrit root "aas (आस्)" which literally means "to sit". The word asana means either the posture you sit in or the seat that you sit upon. In that sense, your mat is your "asana". If you sit in a chair, the chair is the asana. The whole series of physical postures were developed so the body could be made strong and flexible enough so that one could sit in a meditative posture for long periods of time. As per Patanjali, it is only through the practice of meditation that one can attain a perfectly calm state of the mind, which is the goal of yoga.
When these postures were developed, instead of coining a new name for them, the yogis decided to keep the same name "asana", which Patanjali used for a sitting posture, for these postures as well. This is how the whole science of Hatha Yoga evolved. The text that is most commonly referenced for all current yoga practices is the Hatha Yoga Pradipika by Swatmarama.
Continue reading »
For most people the word “yoga” (योग) brings to mind the image of a yoga model that appears on the cover of a yoga magazine in a pose that is almost impossible to get into for an average practitioner. Yoga is commonly practiced as a routine which helps in improving physical fitness and sometimes as a means to stress management. There is growing awareness that yoga can be effectively used as therapy in treating a variety of ailments, including hypertension, diabetes, heart conditions etc. Those who have been practicing yoga for a while can attest to the physical and physiological benefits that the practice brings.
While all the above mentioned benefits of yoga are certainly desirable, most people are ignorant about the true meaning and purpose of yoga which is “the ability to control the fluctuations of the mind”. This brief and succinct definition was provided to us by Sage Patanjali, more than three thousand years ago, in the Yoga Sutras of Patanjali (योग सूत्र) . In the Yoga Sutras, Patanjali has provided a very scientific and practical exposition of the philosophy and practice of yoga. One very important section of the book describes what is commonly called “Ashtanga Yoga” (अष्टाङ्ग योग) or the Eight Limbs of Yoga which provides practical guidelines for achieving the goal of yoga, i.e., controlling the mind.
Most of the yoga as it is practiced today, called Hatha Yoga, includes physical postures (asanas) and some breathing techniques (pranayama). As you can notice from the eight limbs which are listed below, asana and pranayama are only two of these eight limbs and help establish a strong foundation toward achieving the objectives of yoga. However, to develop a fully integrated practice of yoga and achieve the final objectives of yoga, one needs to include in their routine all the eight limbs of yoga in some form.
Continue reading »
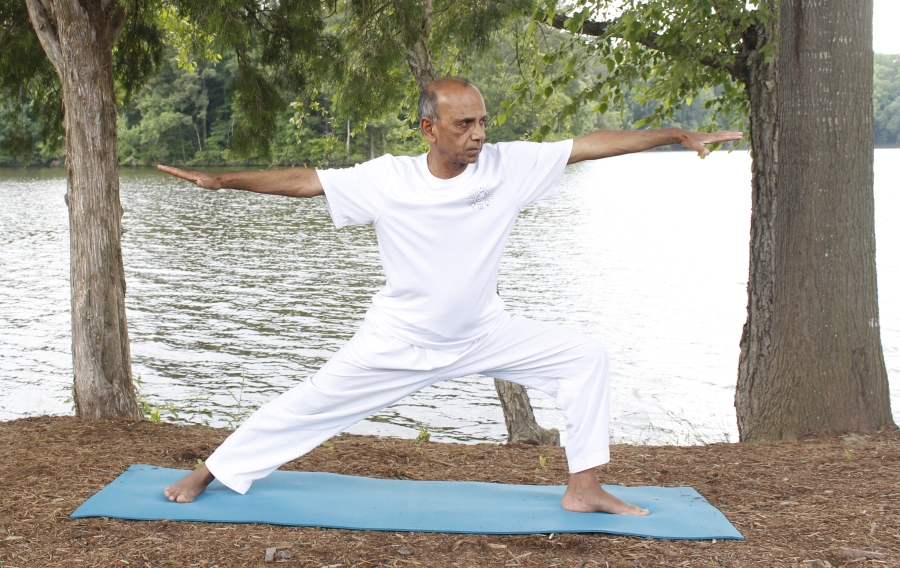 Virabhadrasana (Warrior2)
I am pleased to announce the next 21-day Yoga Immersion program. The past programs have been very well received by all the participants. For most of them, it has been truly a life-transforming experience. I invite you to join me on this exciting and deeply rewarding 21-day yoga journey. Here are the particulars:
- What: 21-day yoga immersion
- When: Monday, April 4 – Sunday, April 24, 2016
- Time: 6:00 AM – 7:30 AM
- Where: 4000 Bear Cat Way, Suite 102, Morrisville, NC 27560
- Cost: $125
Continue reading »
As I wrote in a previous post, I have recently created a podcast page on my blog. I have now started adding podcasts from the audio recordings of the monthly workshops on various aspects of yoga philosophy that I have been offering for about two years now.
When I started researching on the net as to how to create podcasts, many different approaches came to surface. Since I use the WordPress platform for my blog, I decided to narrow down the approaches that are applicable for wordpress. The whole process seemed a little bit daunting in the beginning. However, I was able to devote a little more time to my investigations when I had to cancel all my engagements during the "snow days" in January. I was able to use that time to research the net, try out a few approaches and finally settle on the one that I am using now.
I am giving below the process involved in creating the podcasts:
Continue reading »
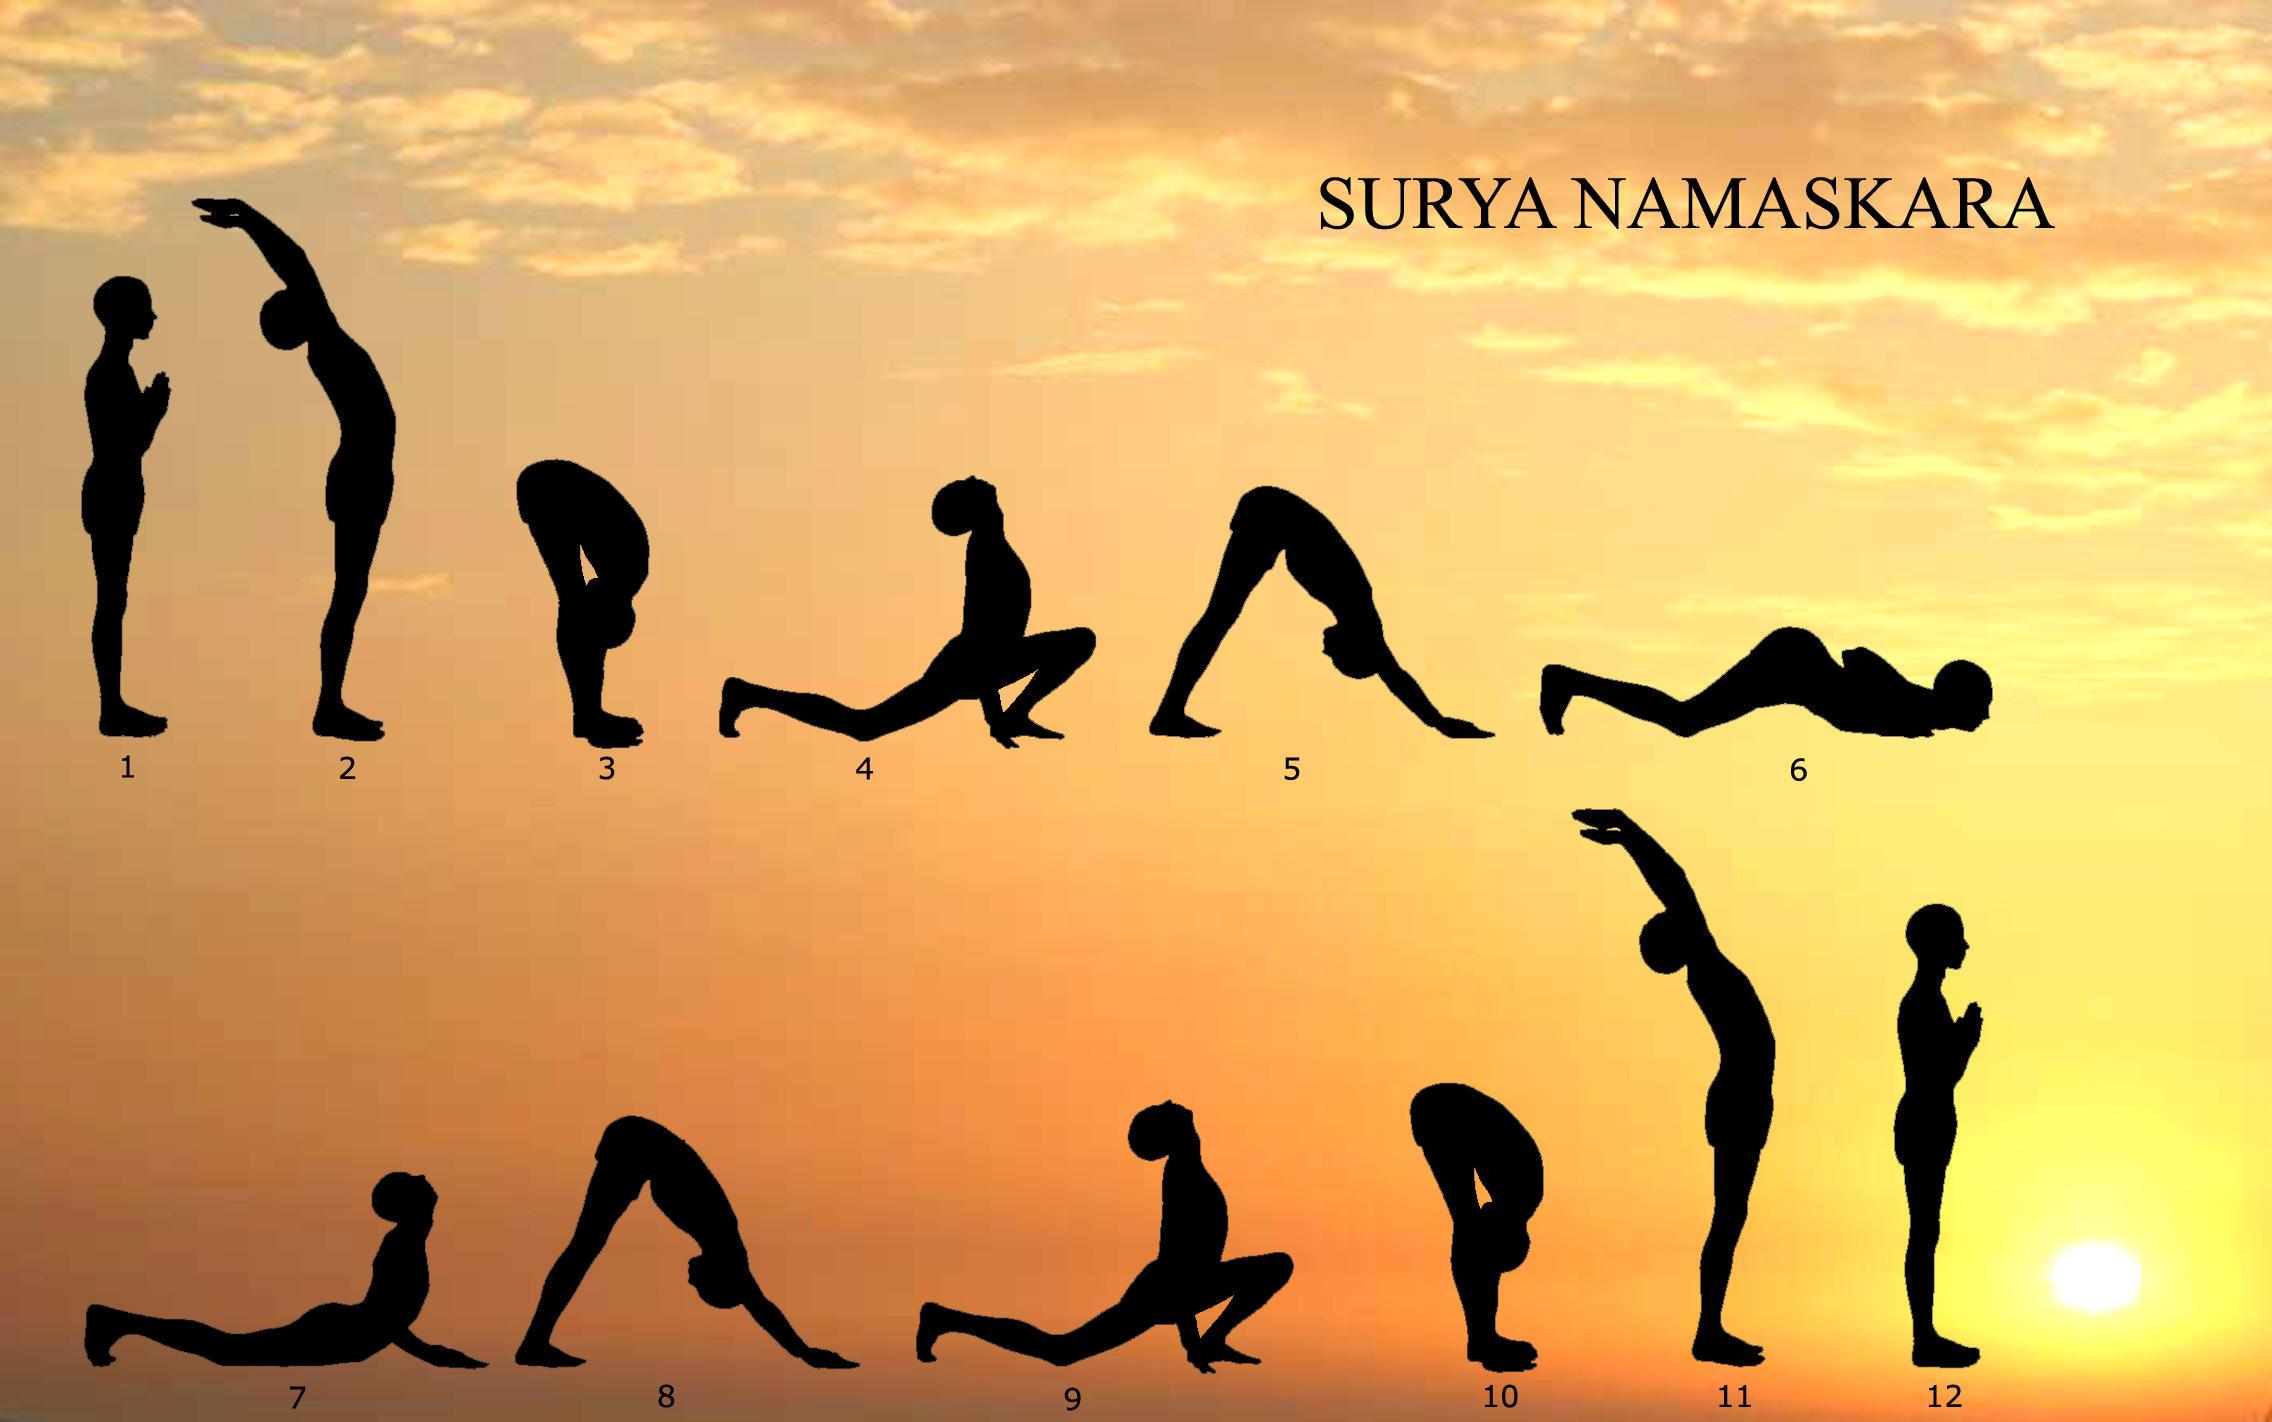 Surya Namaskar (Sun Salutation)
Surya Namaskar Yogathon (108 rounds) – Saturday, April 2, 7 – 11:30 AM!
I invite you to join us for this memorable yoga event where we will practice 108 rounds of Surya Namaskar (Sun Salutations). Surya Namaskar, practiced to the accompaniment of beautifully chanted mantras,
will not only invigorate and energize you but also lead you into a state of deep meditation.
- Event: Surya Namaskar Yogathon (108 rounds of Sun Salutations)
- Location: Hindu Temple (HSNC) 309 Aviation Parkway, Morrisville, NC 27560; temple phone: (919) 481-2574
- When: Saturday, April 2, 2016
- Time: 7:00 AM to 11:30 AM (on-site registration starts at 6:30 AM)
- Program Fee (donation to the temple – including veggie lunch): $15 with pre-registration or $20 on the day of the event; In addition, please try to find sponsors who might be willing to pledge money per round that you complete.
- Program: Om chanting, invocation prayer, a brief discussion of the mantras associated with SN (a chart of SN is available on my website here), practice 108 rounds of Surya Namaskar accompanied by the chanting of beautifully rendered Surya Namaskar mantras, yoga nidra (deep relaxation), brief session of pranayama to balance out the flow of prana, closing chants.
- Lunch: Vegetarian lunch will follow the event
- To register: please fill out the registration form on the HSNC website and submit it online. You can make the payment on the same page.
Continue reading »
Understanding the Mind to eliminate Stress
- What: An Introduction to the Yoga Sutras of Patanjali
- When: Third Saturday of the month
- Next Session: Saturday, March 19, 2016
- Focus: Introduction to Yoga Sutras of Patanjali; Definition of Yoga
(see below for more details)
- TIME: 2:00 – 4:00 PM
- LOCATION: 4000 Bearcat Way, Suite 104, Morrisville, NC 27560
- FEE: by voluntary donation
- To register: please fill out the registration form
- Audio recordings of previous sessions are available here
Continue reading »
As you may be aware, I have been offering monthly workshops wherein I discuss various aspects of yoga philosophy. I started these monthly workshops about two years ago with the main intention of providing a summary of the yoga philosophy and psychology as given by Patanjali in the Yoga Sutras. Even though that continues to be the main focus, based on suggestions from the participants, I have also presented a summary of the Bhagavad Gita as well as that of Kundalini Tantra in a few of the sessions.
In order to preserve these talks for future reference, especially by the participants, I have been making an audio recording of these discussions and sharing them with the participants. I have now decided to share these audio recordings will all the readers of my blog who are interested in developing an understanding of the underlying concepts of yoga. After doing some online research, I found out that the best way to share audio information is through the medium of podcasts. Further research made me realize that creating podcasts and presenting them to the blog readers involves several steps, some of them not quite straightforward. As a result my "project podcast" kept getting postponed since I could not dedicate the required amount of time to set it all up.
Continue reading »
Here is another recipe, shared by Nina, for a dish that we enjoyed during the recent breakfast get-together for the participants of the pranayama intensive.
Quinoa Porridge for breakfast
 Quinoa Porridge
Ingredients:
Serving Size for 1 person:
-
¼ Cup Dry Quinoa
-
½ Cup Water
-
¼ Cup Milk or more
-
Cut Dry Seaweed by taste
-
1 teaspoon Miso Paste
-
1 teaspoon Ground Flaxseed
-
Ground Turmeric by taste
Continue reading »
|
Video DVD
Yoga with Subhash (asana and pranayama)
- Basic asana sequence (~50 min) ($18)
- Pranayama/Meditation (~35 min) ($12)
- Set of above two ($25)
Video recording of special programs offered in the past
(Links to YouTube videos will be provided)
- 21-day yoga immersion - $40
- 7-day hip opening intensive - $20
- 14-day meditation intensive - $30
- 14-day pranayama intensive - $30
- 7-day hamstring/quad intensive - $20
- 14-day Level 2 yoga intensive - $35
Payment options:
- cash, check, Zelle (use subhashmittal@gmail.com) or Venmo (use 9199269717)
- PayPal (go to bottom of page) (add $5 to the fee listed above)
Please contact me if you would like to buy.
Recent Posts
-
40-minute Yoga sequence with asana, pranayama and meditation
-
FREE Yoga Class, Jan 1, 2026, 8:00-9:30 AM
-
21-day Yoga Immersion, Jan 5-25, 2026
-
FREE 2-day Pranayama session, Dec 20-21, 2025
-
Saṃskāra and Vāsanā: deep-seated impressions that mold our lives
-
14-day Meditation Intensive, Nov 9-22, 2025
-
Supta (Reclining) Vajrasana
-
Enjoying the journey
|


Recent Comments