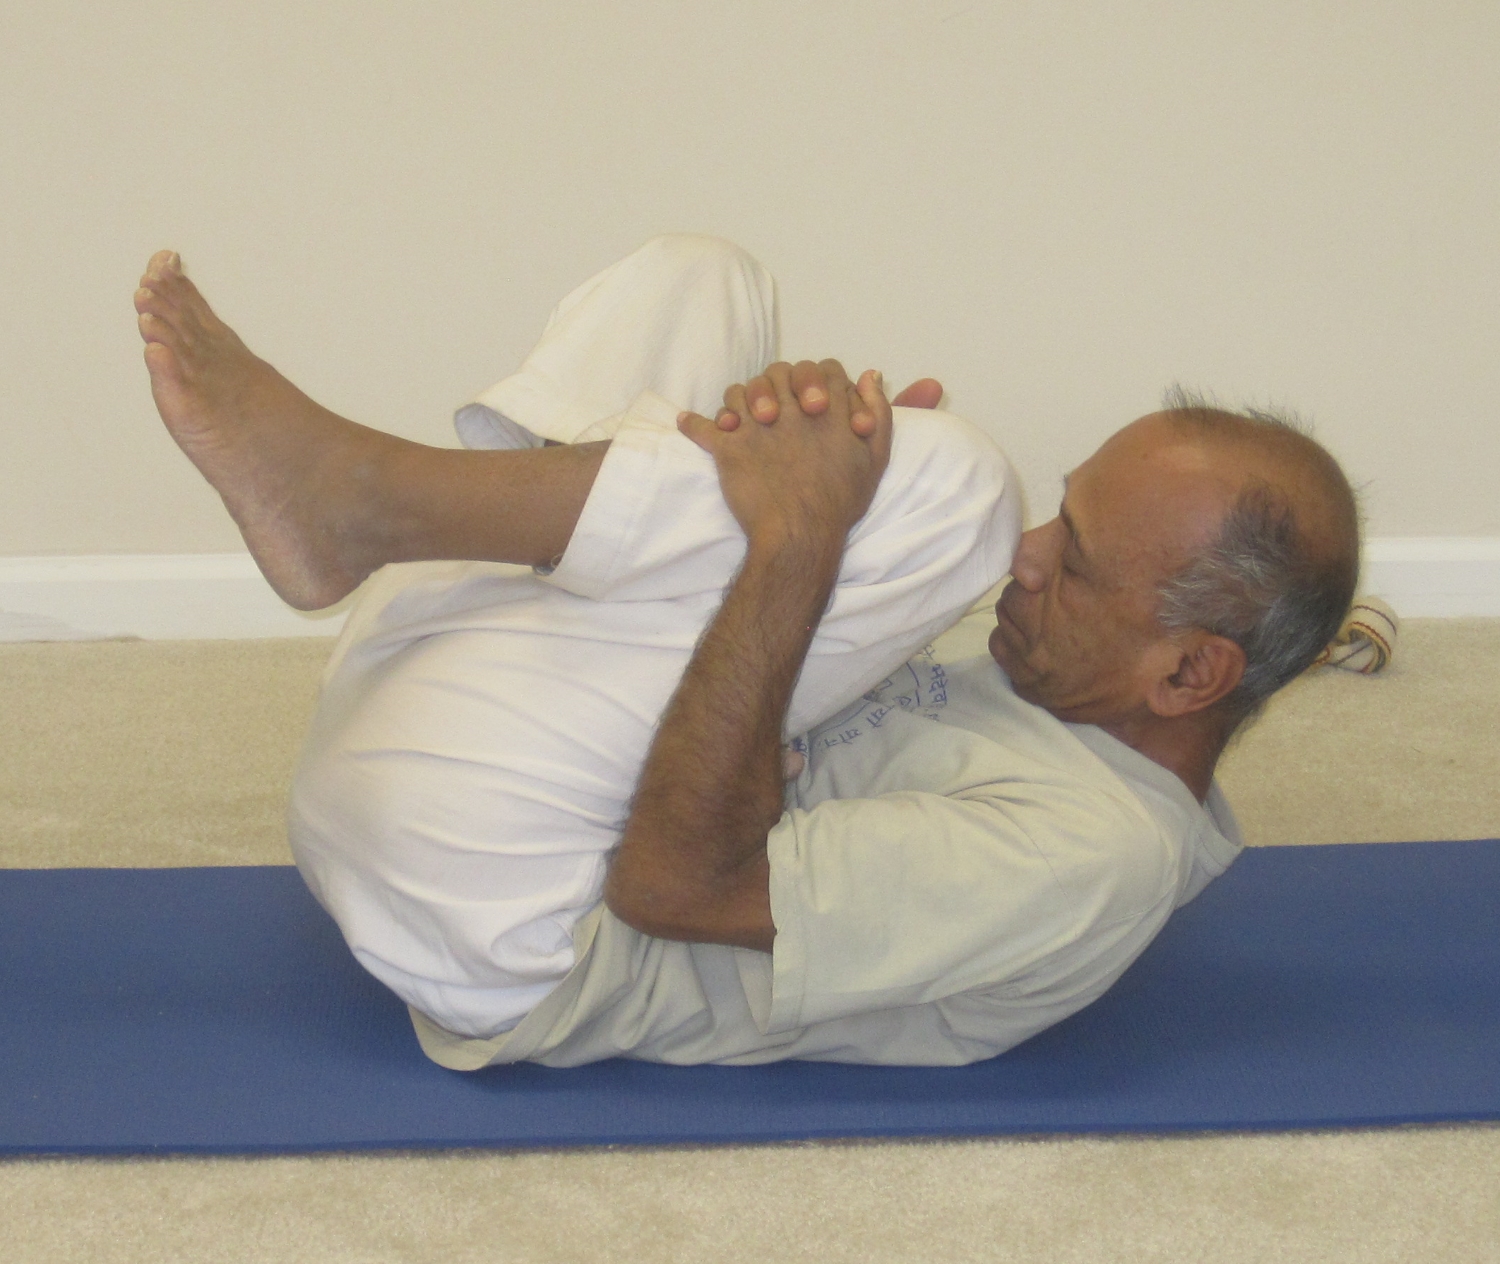
Figure 4 foot down
In an earlier post, we discussed a few of the reclining hip opening yoga poses. In the hip opening sequence given here, I will be introducing two more poses – the Baddha-konasana (bound angle pose) and the Ananda Balasana (Happy Baby pose) in addition to the figure-4 stretches that we did the last time.
I hope you will enjoy watching the video and practicing with me.
Supta Baddha-konasana (reclining bound angle pose)
Step-by-step
- Lie down on your back and relax for a few moments in Shavasana.
- Bring the feet together, bend the knees and join the soles of the feet together in almost like a ‘namaste’ position with the feet.
- Slide the heels all the way back toward the buttocks. Effort is to bring the heels as close to the buttocks as comfortable; at the same time try to bring the knees closer to the floor.
- When the heels are all the way back, place the hands on your thighs. With gentle rhythmic up and down movement of the knees, try to bring the knees closer and closer to the floor with each move. Maintain a gentle pace for this rhythmic up and down movement.
- Pause the movement; with the hands still positioned on top of the thighs, keep a gentle pressure down with the effort to bring the knees further down.
- Stay in this position for a few more breaths. Finally stretch the legs out straight and relax in the Shavasana for a few moments.
Figure-4 stretch
Step-by-step

Figure 4 foot down
- Lie down on your back with the knees bent.
- Lift the right foot up and place the top of the foot on top of the left thigh. Try to slide the foot all the way down the thigh so the heel is close to the thigh joint.
- Lift the left foot off the floor and holding the left shin with the two hands try to guide the left knee close to the chest.
- At this point if it doesn’t bother your neck or the spine, lift the head up, lower the chin down to the chest and gently guide the left knee closer to the forehead.
- Maintain the final pose for a couple of breaths.
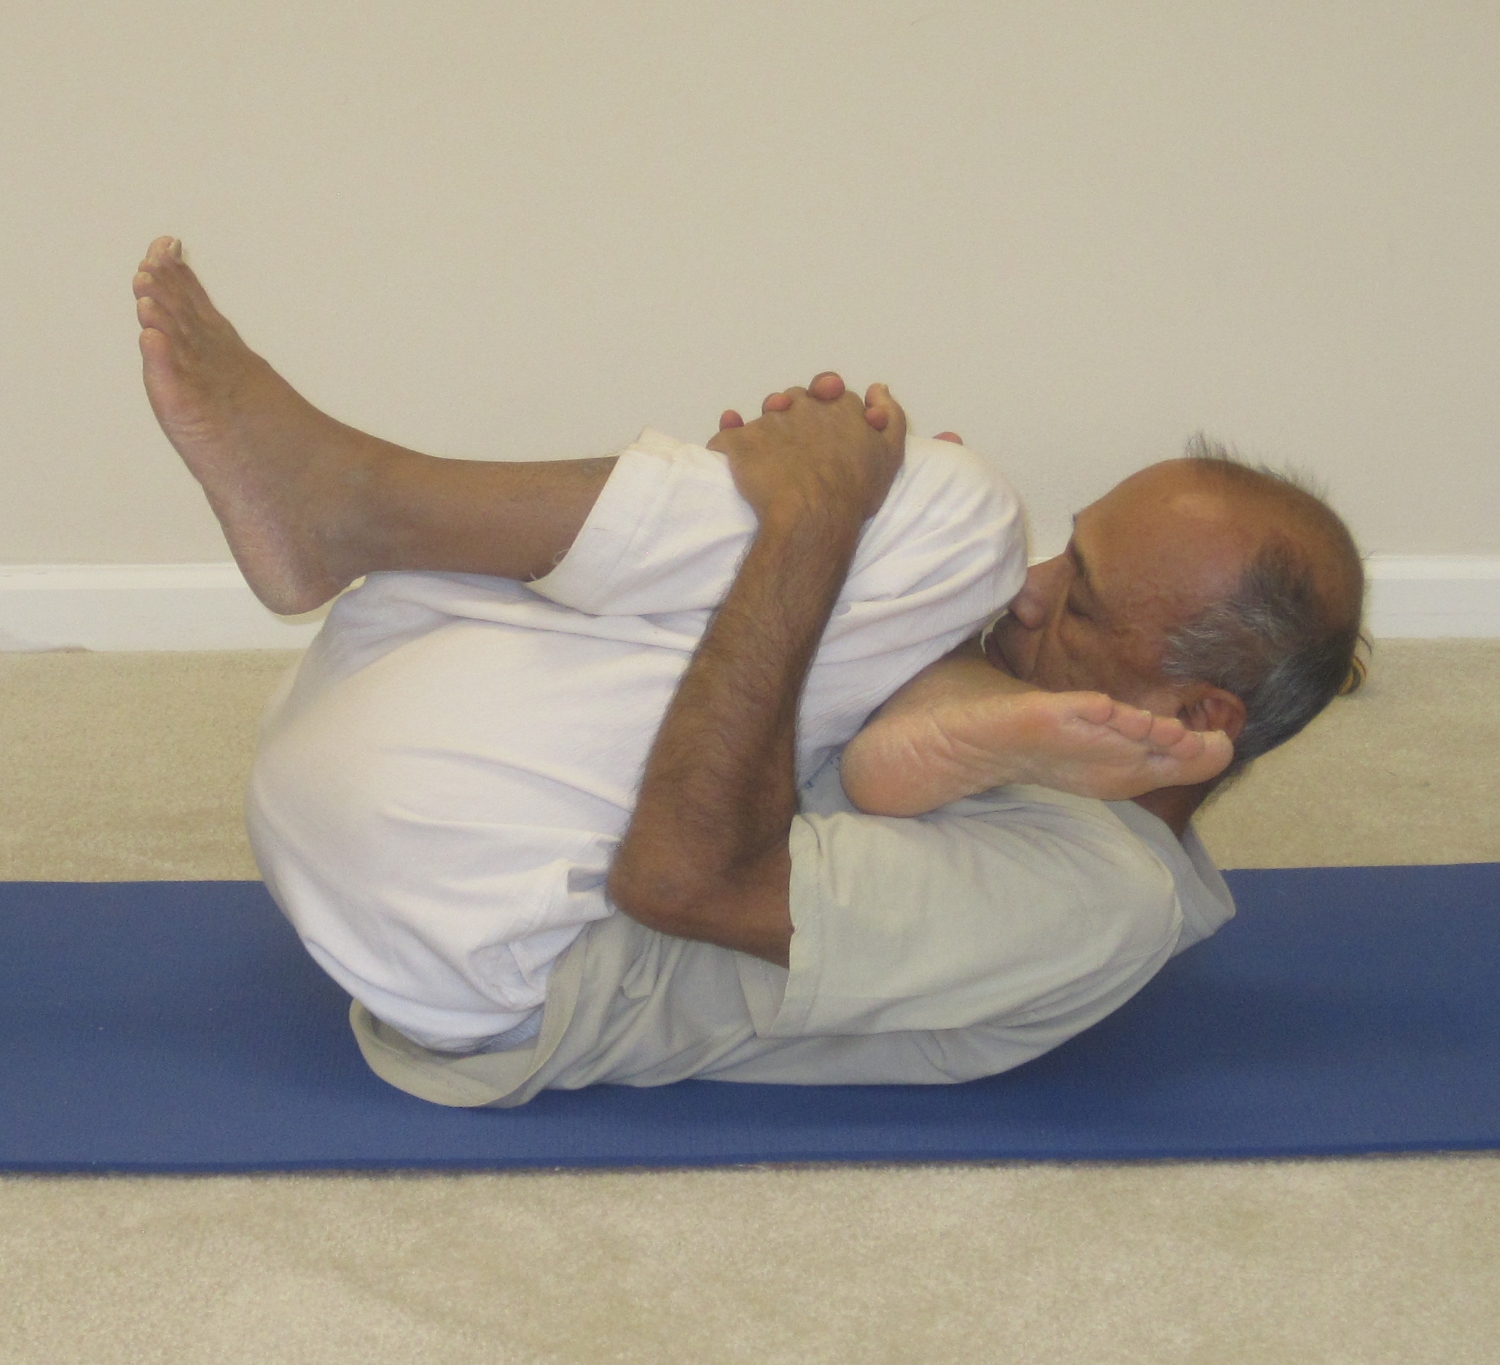
- Slowly release the head down and slide the right foot up and place it on top of the left knee.
- This time thread the right arm from under the leg and hold the shin with the two hands, as before. Try to guide the left knee close to the chest.
- At this point if it doesn’t bother your neck or the spine, lift the head up, lower the chin down to the chest and gently guide the left knee closer to the forehead.
- Maintain the final pose for a couple of breaths.
- Bring the head and the foot down and relax for a couple of breaths.
- Repeat the above steps on the other side.

Figure 4 foot up
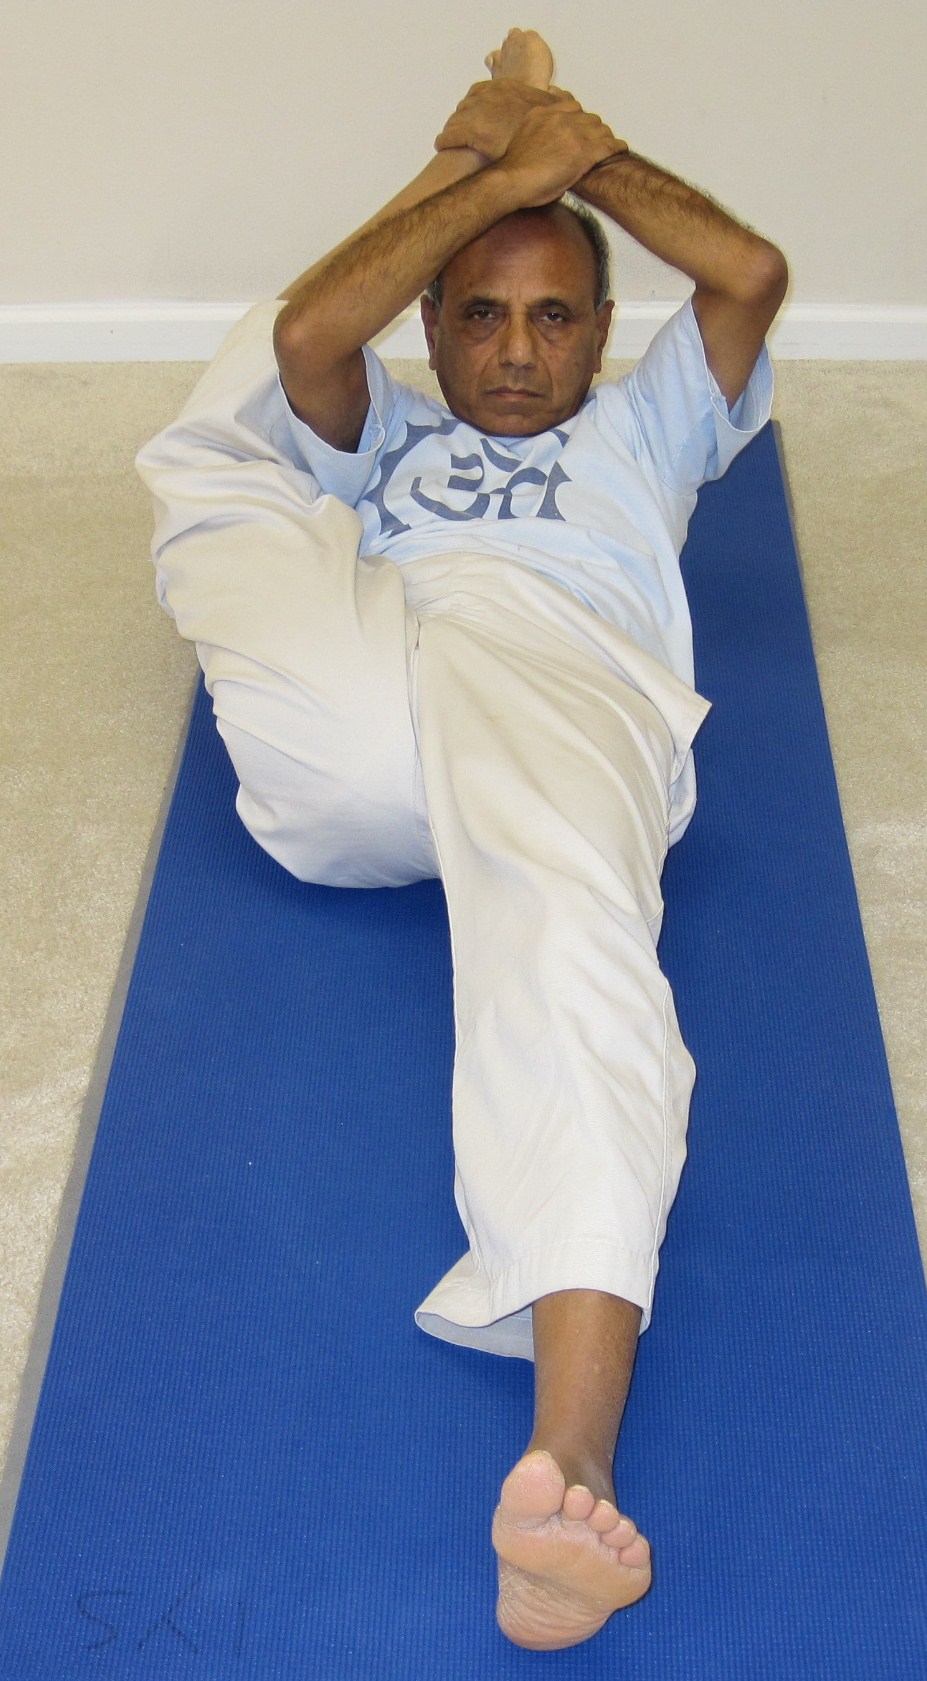
Ananda Balasana (Happy baby pose)

Happy baby 1
We’ll practice the happy baby pose first with one leg at a time and then with both the legs together.
Step-by-step
- Begin by bending the right knee; hold the right foot with the two hands with the knee pointing outwards.
- Lift the foot upwards and try to bring it in closer to the forehead. At this point, if it doesn’t bother your neck, shoulders or the spine, lift the head up and try to continue the effort to bring the foot closer to the forehead.
- If you are more flexible, you may attempt to wrap the leg behind the neck. Be extremely careful not to overstretch and overdo this pose. It’s a nice pose for the hips, knees, thighs and the spine.
- Stay in the final pose for a few more breaths.
- Slowly bring the leg down, the head down and rest in Shavasana for a few breaths.
- We’ll now switch sides and repeat the above movements with the left leg. Begin by bending the left knee; hold the left foot with the two hands with the knee pointing outwards.
- Lift the foot upwards and try to bring it in closer to the forehead. At this point, if it doesn’t bother your neck, shoulders or the spine, lift the head up and try to continue the effort to bring the foot closer to the forehead.
- If you are more flexible, you may attempt to wrap the leg behind the neck. Be extremely careful not to overstretch and overdo this pose. It’s a nice pose for the hips, knees, thighs and the spine.
- Stay in the final post for a few more moments.
- Slowly bring the leg down, the head down and rest in Shavasana for a few breaths.
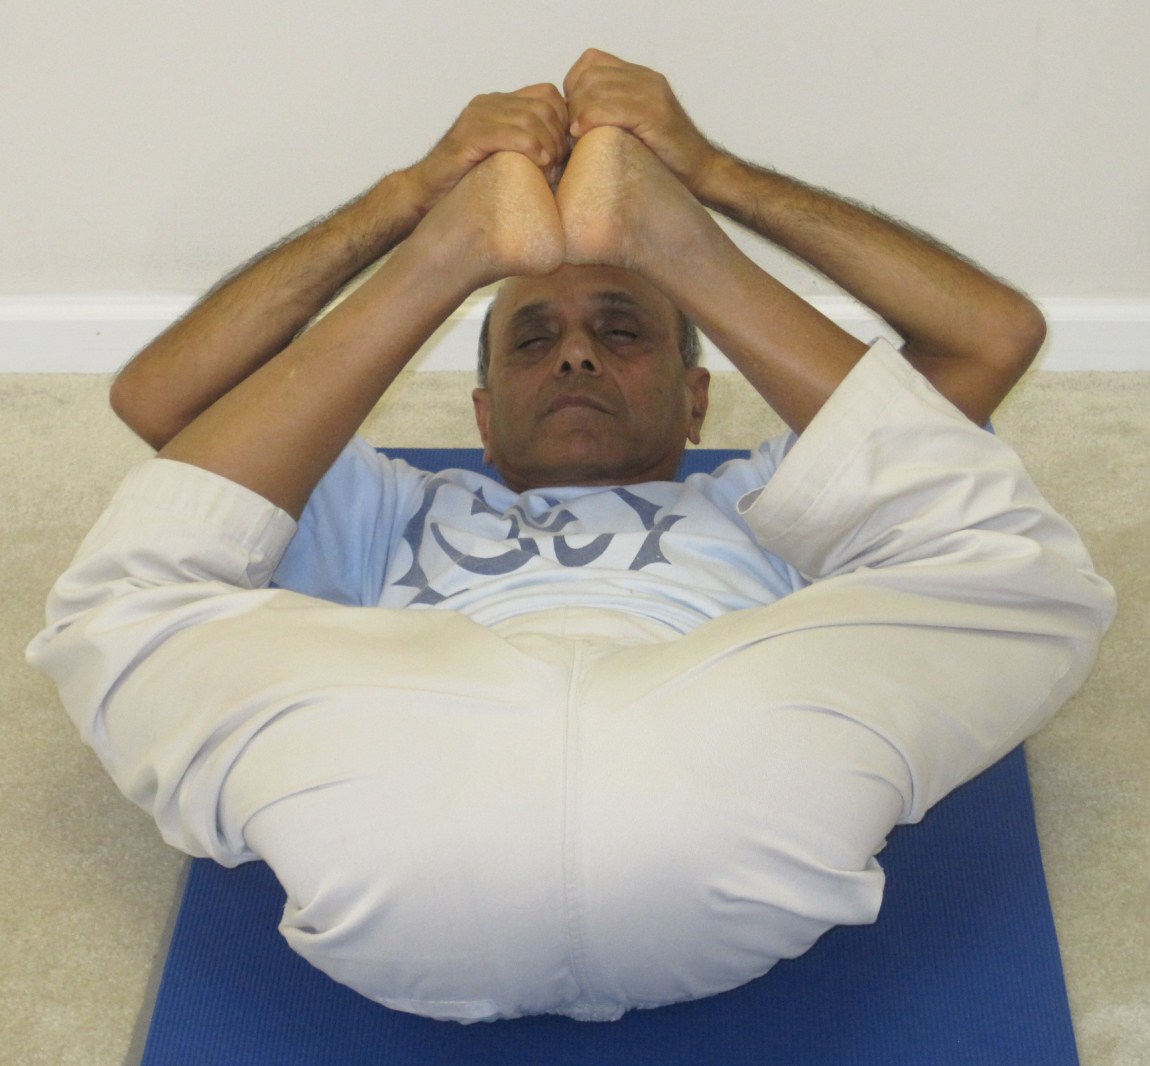
- Finally lift both the feet up and hold the feet with the corresponding hands. Try to bring the feet up toward your forehead. Again, if it doesn’t bother your neck, shoulders or the spine, lift the head up and try to continue the effort to bring the feet closer to the forehead.
- If you are more flexible, you may rest the feet on the head or attempt to wrap the legs behind the neck. Be extremely careful not to overstretch and overdo this pose. It’s a nice pose for the hips, knees, thighs and the spine but you don’t want to injure yourself by overdoing it.
- Stay in the final post for a few more moments.
- Slowly bring the legs down, the head down and rest in Shavasana for a few breaths.

Happy baby 2
Contraindications and precautions
Avoid these stretches if you have had a recent spine or hip injury or have severe hip or back pain. Be careful not to overdo any of the stretches. In case of mild pain, please consult with your yoga instructor and modify the stretches, as appropriate.
Benefits
These hip opening stretches will help you make the hips, knees, thighs and the spine more flexible and reduce muscle tightness. It will improve blood circulation in these areas. These stretches are very helpful in alleviating back pain, especially in the lower back area. In general, you will feel a better sense of overall well-being.
Recent Comments