Kapotasana (pigeon pose)
In today’s post, we are going to focus on one of the poses that is highly recommended as a hip and chest opener – the Kapotasana – कपोतासन -(Pigeon Pose). There are a few different variations of the pose that are commonly practiced, some more challenging than the others. We are going to focus on the beginner level pose and a couple of variations. Even these variations can seem somewhat challenging for those with tight hips, knees or thighs. As always, maintain your stretch at a level that is comfortable for you.
I hope you will enjoy practicing with me using the video.
Step-by-step
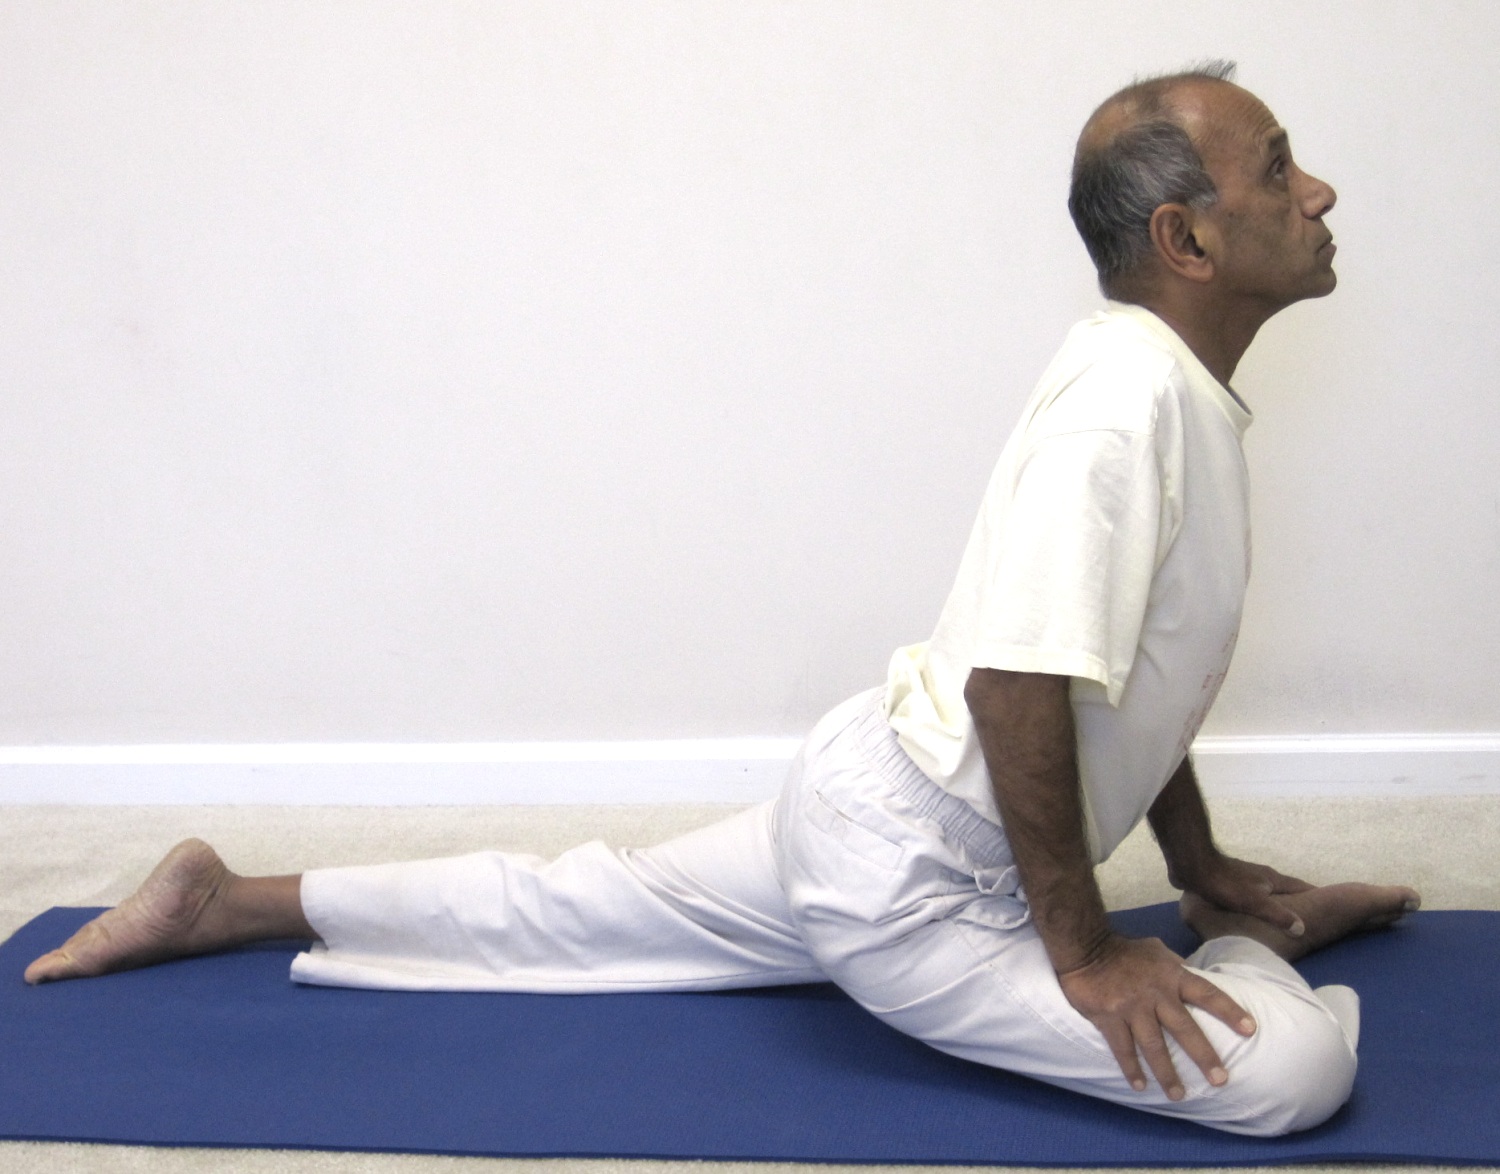
- Begin in the Adhomukha-shvanasana (downward facing dog). Lift your right foot up, bend the right knee and move the leg forward. Place the leg directly below the shoulders. The right knee is placed just behind the right wrist. Try to keep the right leg parallel to the front edge of the mat. If this is not comfortable, bend the knee more so that the right foot moves closer to the left hip area.
- Slowly slide your left leg back, straightening the knee and descending the front of the thigh to the floor. Lower the outside of your right buttock to the floor.
- The right knee can angle slightly to the right, outside the line of the hip. Look back at your left leg. It should extend straight out of the hip (and not be angled off to the left), and rotated slightly inwardly, so the left thigh presses against the floor. Exhale and slowly drop your chest down and rest it on top of the right leg. Stretch your arms forward.
- With the right knee bent and right hip on the floor, make a gentle effort to drop the left hip toward the floor. This will enhance the stretch on the right hip. Stay in this position for a few breaths.
- Then slide your hands back toward the front shin and push your fingertips firmly to the floor. Lift your torso away from the thigh. Lengthen the lower back by pressing your tailbone down and forward.
- If you can maintain the upright position of your pelvis without the support of your hands on the floor, bring your hands to the top of your thighs. Push down against the thighs with the hands. Lift the chest and head up and drop the head back.
- Stay in this position for a few breaths. Then, with your hands back on the floor, carefully slide the right knee forward, then exhale and lift up and back into Adhomukha-shvanasana (Downward Facing Dog Pose).
- Take a few breaths, and we’ll repeat the above steps with the legs reversed.
- Begin in the Adhomukha-shvanasana (downward facing dog). Lift your left foot up, bend the left knee and move the leg forward. Place the leg directly below the shoulders. The left knee is placed just behind the left wrist. Try to keep the left leg parallel to the front edge of the mat. If this is not comfortable, bend the knee more so that the left foot moves closer to the right hip area.
- Slowly slide your right leg back, straightening the knee and descending the front of the thigh to the floor. Lower the outside of your left buttock to the floor.
- The left knee can angle slightly to the left, outside the line of the hip. Look back at your right leg. It should extend straight out of the hip (and not be angled off to the right), and rotated slightly inwardly, so the right thigh presses against the floor. Exhale and slowly drop your chest down and rest it on top of the left leg. Stretch your arms forward.
- With the left knee bent and left hip on the floor, make a gentle effort to drop the right hip toward the floor. This will enhance the stretch on the left hip. Stay in this position for a few breaths.
- Then slide your hands back toward the front shin and push your fingertips firmly to the floor. Lift your torso away from the thigh. Lengthen the lower back by pressing your tailbone down and forward.
- If you can maintain the position of your pelvis without the support of your hands on the floor, bring your hands to the top of your thighs. Push down against the thighs with the hands. Lift the chest and head up and drop the head back.
- Stay in this position for a few breaths. Then, with your hands back on the floor, carefully slide the left knee forward, then exhale and lift up and back into Adhomukha-shvanasana (Downward Facing Dog Pose).
- Sit in a comfortable sitting posture and relax for a few moments.

Kapotasana variation 1
Variations
Now we’ll practice a couple of variations of the pose.

Kapotasana twist
- Begin in the Adhomukha-shvanasana (downward facing dog). Lift your right foot up, bend the right knee and move the leg forward. Place the leg directly below the shoulders. The right knee is placed just behind the right wrist. Try to keep the right leg parallel to the front edge of the mat. If this is not comfortable, bend the knee more so that the right foot moves closer to the left hip area.
- Slowly slide your left leg back, straightening the knee and descending the front of the thigh to the floor. Lower the outside of your right buttock to the floor.
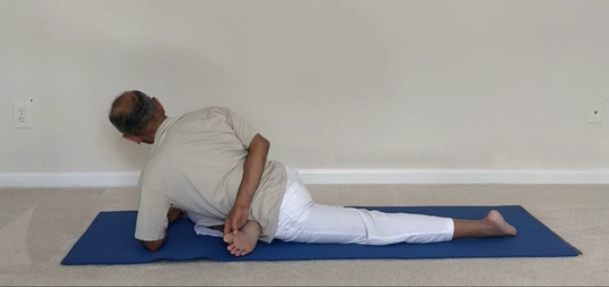
- Now, in addition to the hip stretch, we’ll also add a spinal twist to the experience. Place the left forearm on the floor in front of the right leg. Wrap the right arm behind the back and try to reach and hold the right big toe with the right hand. If the hand doesn’t reach that far, bring it as close to the foot as comfortable.
- Stay in the pose for about 6-8 breaths. Slowly release the pose and bring the right hand in front.
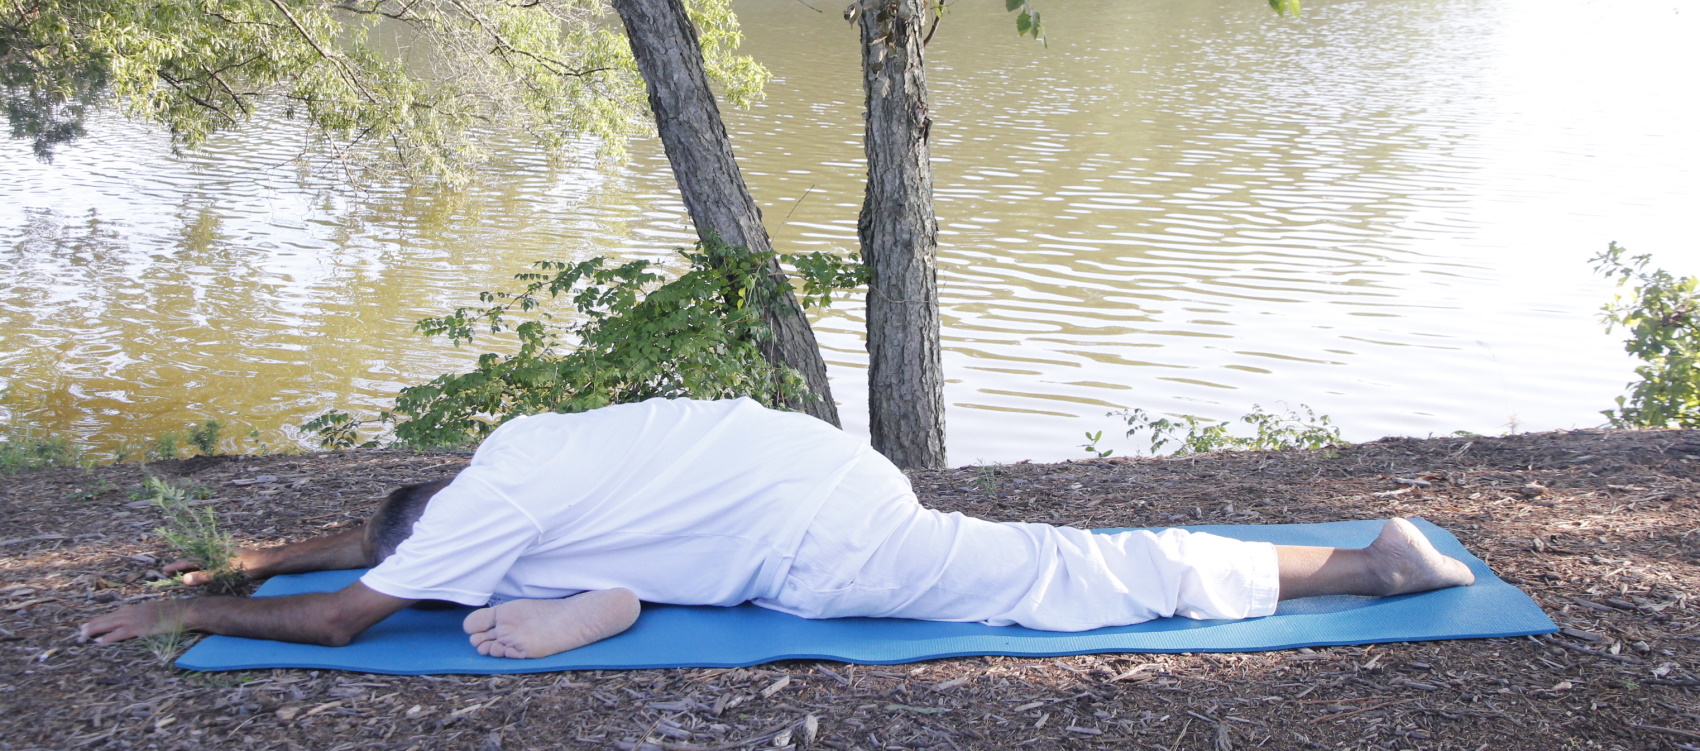
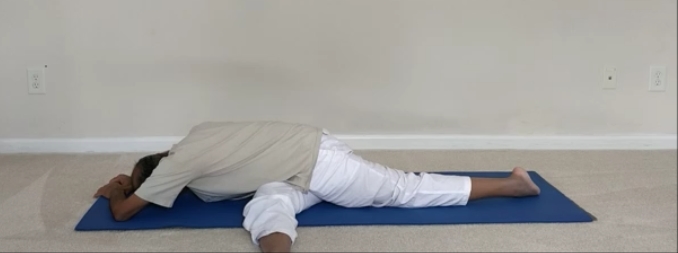
- For the next variation, instead of keeping the knee bent, we’ll stretch the right leg straight with the leg on the outside of the left hip, positioned at 90 degrees to the body. Rest the forehead and the arms on the floor in front; lower the chest toward the floor.
- Make an effort to roll the left hip closer to the floor to deepen the stretch on the right hip. Stay in the final pose for about 6-8 breaths.
- Release the pose and get back to the downward facing dog and relax for a moment.
- Now we’ll repeat the same moves on the other side.
- Begin in the Adhomukha-shvanasana (downward facing dog). Lift your left foot up, bend the left knee and move the leg forward. Place the leg directly below the shoulders. The left knee is placed just behind the left wrist. Try to keep the left leg parallel to the front edge of the mat. If this is not comfortable, bend the knee more so that the left foot moves closer to the right hip area.
- Slowly slide your right leg back, straightening the knee and descending the front of the thigh to the floor. Lower the outside of your left buttock to the floor.
- Now, in addition to the hip stretch, we’ll also add a spinal twist to the experience. Place the right forearm on the floor in front of the left leg. Wrap the left arm behind the back and try to reach and hold the left big toe with the left hand. If the hand doesn’t reach that far, bring it as close to the foot as comfortable.
- Stay in the pose for about 6-8 breaths. Slowly release the pose and bring the left hand in front.
- For the next variation, instead of keeping the knee bent, we’ll stretch the left leg straight with the leg on the outside of the right hip, positioned at 90 degrees to the body. Rest the forehead and the arms on the floor in front; lower the chest toward the floor.
- Make an effort to roll the right hip closer to the floor to deepen the stretch on the left hip. Stay in the final pose for about 6-8 breaths.
- Finally come out the pose and get back to the downward facing dog pose for a moment.
- Then sit down in any comfortable sitting posture and relax for a few moments.

Kapotasana with leg straight
Benefits
- Stretches and opens the hips, thighs, groins and psoas, abdomen, chest and shoulders, and neck
- Stimulates the abdominal organs
- Opens the shoulders and chest
- Therapeutic benefits for urinary disorders
- Releases stress and calms the mind and the body.
Contraindications and Cautions
- Sacroiliac injury
- Very stiff or sore back
- Ankle injury
- Knee injury
- Pain in hips or thighs
Recent Comments