Agni Stambhasana (Firelog pose)
In a previous post, I presented part 1 of the seated hip opening poses. In today’s post, part 2, I am
presenting a few more of the seated hip opening poses.
I hope you will enjoy practicing these asanas along with the video presentation.
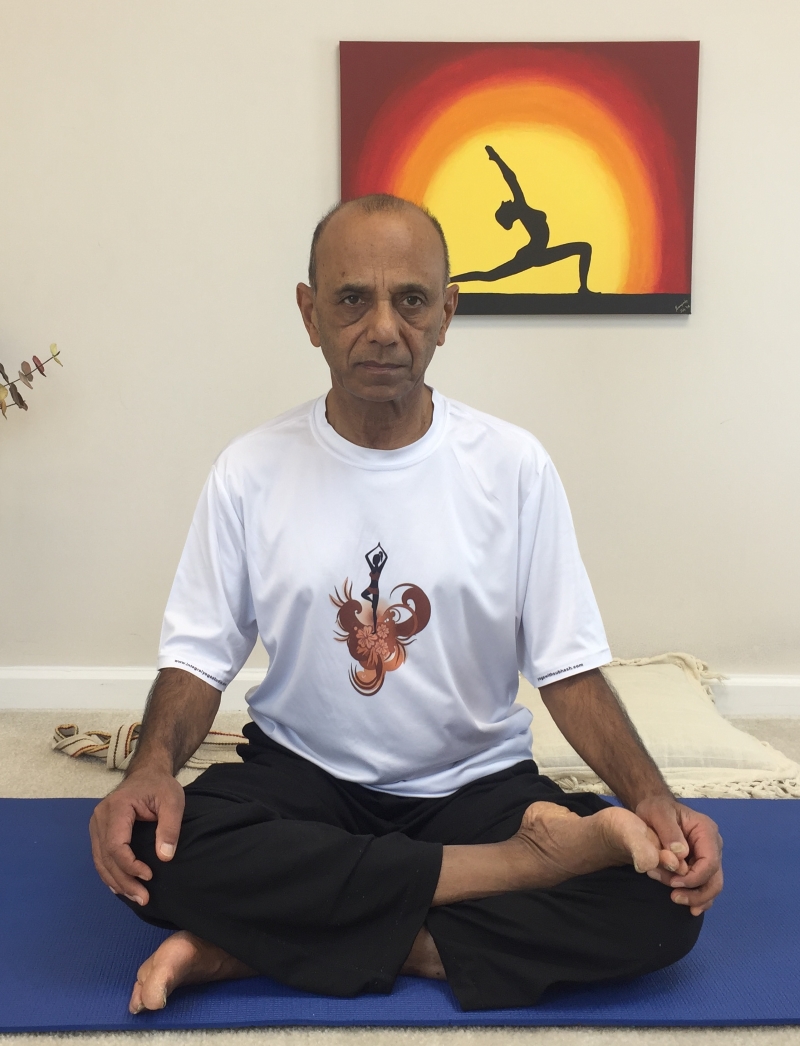
Sukhasana (easy pose) forward bending pose
Step-by-step
- Sit with the ankles crossed in front and the heels positioned under the opposite thighs. Try to maintain a tall and vertical spine with the head, neck and the trunk in alignment.
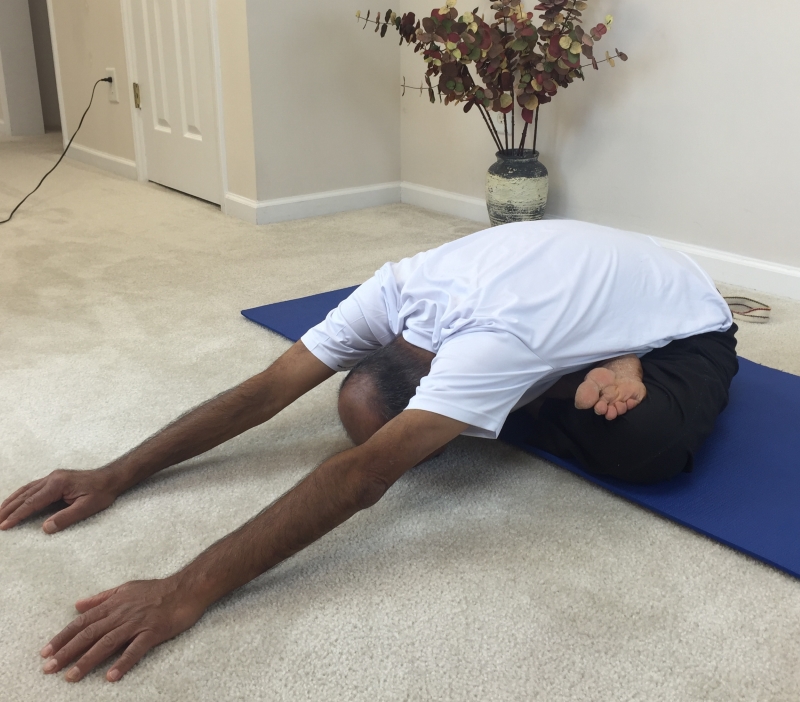
- To engage the hips, place the hands on the floor in front and slowly begin to walk the hands away from you. Go as far as comfortable. No strain should be felt in the hips, knees or the spine. Try to maintain the spine elongated in this movement.
- In the final position, you may attempt to lower and rest the chin or the forehead on the floor. Become aware of the stretch that you feel in the hips, knees and the spine.
- Stay in the final position for about five breaths.
- Gradually, lifting the head up slightly, begin to walk back, finally resting again in the sukhasana posture.
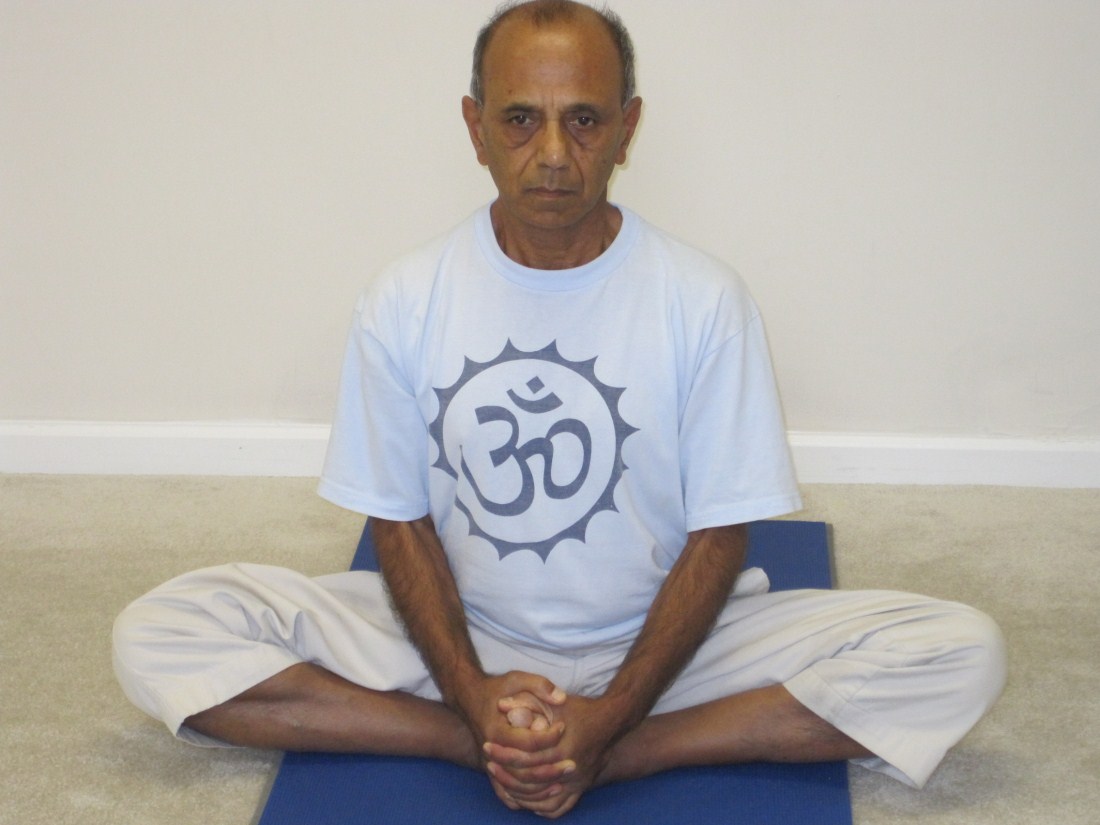
Baddhakonasana (bound angle pose)

Baddhakona (bound angle pose)
Step-by-step
- From the sitting posture, join the soles of the feet together, interlock the fingers across the toes and try to slide the heels all the back against the body.
- Keeping the spine upright, try to lower the knees as close to the floor as you comfortably can.
- Now begin with a gentle butterfly move to help open the hips and the knees. Move the knees up and down rhythmically at a pace that you are comfortable with. With each move, make the effort to bring the knees closer to the floor.
- Now stop the movement and stay relaxed in the baddhakonasana for a few moments.
- To deepen the stretch in the hips and the knees, slowly begin to bend forward. While doing so, try to keep the spine elongated. Try to keep the heels close to the body.
- This movement can be quite intense on the hips and knees. So, if it becomes necessary, feel free to make minor adjustments to the position of the feet. Go as far as you comfortably can.
- Stay in the final position for about five breaths.
- With the next inhalation, gradually begin to come back up. When fully seated, stretch the legs out straight in front and bounce the knees up and down a few times to get more blood circulation in the legs.
- Finally, sit and relax in the sukhasana for a few moments.
Agni-stambhasana (firelog pose)

Agni Stambhasana (Firelog pose)
In the agni-stambhasana sitting position, contact is made between the foot and the opposite knee, not the thigh.
Step-by-step
- From the sukhasana position adjust the feet so that the left ankle is positioned under the opposite knee and the right ankle is on top of the opposite knee. If you are not able to rest the knee on the ankle, you may slide a folded blanket between the foot and the knee to provide support for the knees.
- Stay in this position for a few moments.
- To deepen the stretch on the hips and the knees, place the hands on the floor in front and carefully start walking the hands away from the body. Make sure not to strain or overdo this movement. Try to keep the spine elongated during the move.
- Go as far as it feels comfortable. In the final position, if comfortable, you may attempt to lower the forehead or the chin on to the floor.
- Stay in the final position for about five breaths.
- To come out of the pose, gradually lift the head up and begin to walk your hands back.
- When fully seated, switch the position of the legs. This time bring the right ankle under the opposite knee and the left ankle on top of the knee. Repeat the same move as before to deepen the stretch.
- Place the hands on the floor in front and carefully start walking the hands away from the body. Make sure not to strain or overdo this movement. Try to keep the spine elongated during the move.
- Go as far as it feels comfortable. In the final position, if comfortable, you may attempt to lower the forehead or the chin on to the floor.
- Stay in the final position for about five breaths.
- To come out of the pose, gradually lift the head up and begin to walk your hands back and get back to a seated position.
- Release the pose, stretch the legs out in front and bounce the knees a few times. Then sit and relax in the sukhasana for a few moments
Gomukhasana (cow face pose)

Gomukhasana (cow face pose)
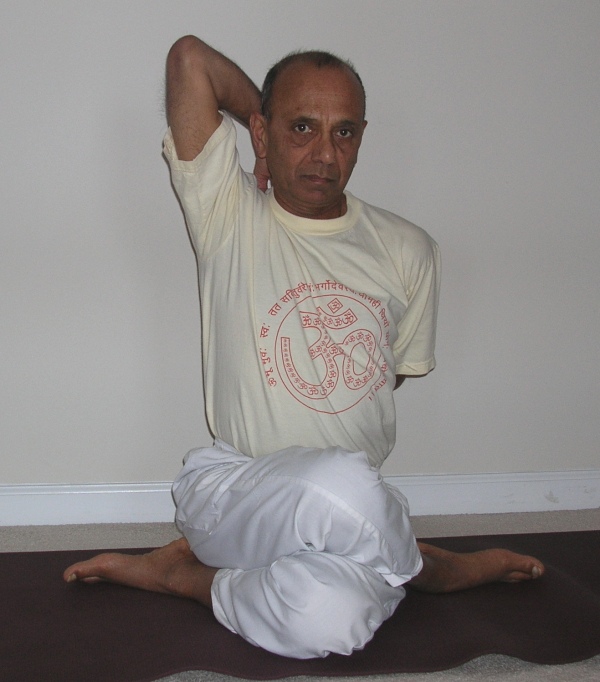
The gomukhasana traditionally has two components – one with the legs and the other with arms and elbows. Since our focus is hips today, we’ll be working with the part involving the position of the legs only
Step-by-step
- Stretch the left leg out, bend the knee and try to position the left foot on the outside of the opposite thigh, sliding it from under the thigh.
- In the same manner, position the right foot on the outside of the left thigh, sliding it out and back from above the thigh. In the final position, try to slide both the feet as far back as comfortable.
- Looking from the back, the two feet look like the ears of a cow – hence the name “cow face pose”.
- To deepen the stretch on the hips, spine and knees, we’ll once again do a forward bending stretch.
- Place the hands on the floor in front and carefully start walking the hands away from the body. Make sure not to strain or overdo this movement. Try to keep the spine elongated during the move.
- Go as far as it feels comfortable. In the final position, if comfortable, resting the elbows and the forearms on the floor, try to lower the chin to the knee. Stay in the final position for about five breaths.
- To come out of the pose, gradually lift the head up and begin to walk your hands back.
- When fully seated, switch the position of the legs and repeat the same moves as above.
- When fully seated, stretch the legs out in front and bounce the knees up and down a few times.
- Finally sit and relax in the sukhasana for a few moments. Alternately, you may relax in the shavasana for some time.
Recent Comments